
DIY FABRIC ADVENT CALENDAR TUTORIAL
Don’t get me wrong – I LOVE a Cadbury’s advent calendar as much as the next person. I actually grew up just south of Birmingham, close to the Bournville chocolate factory. However Christmas has become rather commercial, and so I am doing it a bit differently these days. Home made gifts and decorations are my small way of sticking it to the man, whilst doing something fun that I love, that can be used for many Christmases to come.
This fabric advent calendar is quick and easy, and is a good half day project to do with kids. I am running a workshop to make one at Stitches & Cream on November 27th. But if you’re not local or can’t make it, then don’t let that stop you! You could even personalise it by adding your name along the top (or the name of the person you are gifting it to)

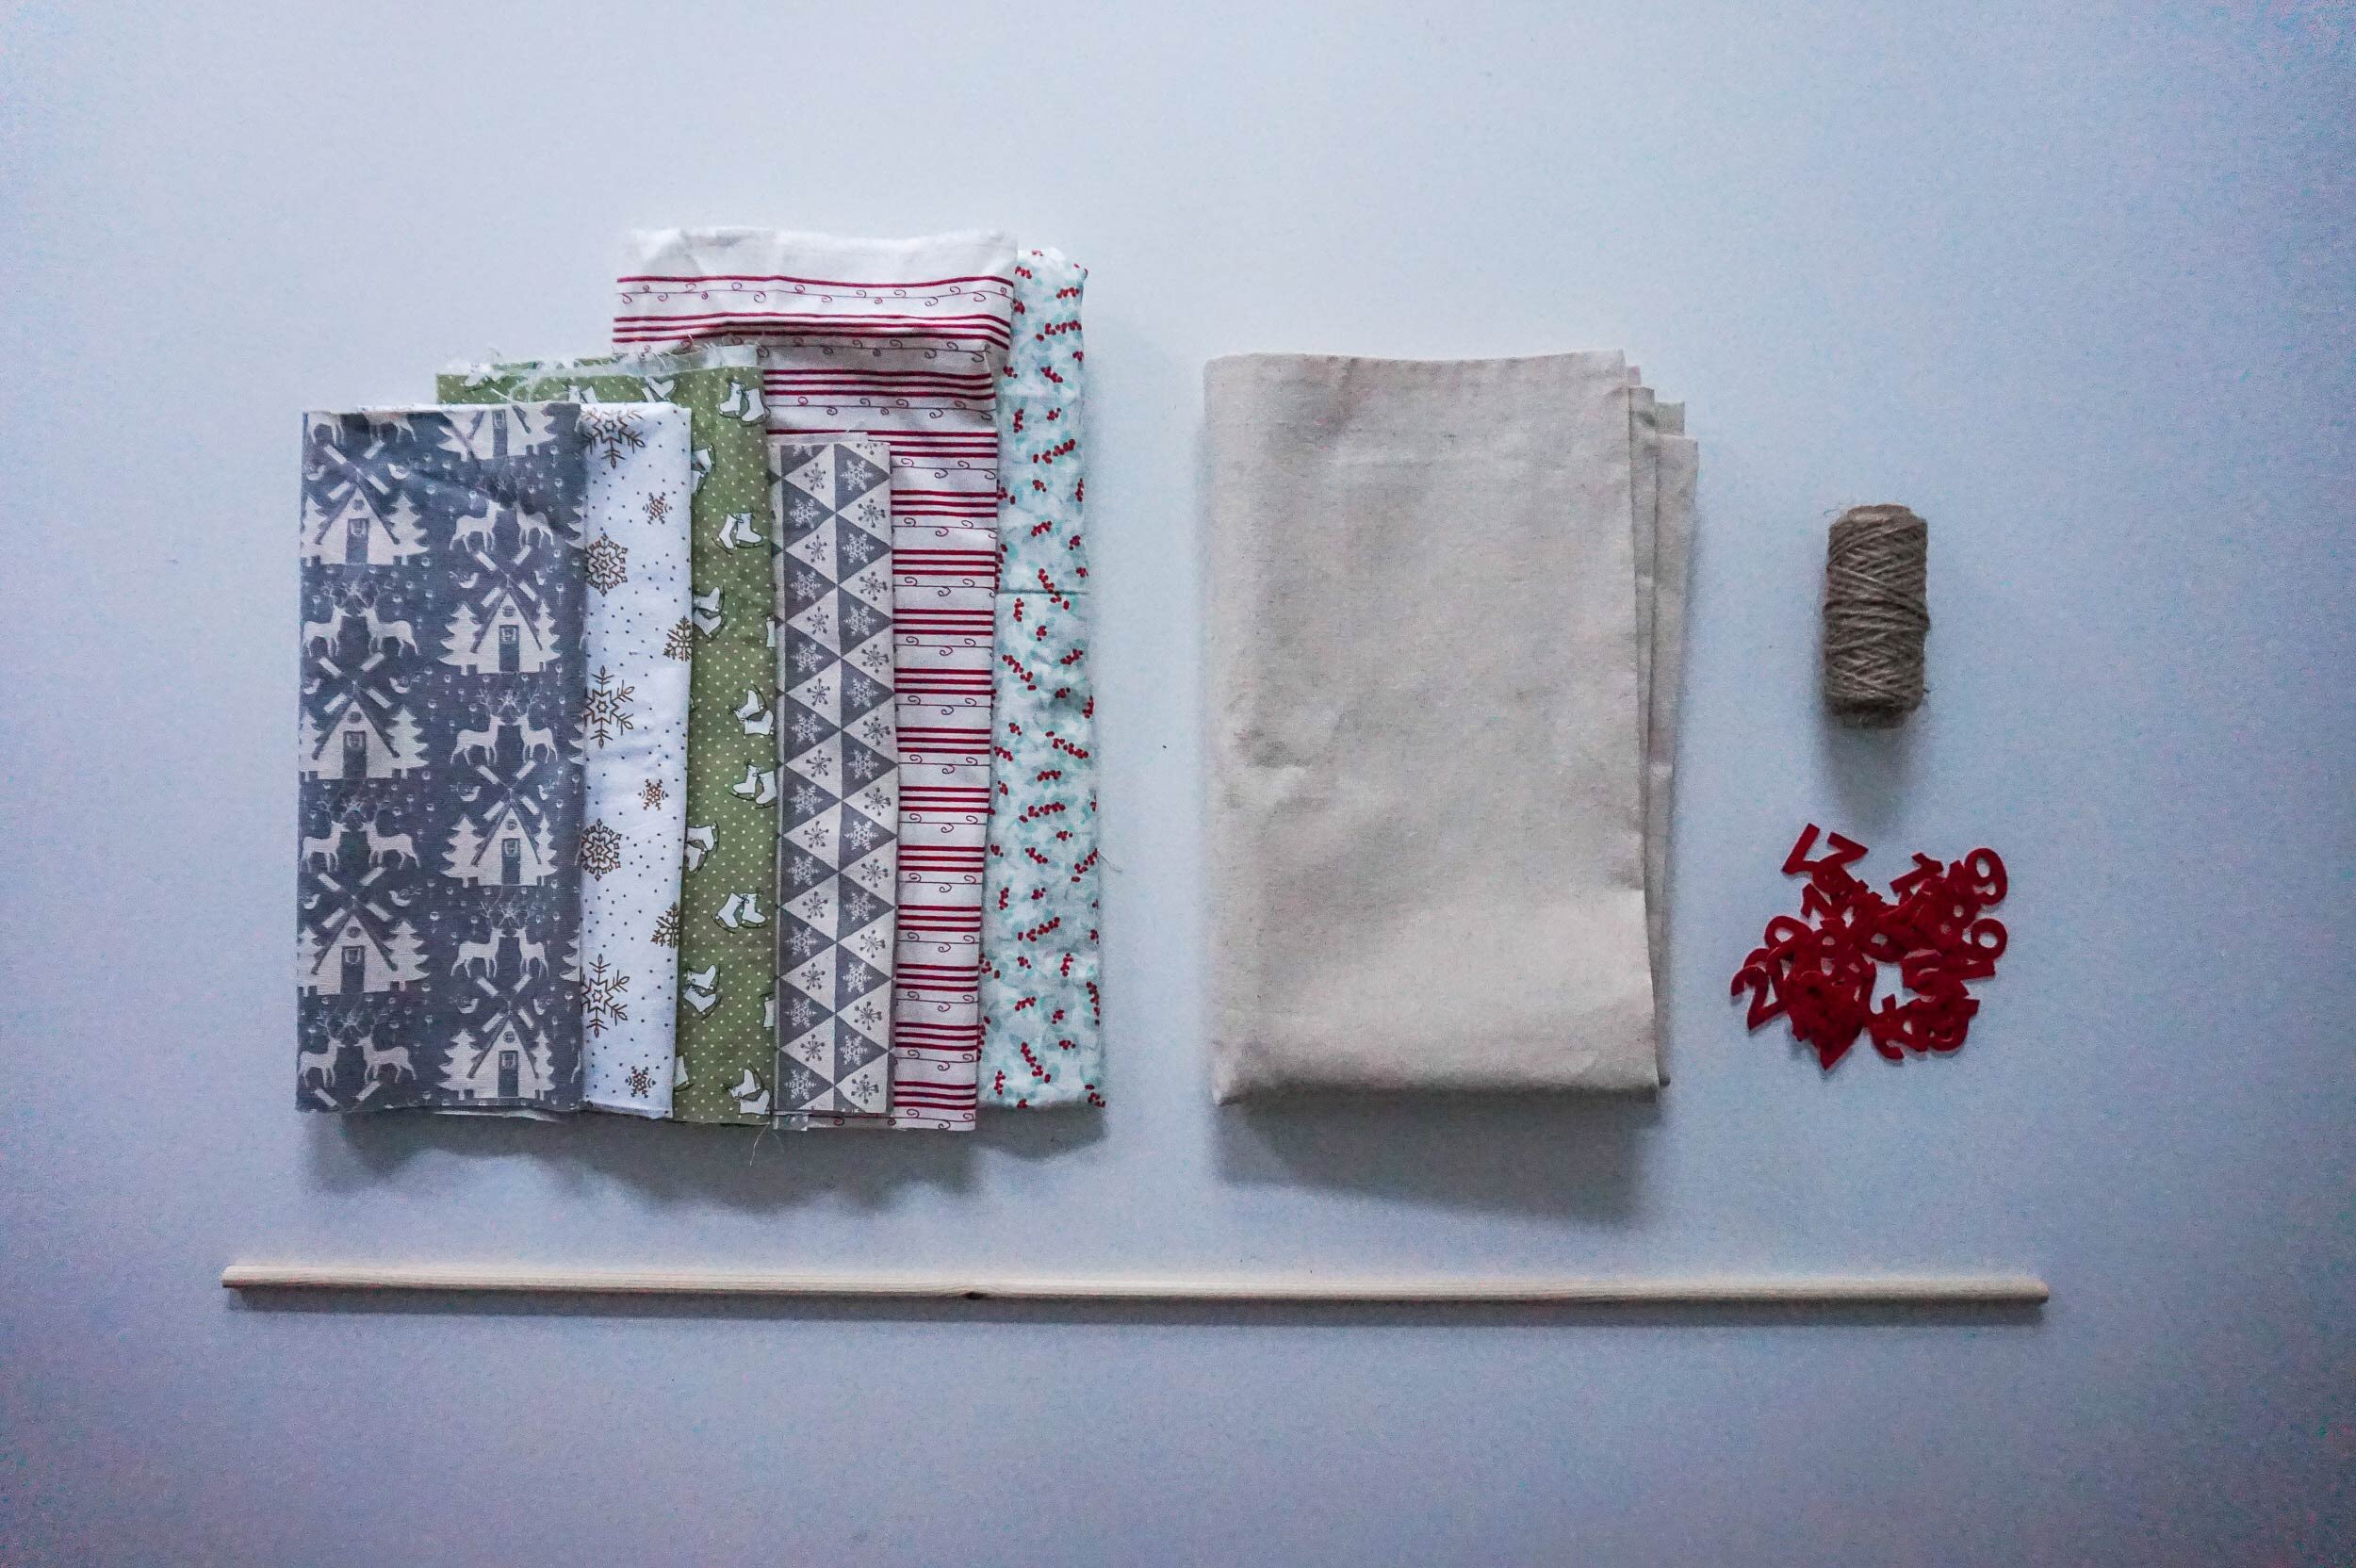
What you’ll need:
Calico or background fabric of your choice – 1m (and at least 124cm wide)
6 x pieces of printed fabric – a bundle of 6 x fat quarters would work well for this, and you can find some brilliant Christmas themed ones, or chose plain colours if you wish.
Wooden dowel – 70cm x 9mm
Twine, rope or ribbon to hang from – 1m
Equipment:
Sewing machine
Pritt stick
Fabric scissors
Invisible pen
Ruler
Saw (if you need to cut the dowel down to size)
Method:
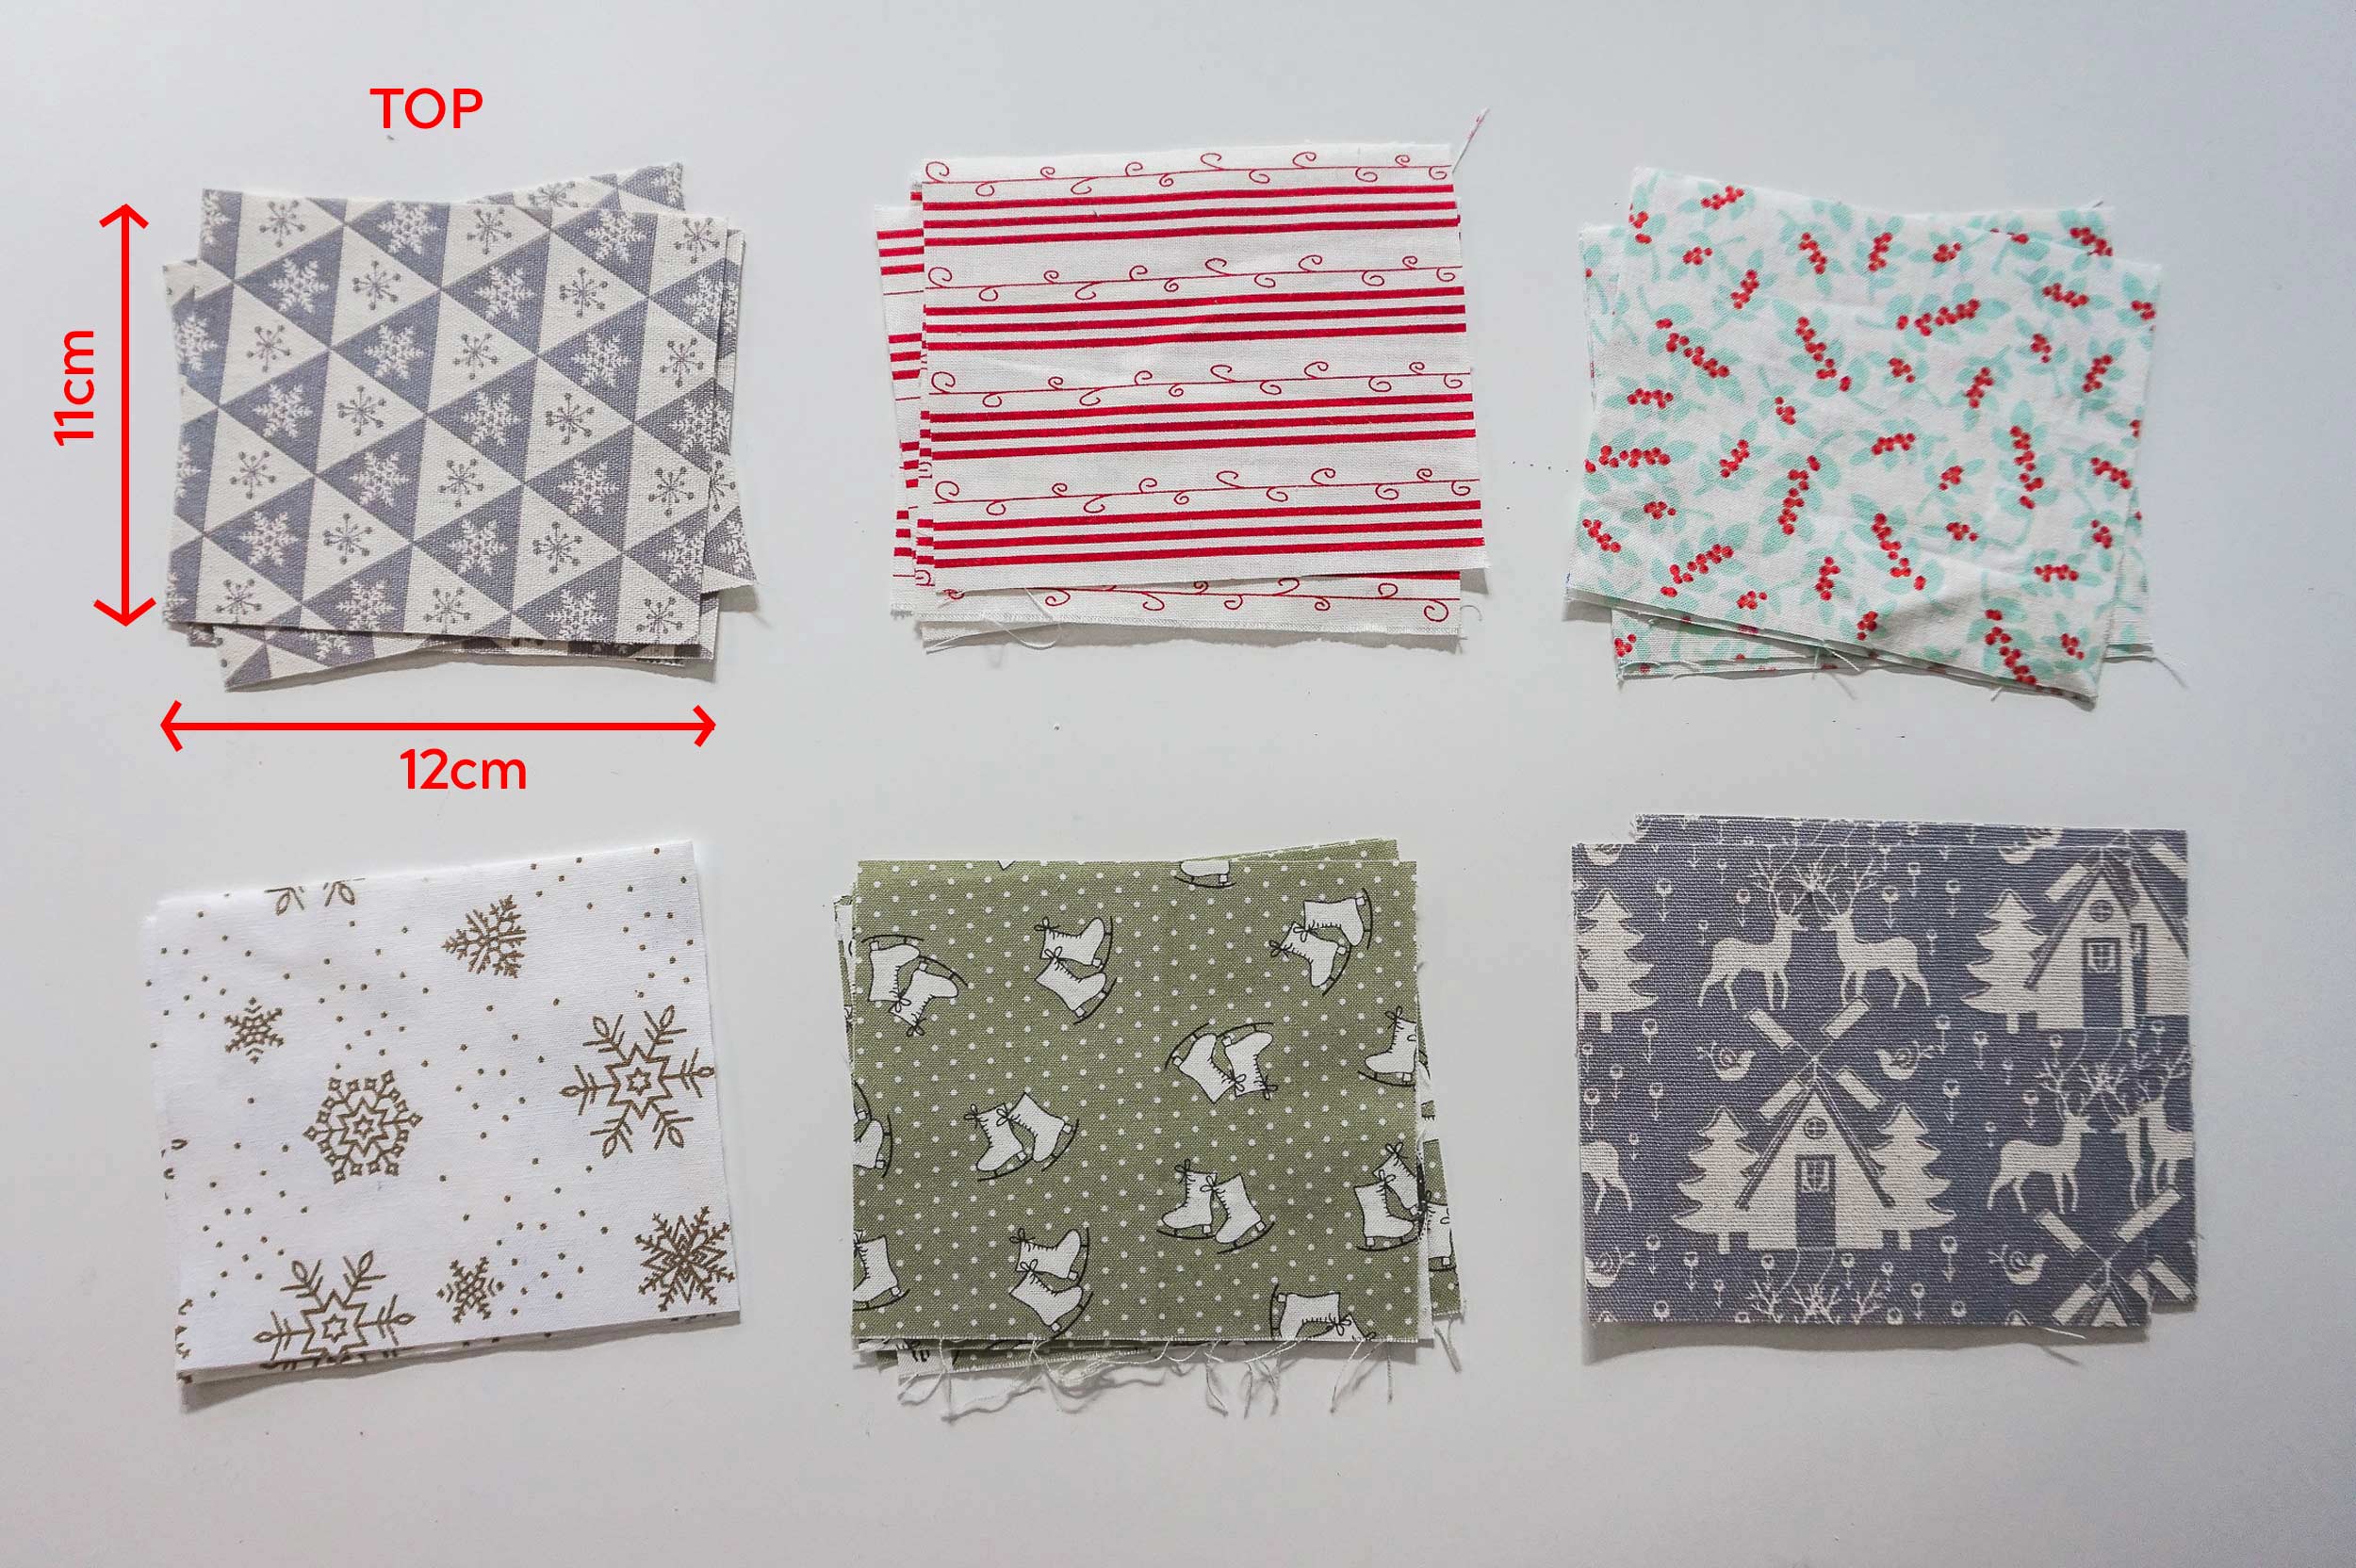
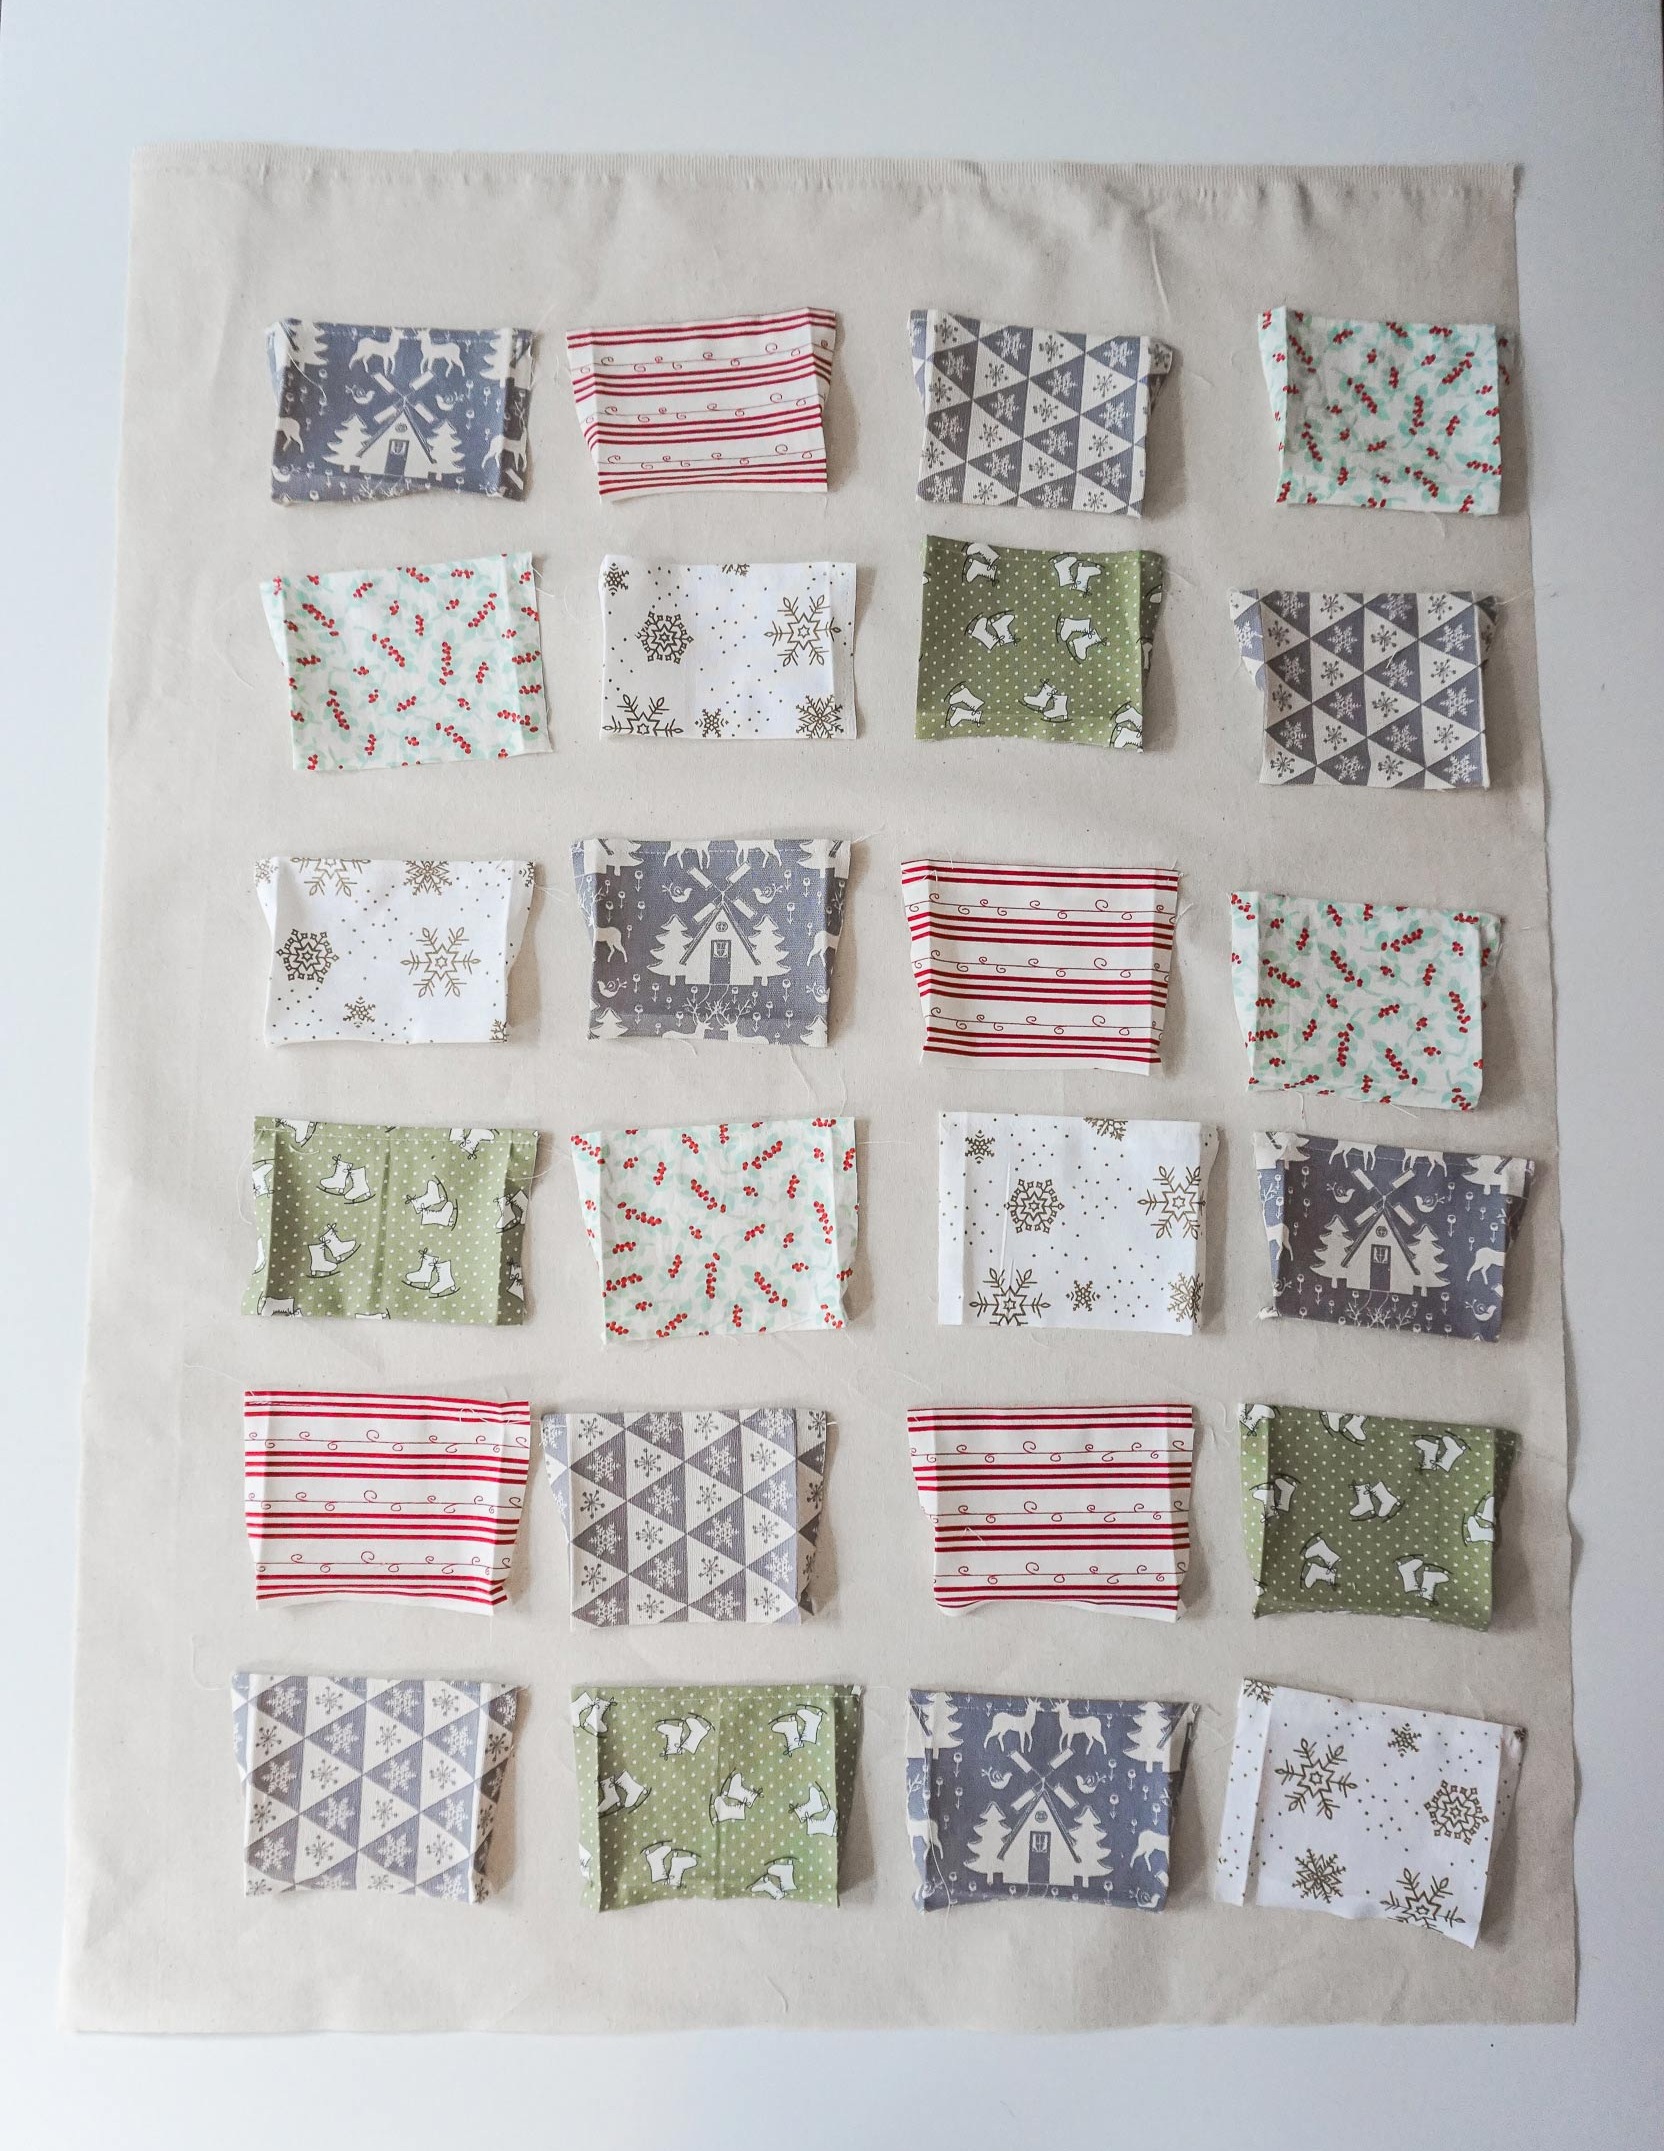
1. Cut out 4 x rectangles from each of the different prints. 11cm x 12cm, if your print has a direction, ensure you cut it the right way up. The shorter side is the height, the longer is the width. You will end up with 24 pieces.
2. Cut your background pieces. 2 pieces of 82cm x 62cm. The longer length is the height (in case your fabric has a directional print)
If you wanted to embroider your name at the top or bottom, you might want to add some extra height onto those measurements.
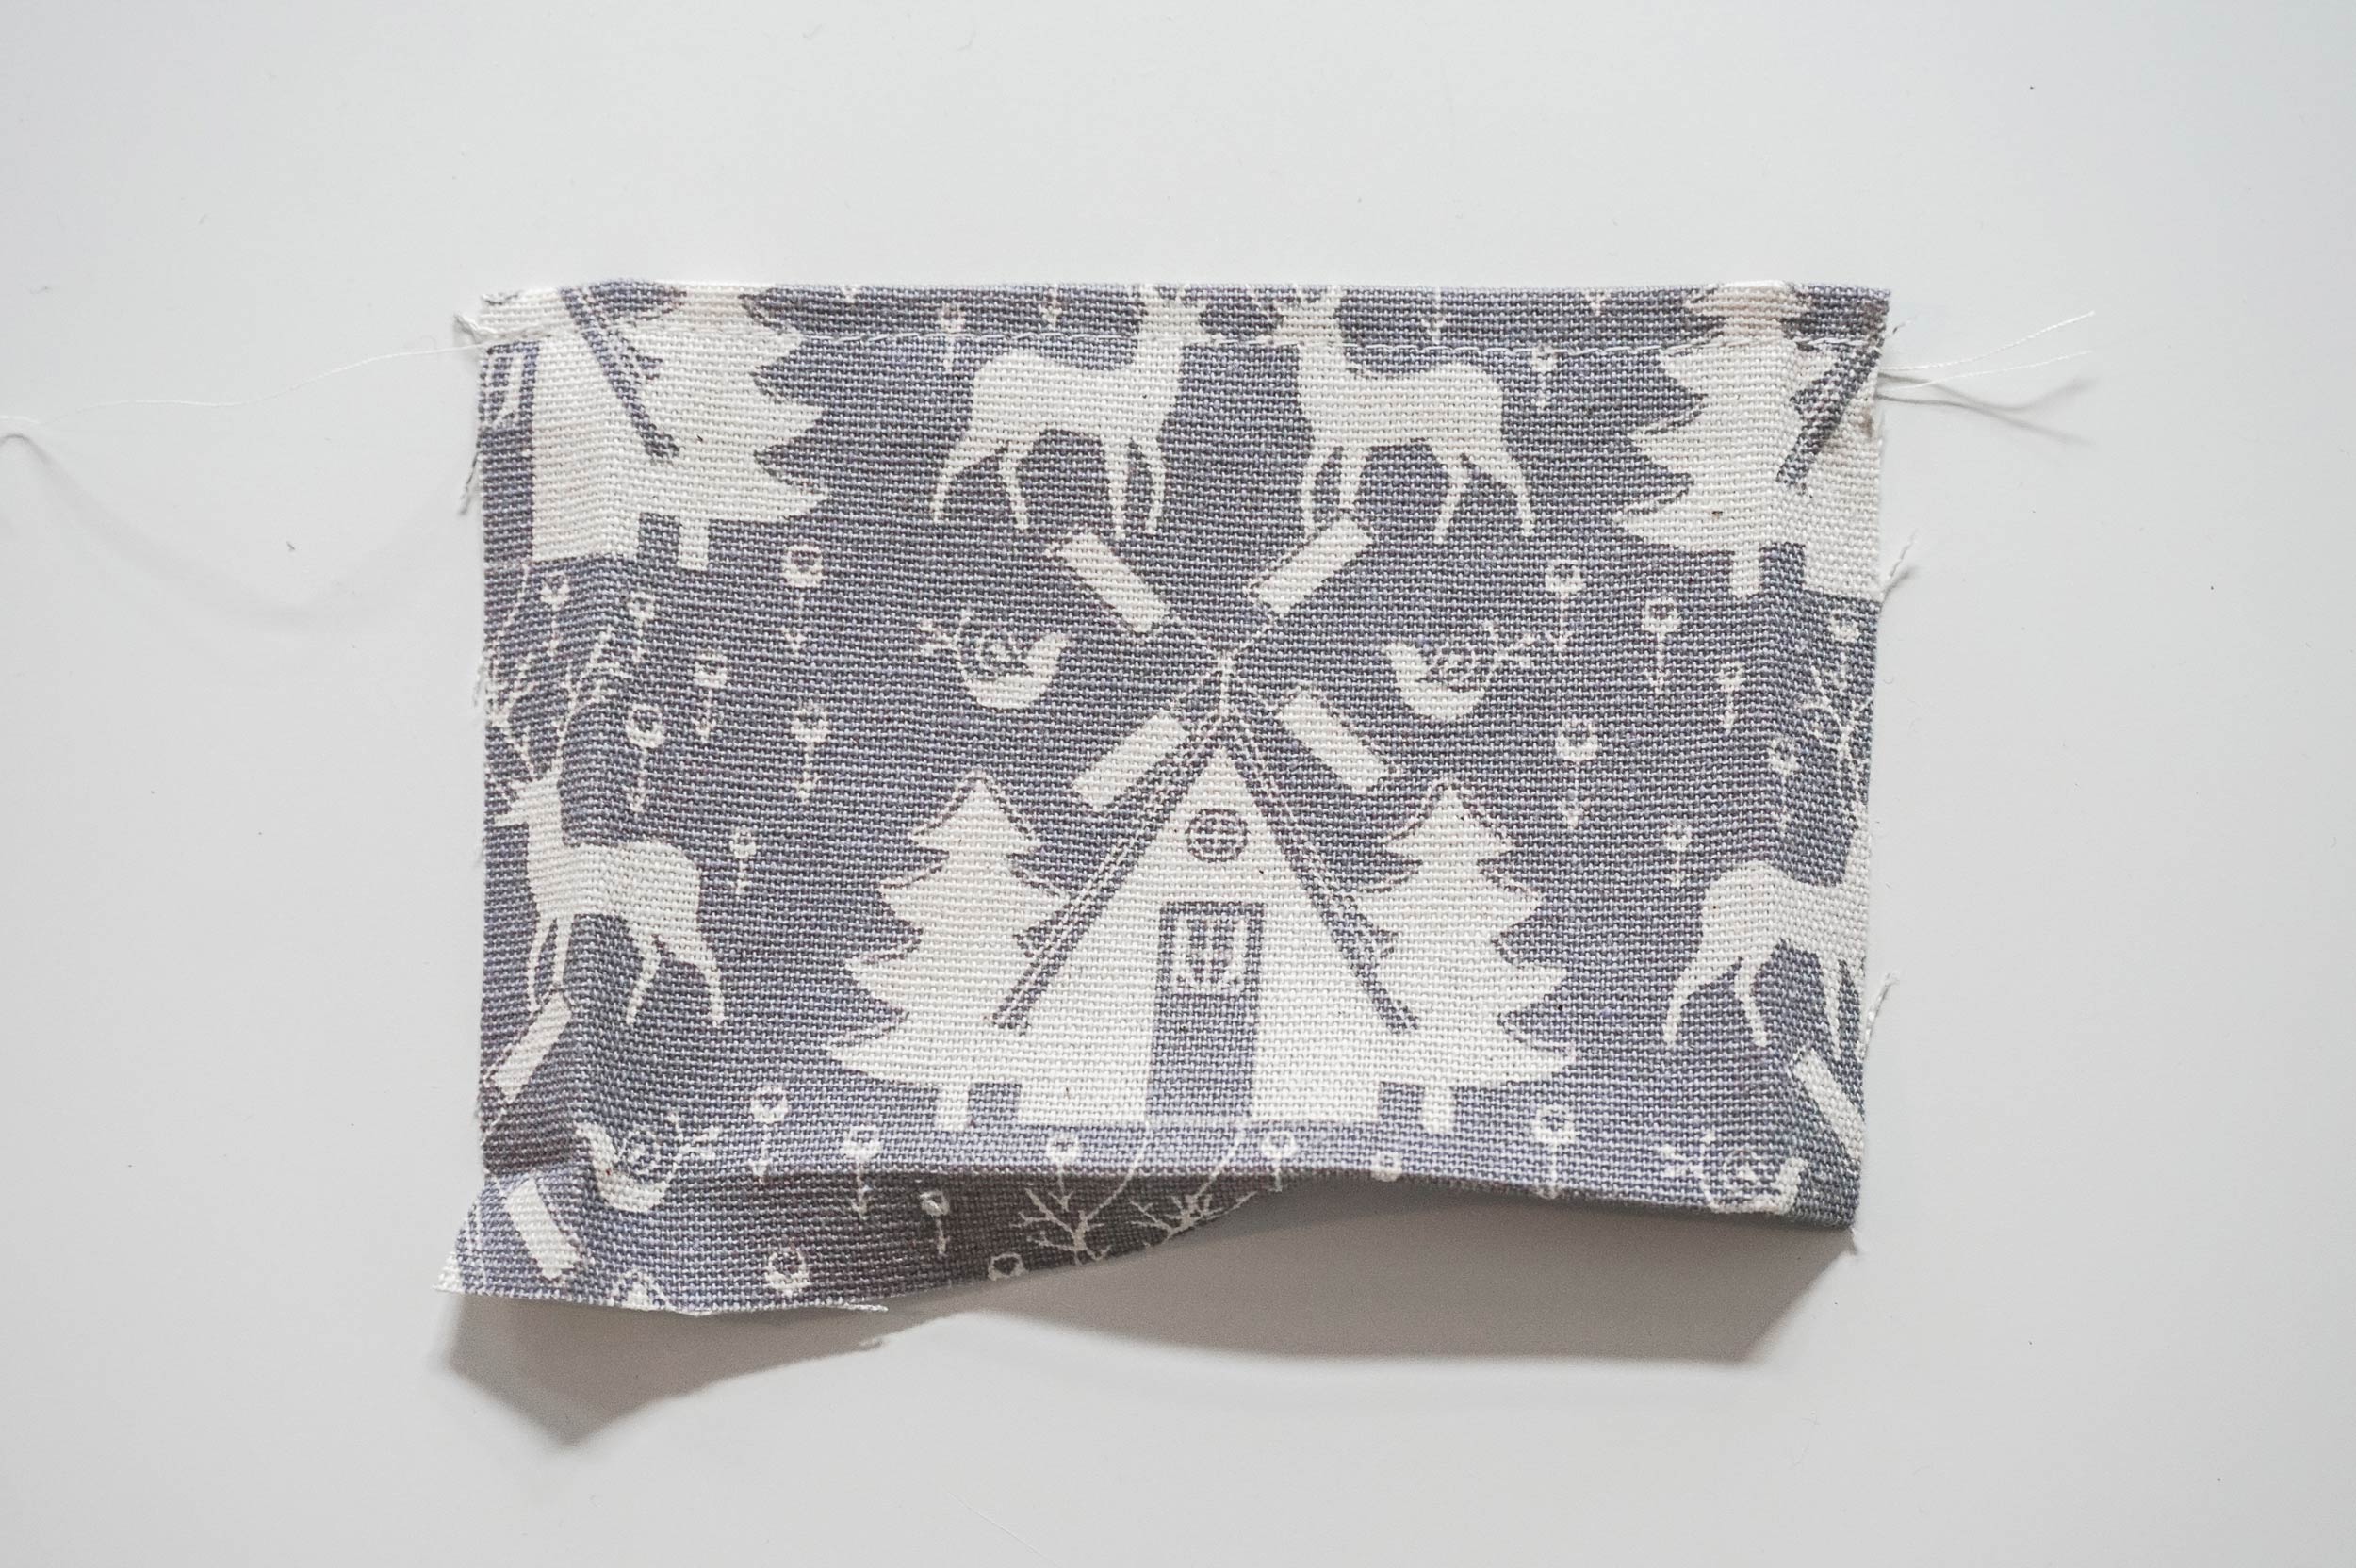
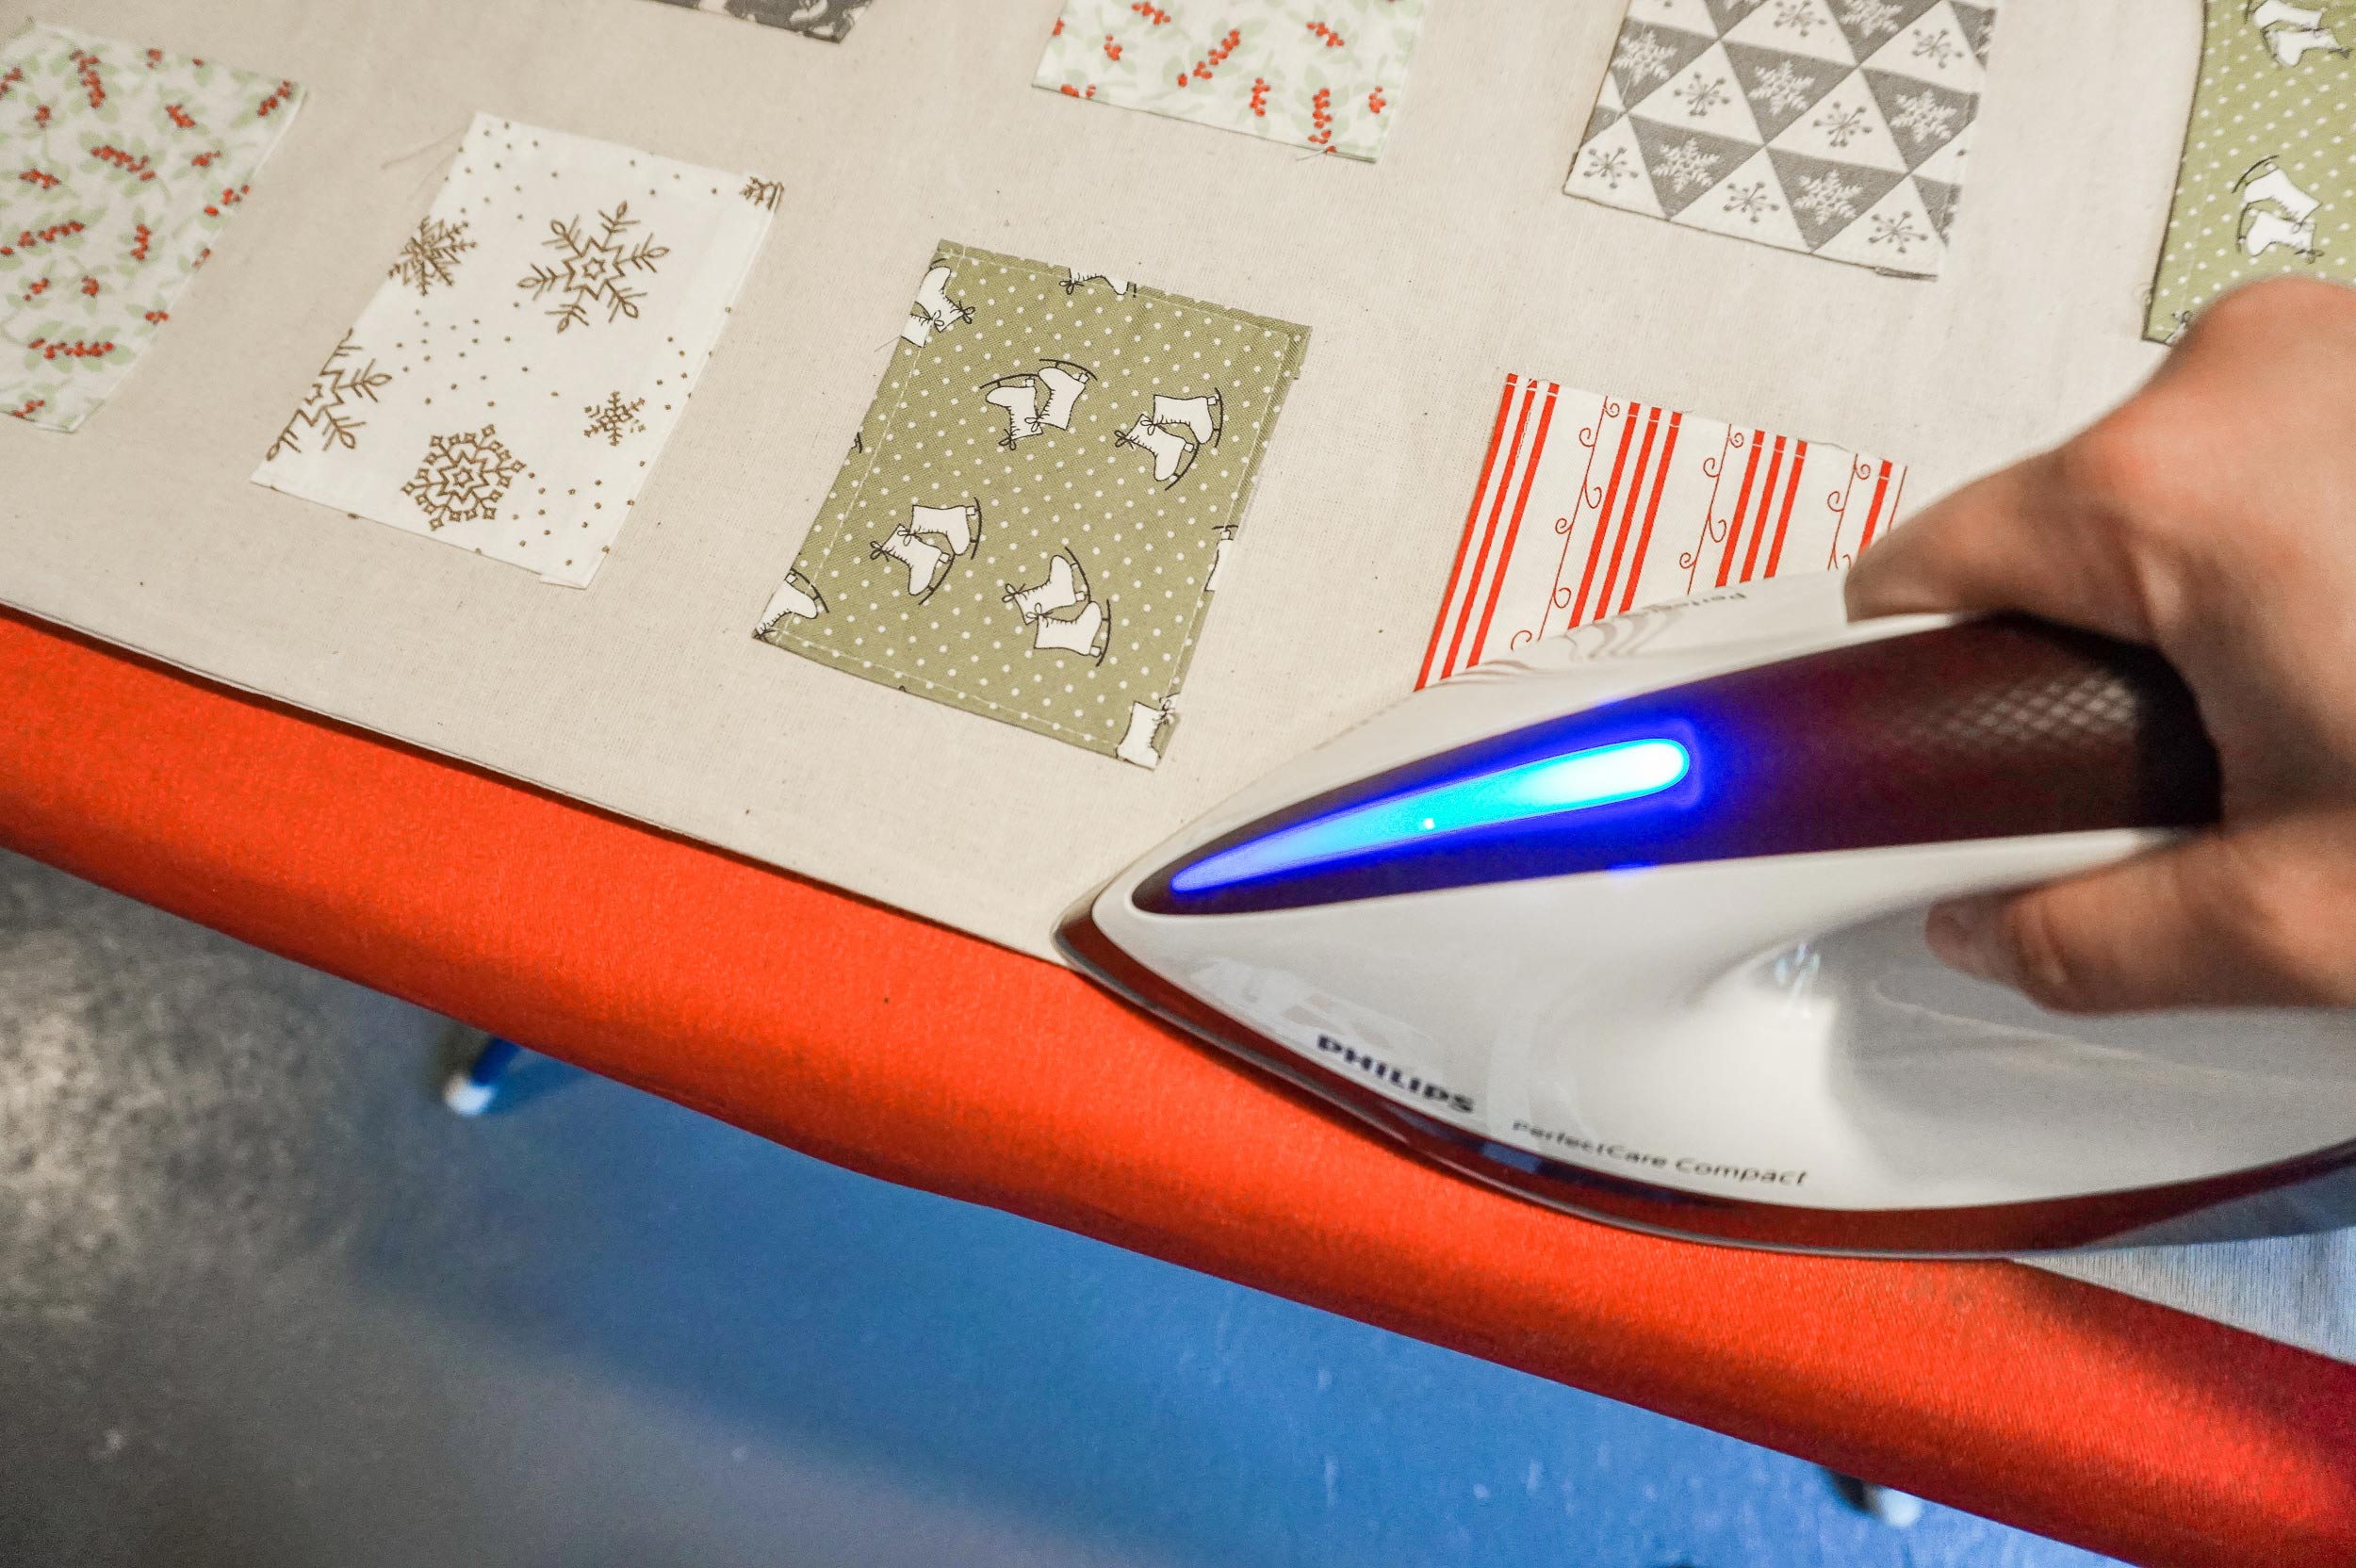
3. Double fold the top of your pockets (the long side) 1cm. Ensure you do this the right way up, you don’t want upside down reindeer’s! Iron the other 3 sides in by 1cm.
Topstitch the top double fold 8mm from the top.


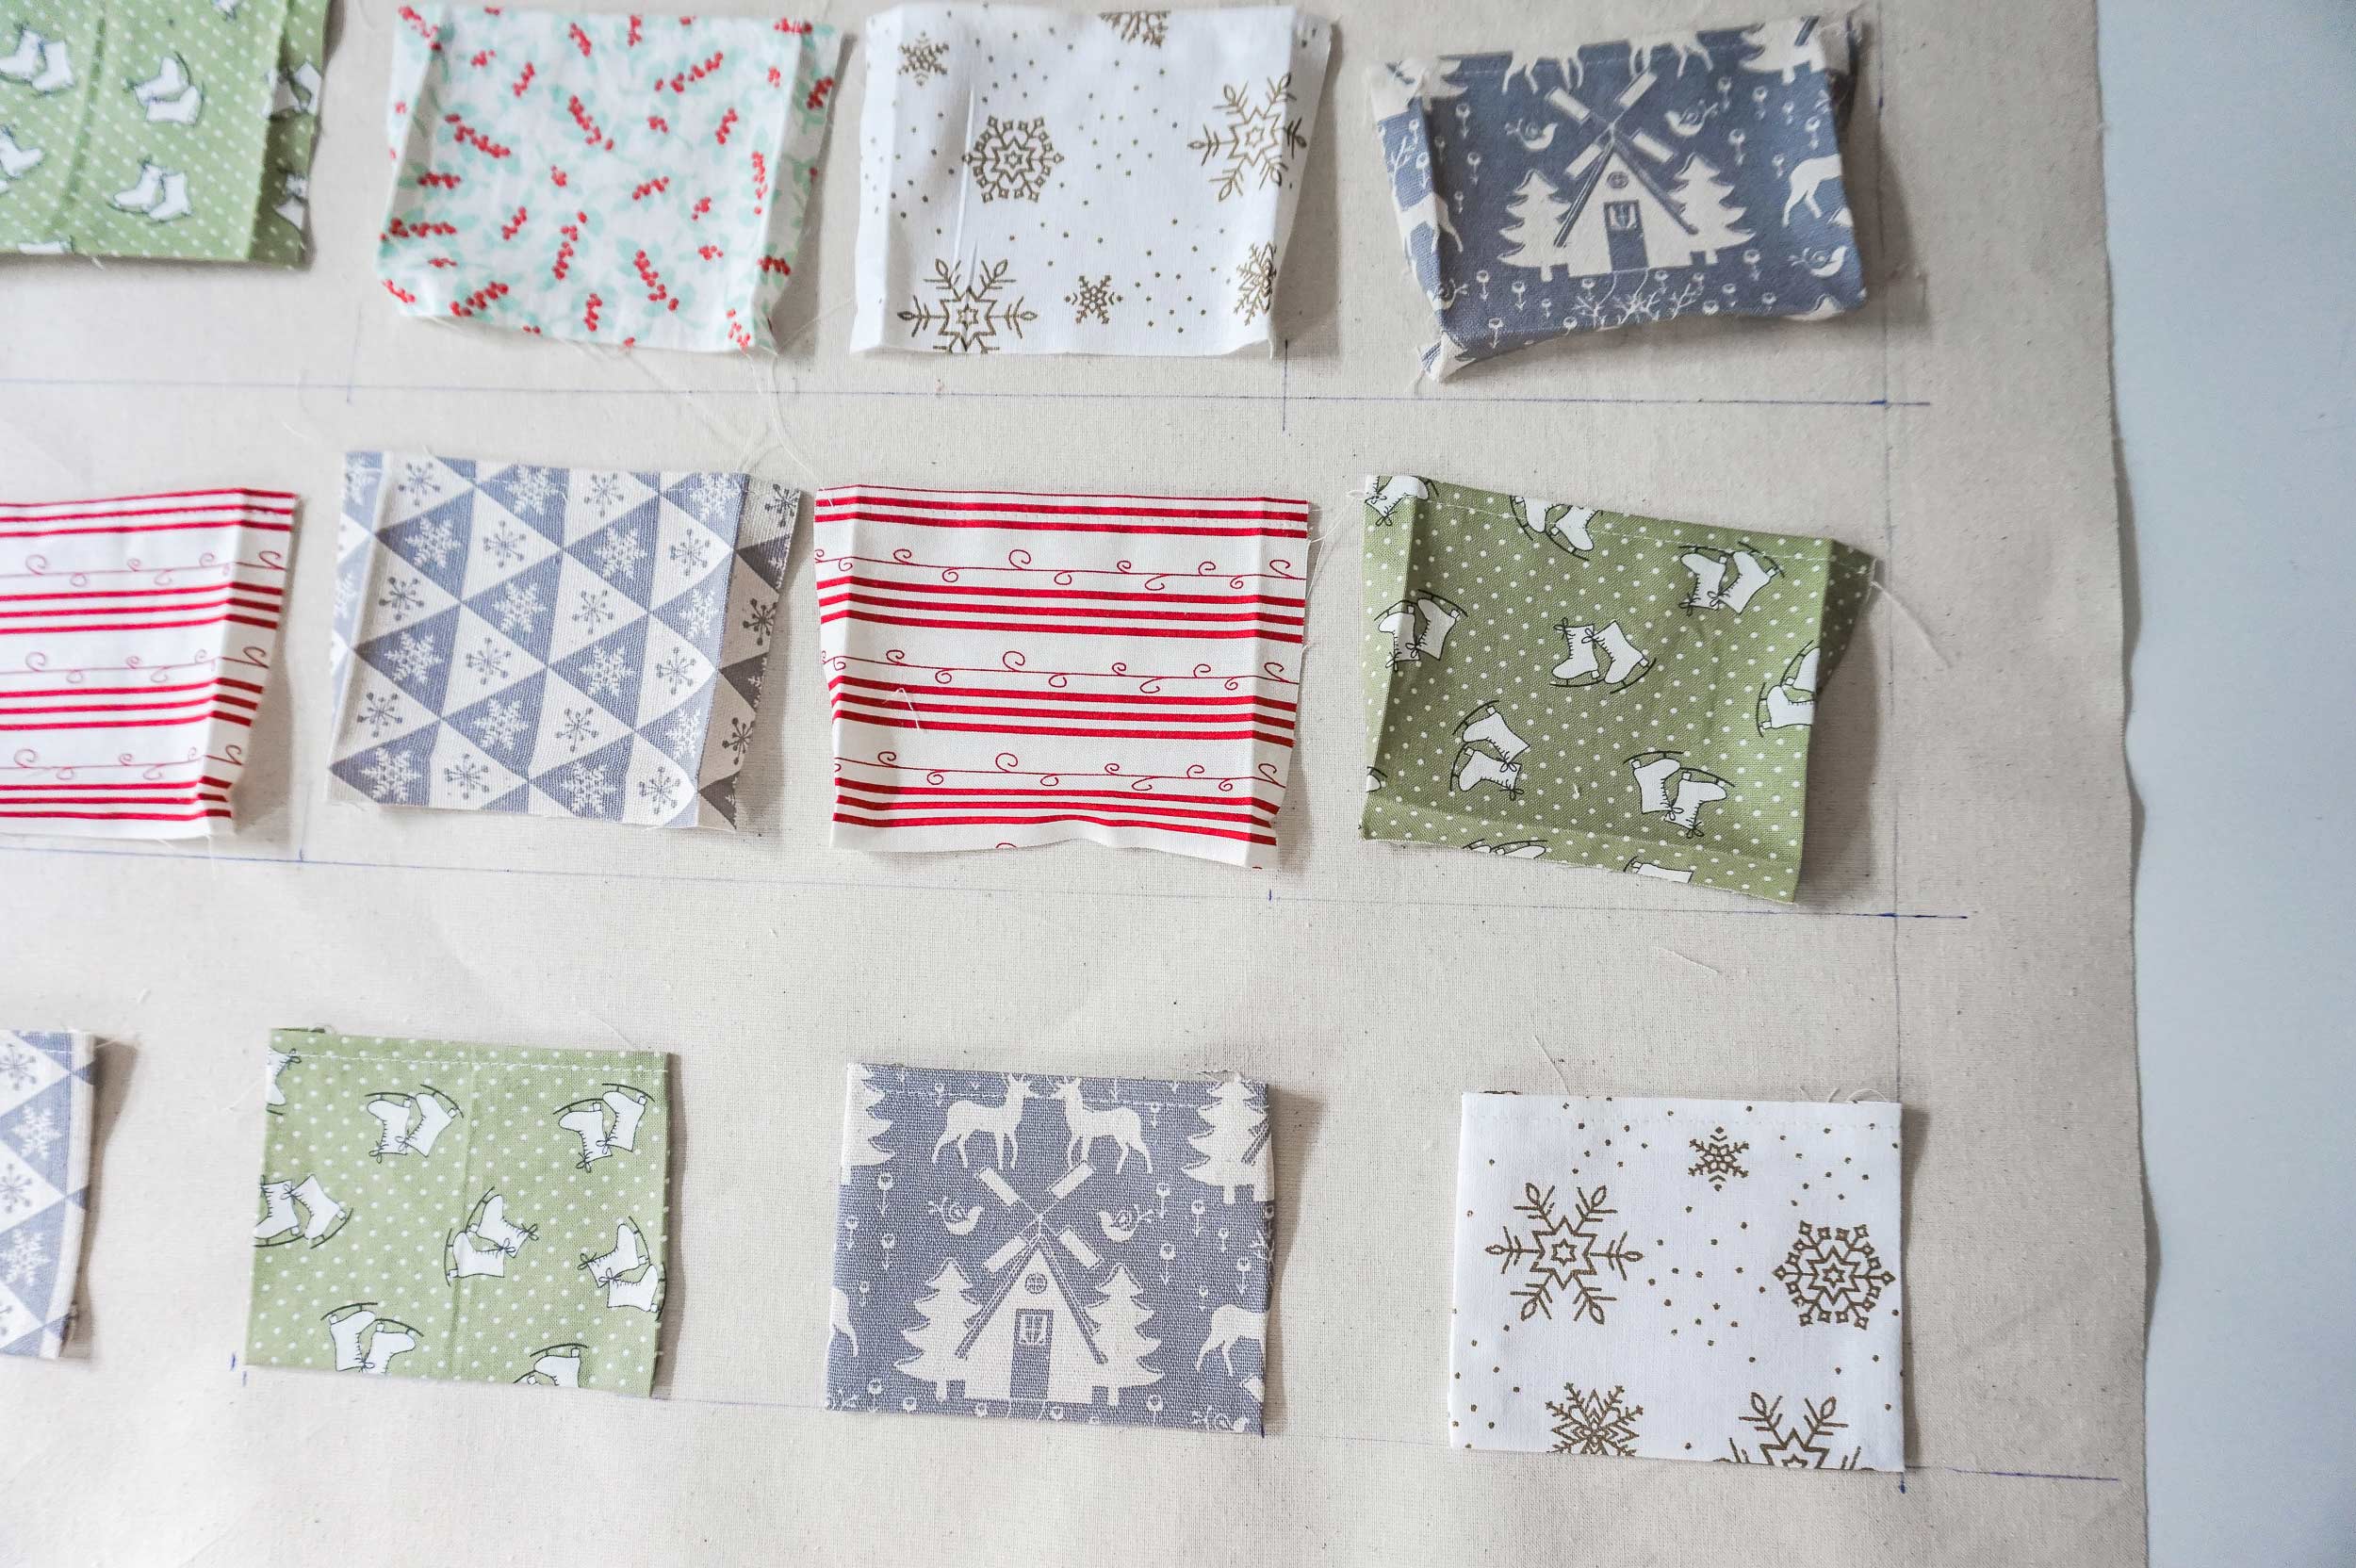
4. Draw out the grid for your pockets in invisible pen on the right side of your front base, as follows:
5. Determine the position of your pockets on the base – the more random the better!
Using Pritt stick, temporarily glue your pockets in place, by gluing along the 3 sides of your pockets that are not sewn and following the grid on your base.
You could pin them instead, but temporary glue seemed easier.

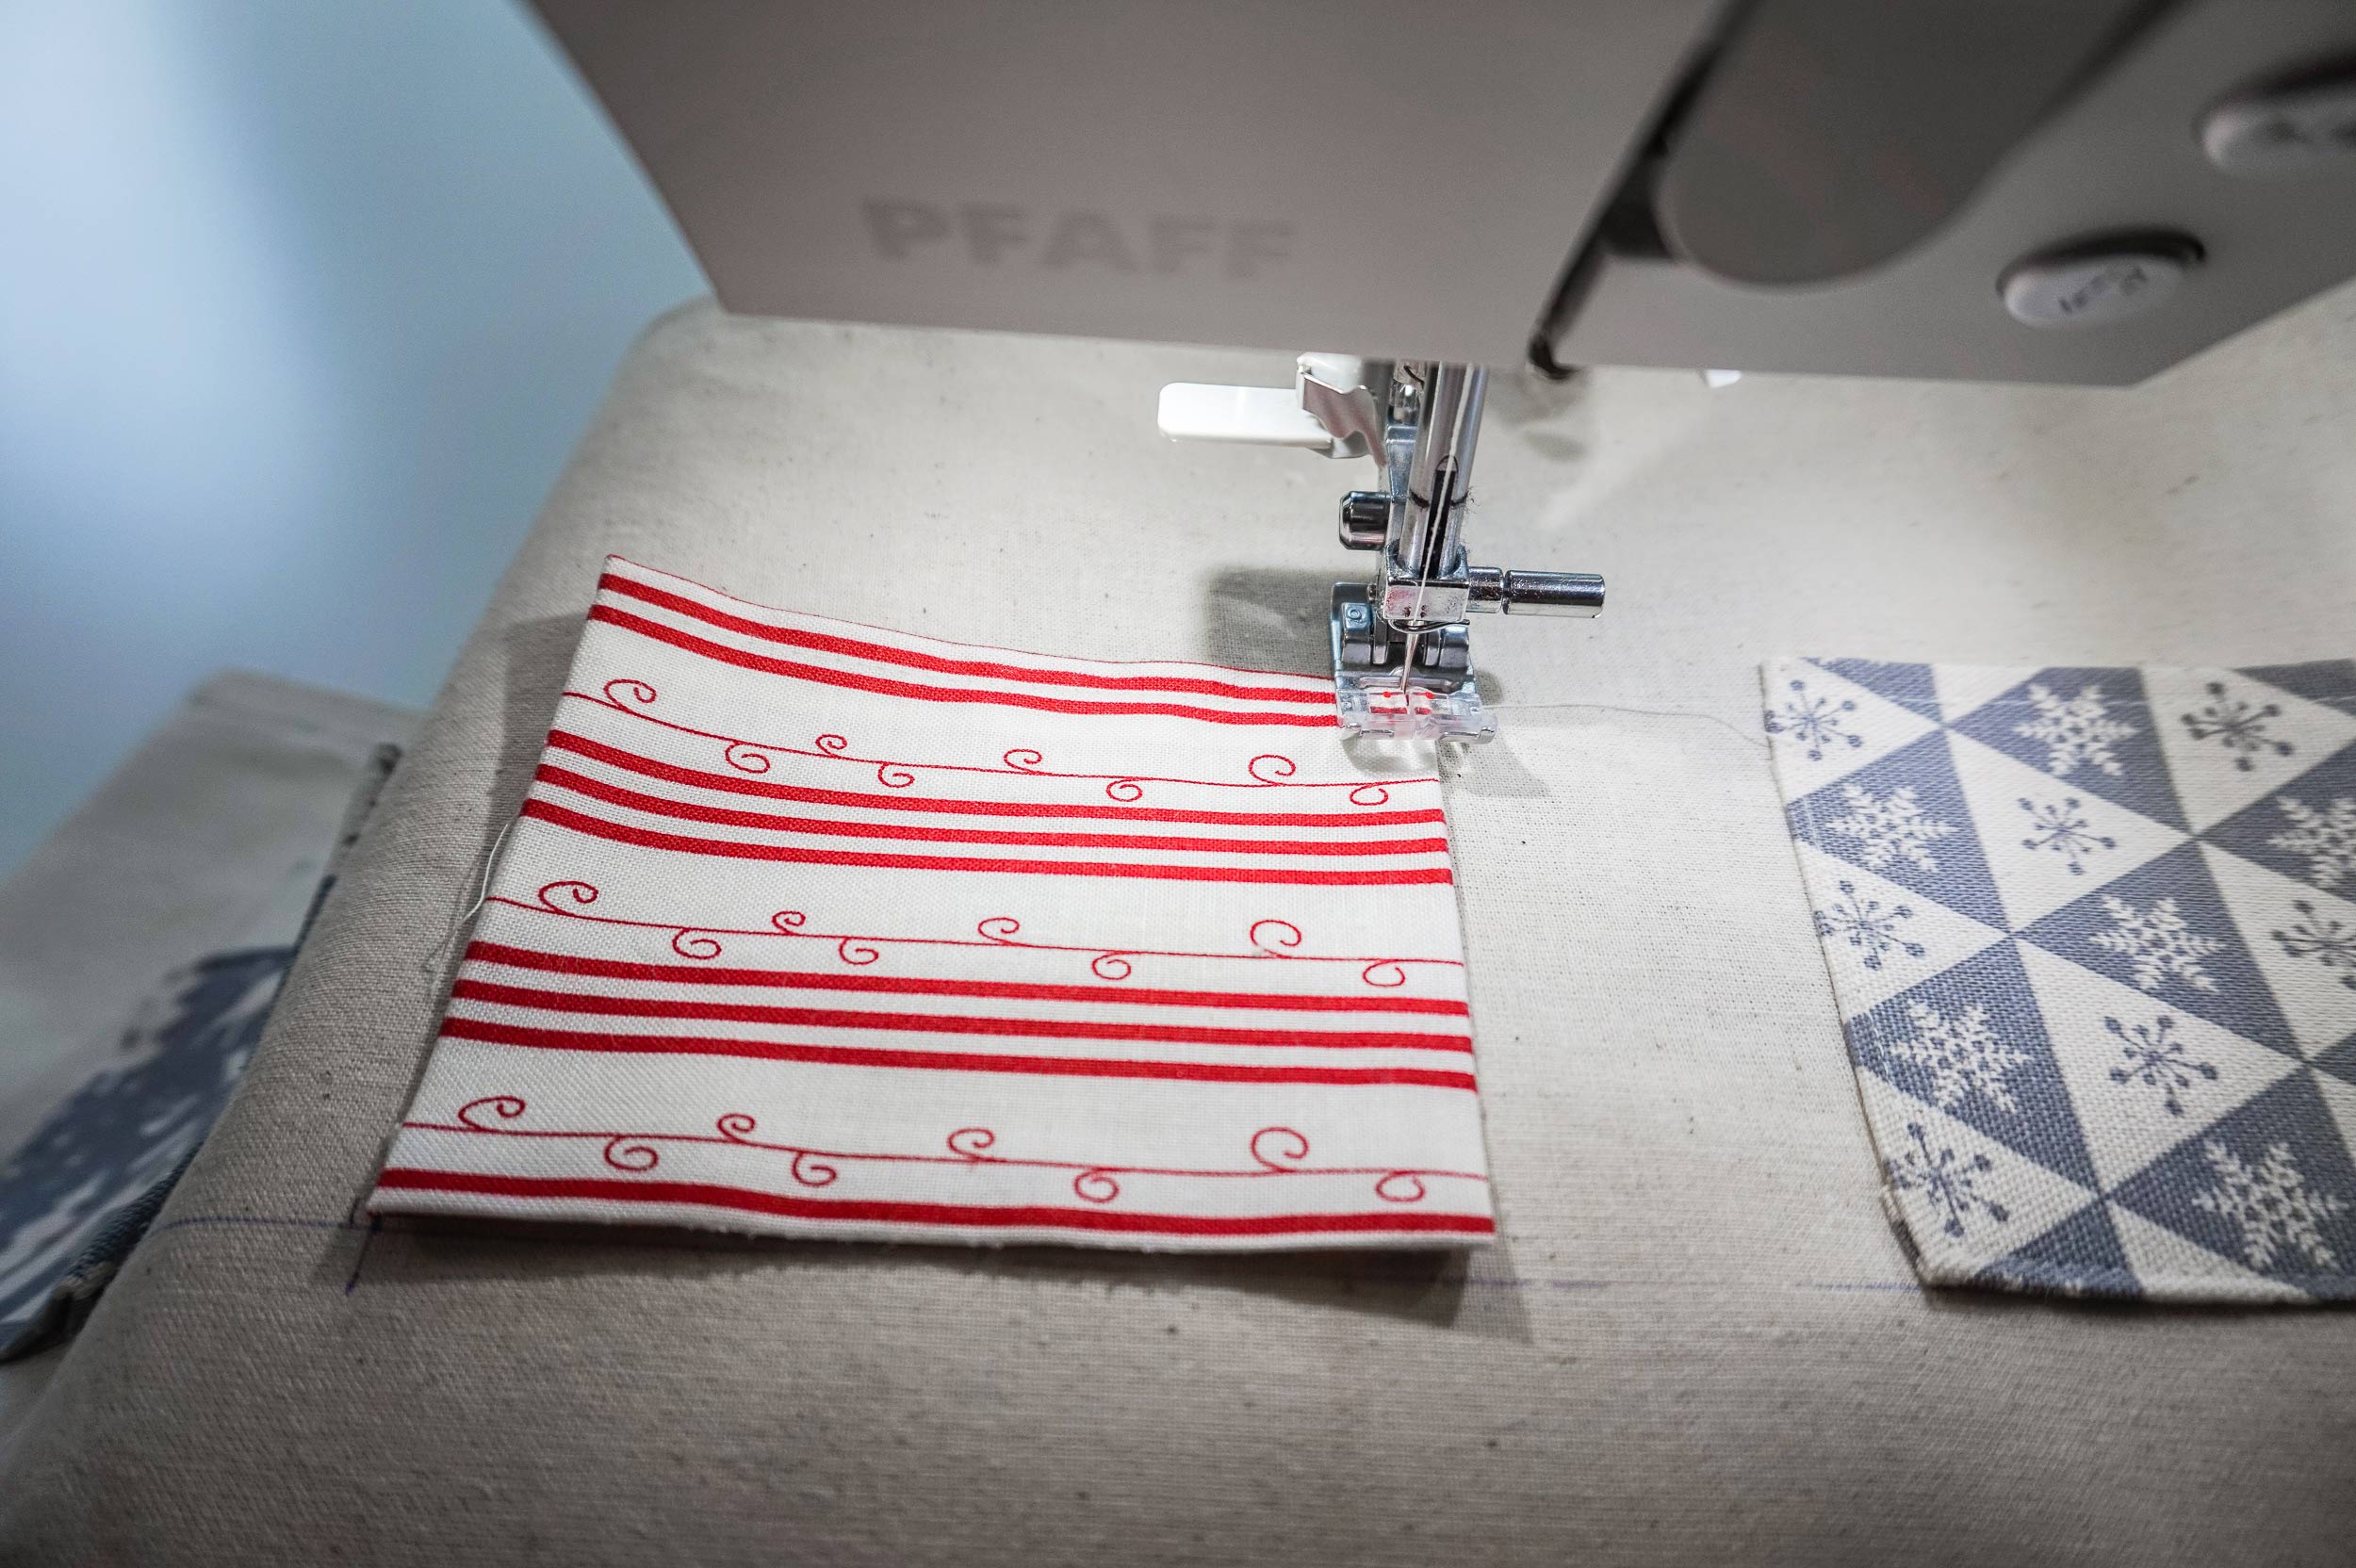
6. Now to sew on the pockets – the base is quite big, so I recommend starting with the top row, and rolling up all the bottom rows so the piece is a more manageable size. You may also need to fold in the ides of the base as you go, but you will develop your own system. Line up the edge of the pocket with the centre of your machines foot, then offset your needle to the left by 2mm, so that you get a nice even topstitch.
Continue along the top row, sewing them all in place, then unroll your base and start on the second row. Continue in this manner until you’ve sewn on all your pockets. At some point you’ll need to roll down the top rows too.


7. Once all your pockets are stitched on, you’ll need to bag out the base with the backing. To do this, place the two pieces ‘right sides together’, so your pockets will be on the inside, and pin around the sides and the bottom. Sew them together with a 1cm seam allowance.
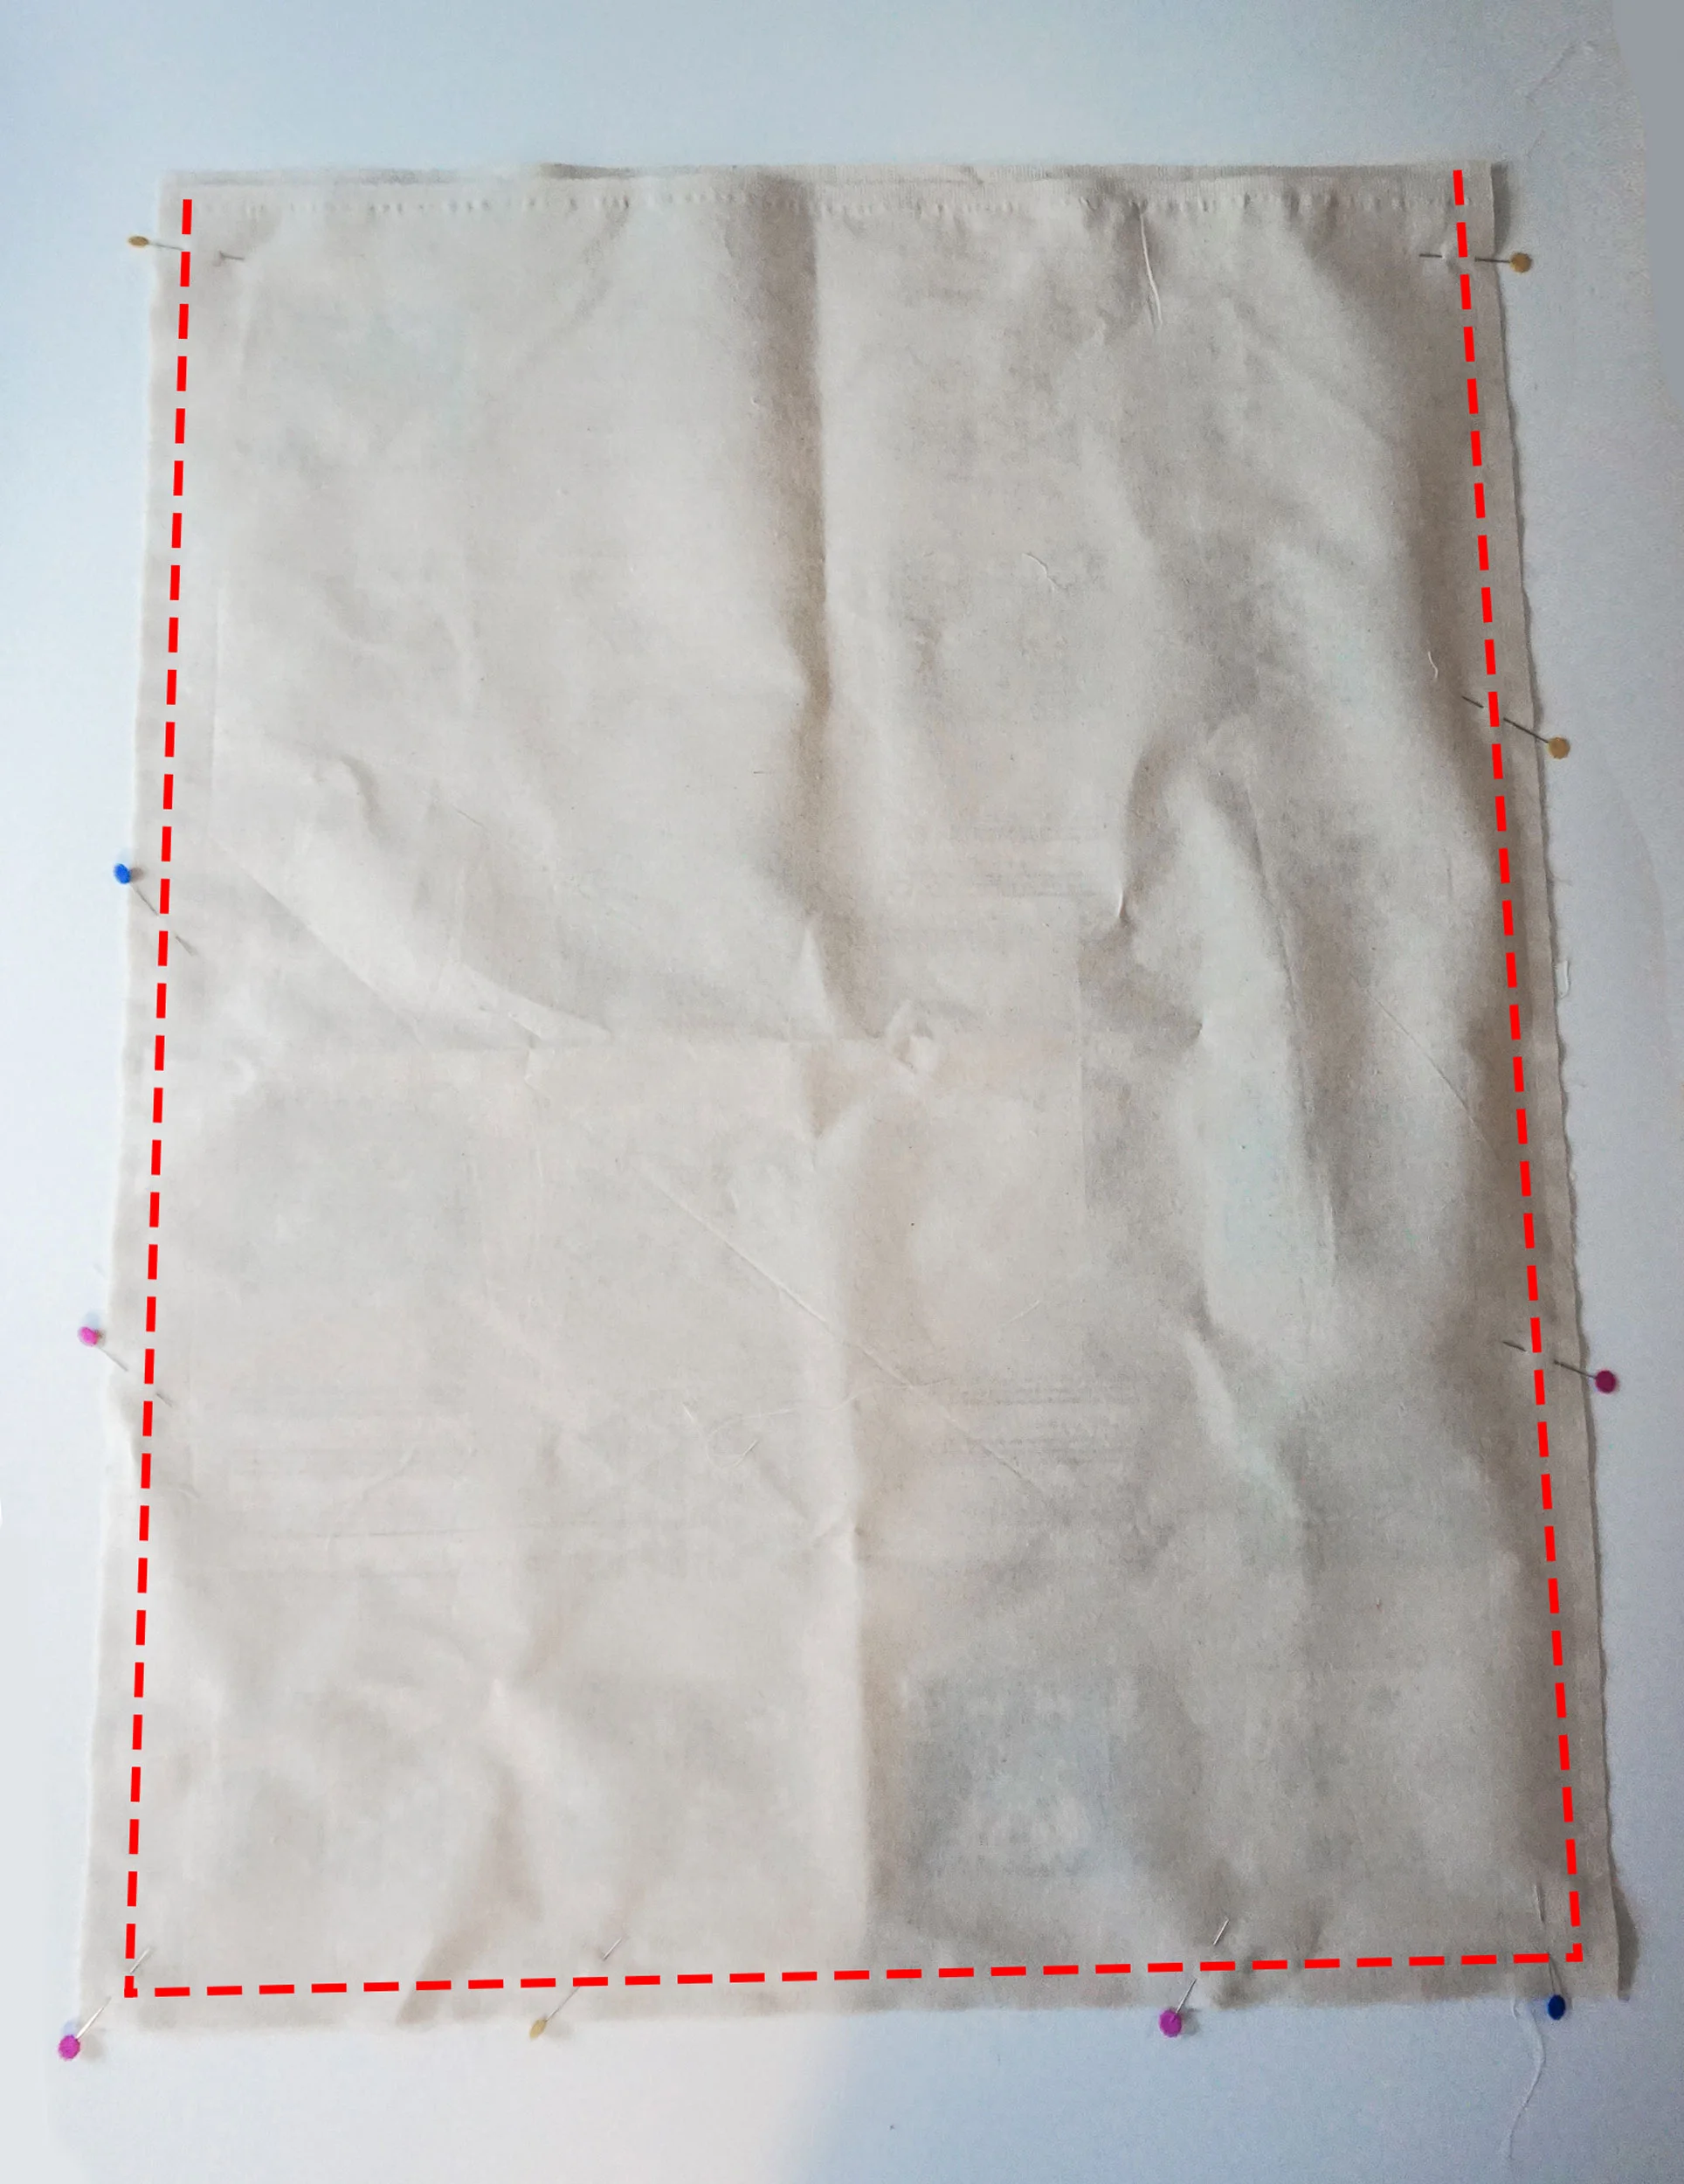
Top tip: Press these seams open as best you can (you won’t be able to get into the corners) so that when you turn it the right way around you can get a crisp edge.

8. Turn it the right way out, so the pockets are now facing outwards. Take care when turning out the corners so they are nice and crisp.
Iron the 3 sides so that the seam is exactly on the edge. The top should still be open.
9. Iron the top down 1cm, then 2cm, to the wrong side and topstitch 1.8mm from the top fold – this will create the channel for the wooden doweling to pass through.

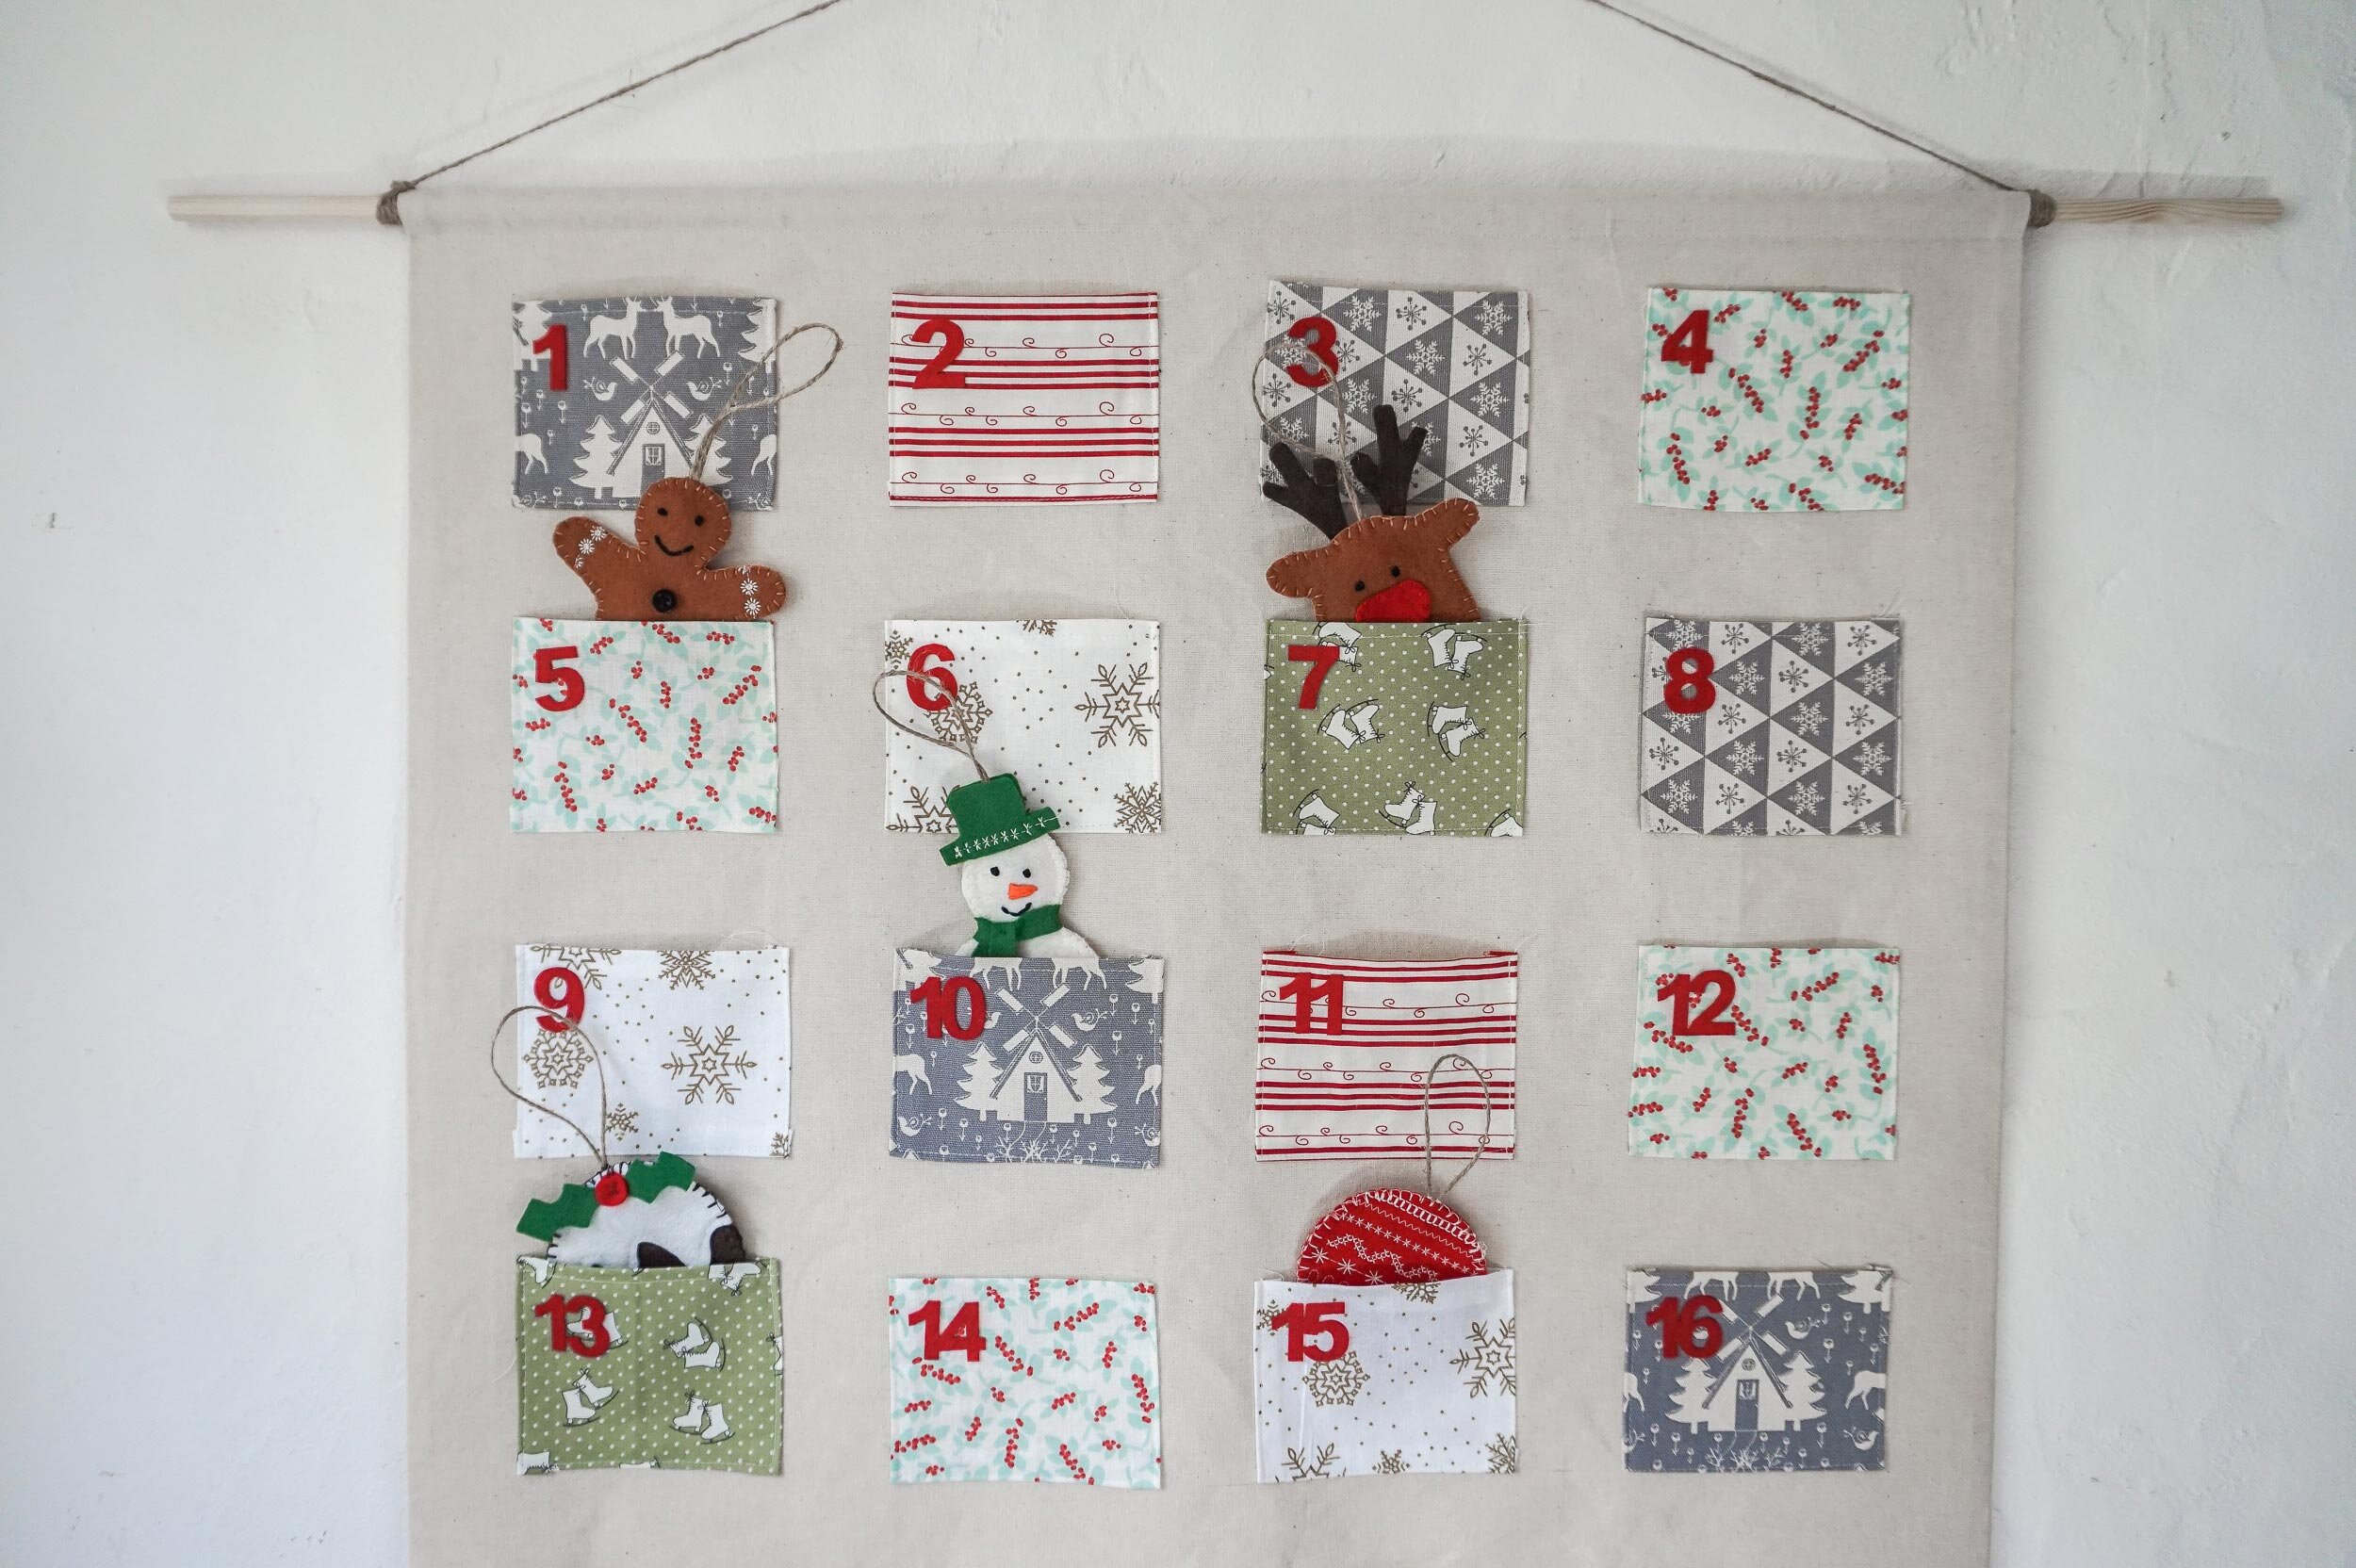
10. Now its time to add your numbers to your pockets. The ones I suggested have a double sided tape on them, so you simply peel that off and stick them as you want. I did mine in order from top to bottom, but you could also do them randomly.

11. Cut the dowel down to size, I recommend cutting it to be 5cm wider than the finished calendar at each side, which should be approx. 70cm.
Thread the dowel through the channel you created earlier, and now its time to knot your twine around the rope to the length you want and hang it up!

