
DIY PERSONALISED FELT CHRISTMAS TREE DECORATIONS TUTORIAL
Christmas Tree decorations were a really big deal in our house when we were growing up. I have memories of me and my sister fighting over who got to put certain ones on the tree. The Piglet one (from Winnie the Pooh) was mine. The troll on a candy stick was Lucy’s. They were non-negotiable. Then there were the more classic ones, such as the wooden nutcrackers and the glass baubles. And finally there were the home made ones. These were the slightly odd, slightly wonky ones, but these were also the ones with the best stories attached. The stars I made from straws and glitter at nursery. The mini knitted Christmas jumpers my mum made. The salt dough shapes made with cookie cutters and lots of glitter. The crocheted Father Christmas and angel, and the mini tartan stockings (with just enough space for a wrapped chocolate inside). The tradition in our house was that dad would put on the lights and the Father Christmas on the top, then the rest was left to us kids.

Christmas 1995: Me and my sister standing in front of the Christmas Tree eating Father Christmas chocolate lollipops. And yes – that is a Tutankhamun jumper, with hieroglyphics spelling out my name that my grandma knitted for me.

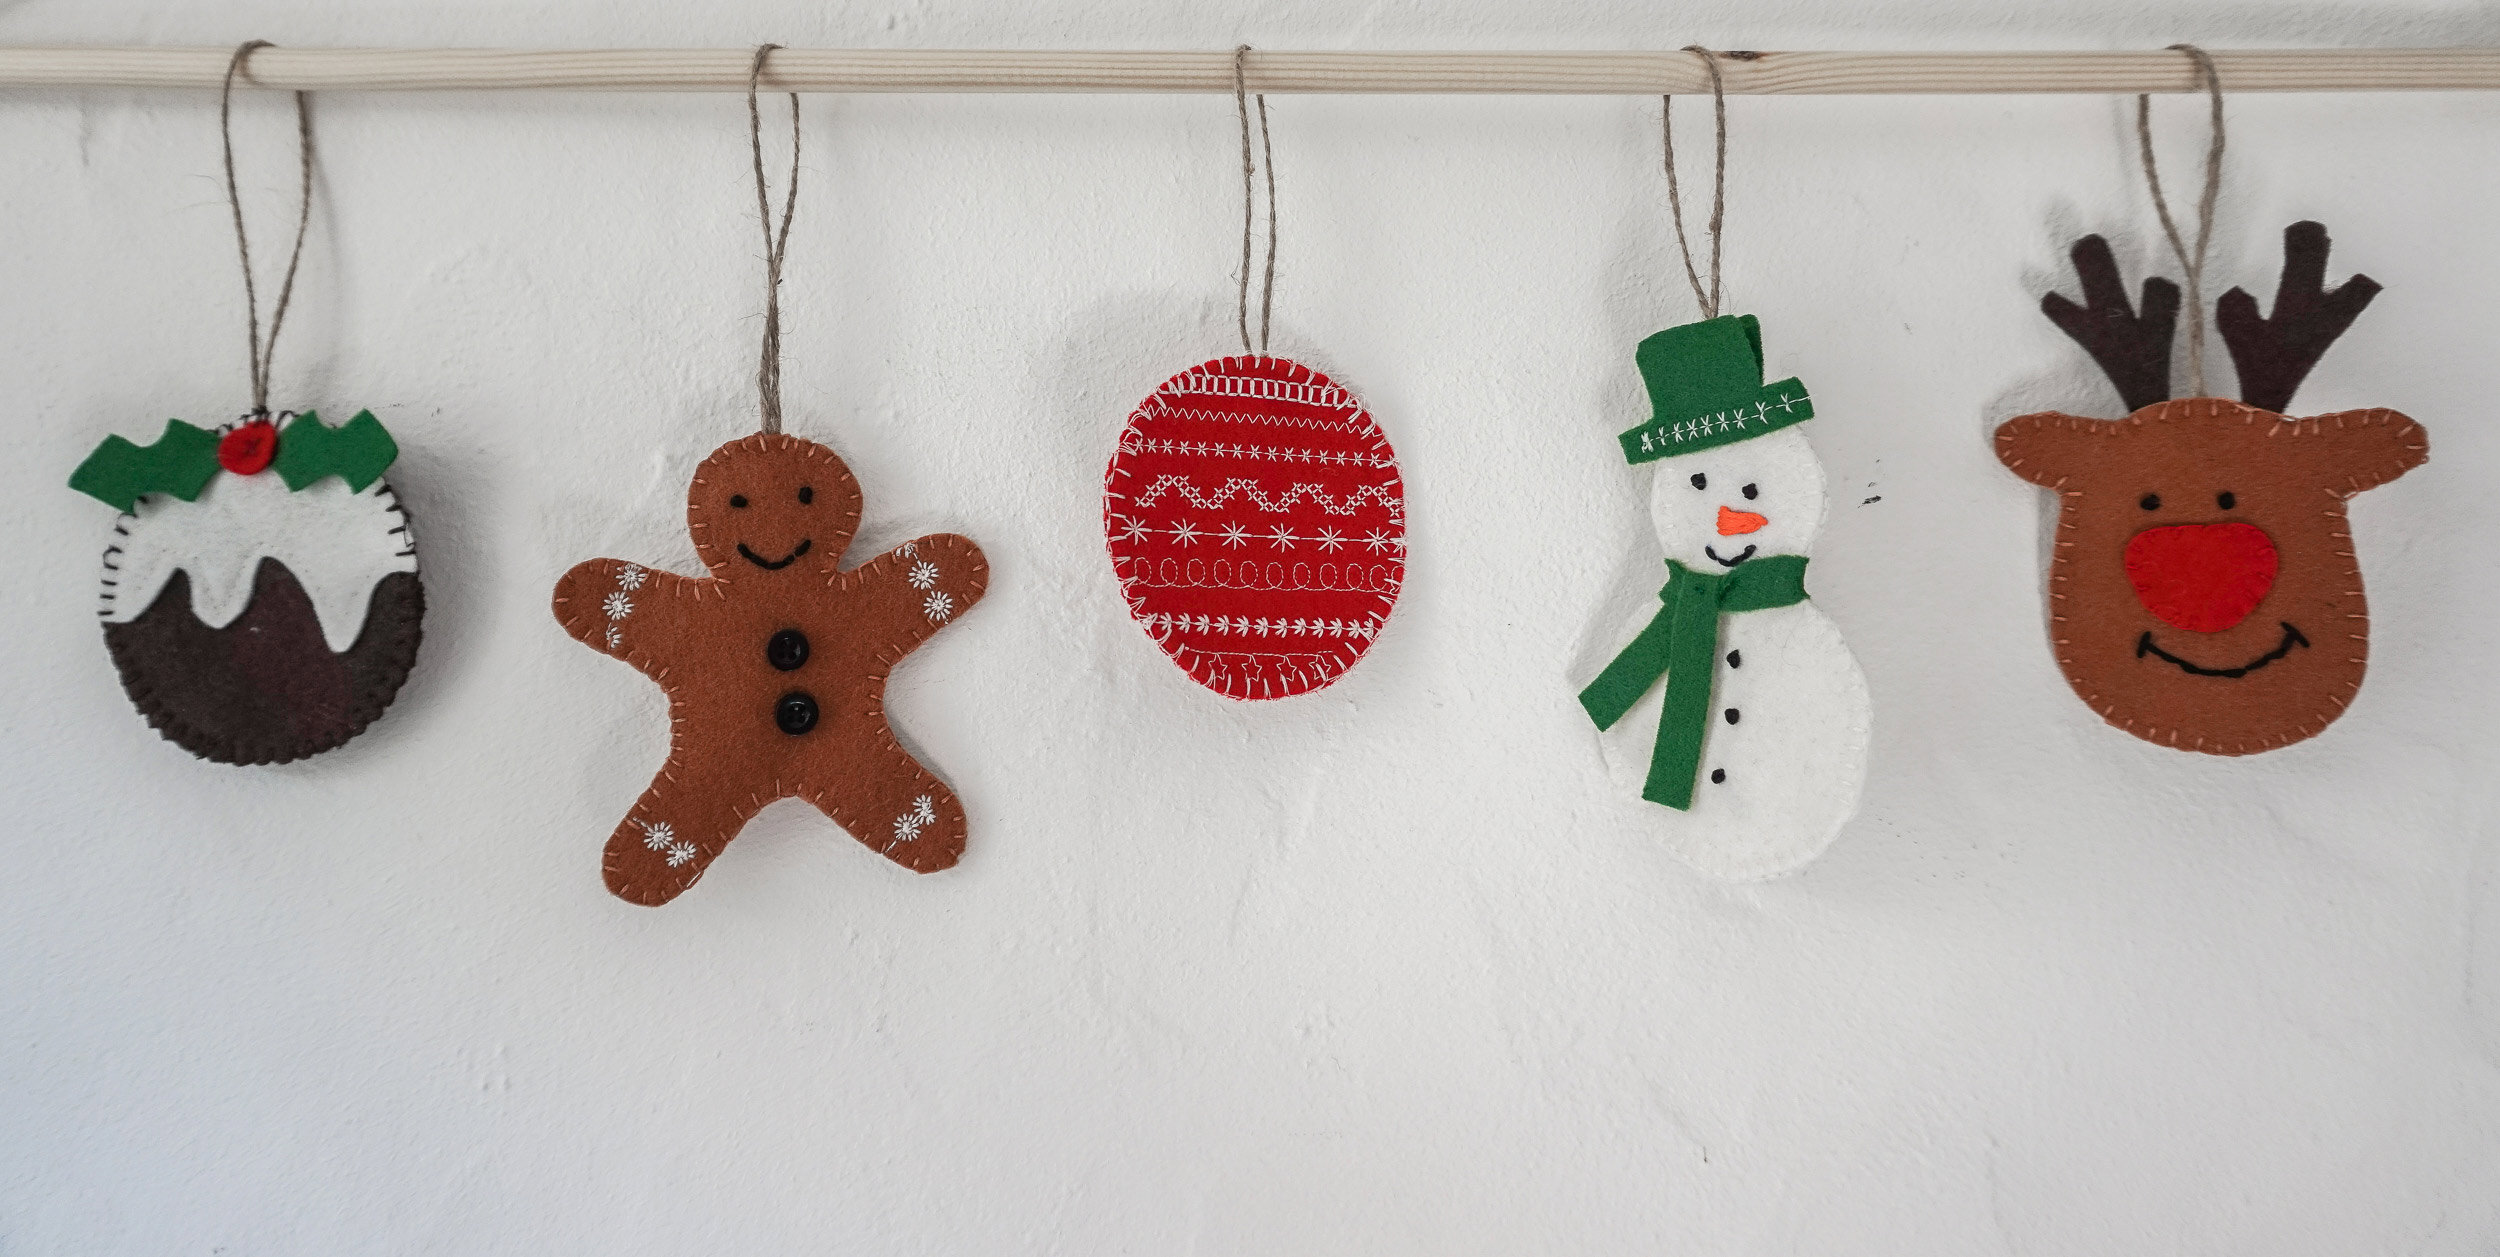
It is these home made decorations that I want to celebrate, and right now I am obsessed with making them. It all started when I was asked to put on some Christmas sewing classes at Stitches & Cream. (You can find the full list of Christmas sewing classes here.) I started coming up with different characters and shapes, like a gingerbread man, snow man, and Christmas pudding. Then I started experimenting with my sewing machine, a Pfaff Ambition 620, (this machine was kindly gifted to me by Pfaff, which up until now has really not been used to its full abilities thanks to my reluctance to use any of the decorative stitches). First I discovered that I didn’t have to do the blanket stitch around the edge by hand as it had that stitch option. Then I tentatively started experimenting with the fancy stitches, with a row of decoration along the gingerbread mans arms and legs, and a row of stars along the snowman’s hat.
Turns out I was just getting started. I went on to try all manner of stitches on this fancy bauble, and I found so many! What had I been missing out on over the years, by only sticking to straight stitch, zig zags and button holes on my domestic machine!
So then came the turning point. I had seen that my machine could sew text but I didn’t see when I would ever use it. I saw a couple of people had started sewing their name into the back neck of their home made garments, and I thought that was cute and stashed the idea away in my mind. But then came the idea to sew names onto the bauble – hello amazing homemade Christmas presents!
And it came out a treat. It wasn’t long before I was embroidering my dogs name, my boyfriends name, trying out in upper case and lower case. I just wanted to sew writing onto EVERYTHING!!
But lets not get ahead of ourselves, lets start with how to make the bauble first…
how to make personalised felt christmas tree decorations
What you’ll need:
100% wool felt
Thread
Natural twine
Equipment:
Sewing machine that can sew letters
Fabric scissors
Invisible pen

Method:
1. Cut out 2 circles of 100% wool felt (synthetic stuff is not as nice to look at and touch, and is not as nice for the environment either). I used a baked bean can for the size. I draw around using an invisible pen, and took care to waste as little fabric as possible. If you are making lots of these, circles can tessellate really well.

2. Program in the text to the sewing machine – consult the manual on this. It took me a while to work it out and the computer thing kept beeping at me as I wasn’t doing it right. Stick with it, it is actually very easy. I was writing ‘HELEN’ (my name)
3. Do some test runs on some scraps of fabric to see how wide the finished word will be, and whether you prefer upper or lower case. Upper case seemed much more legible to me, so I chose that.
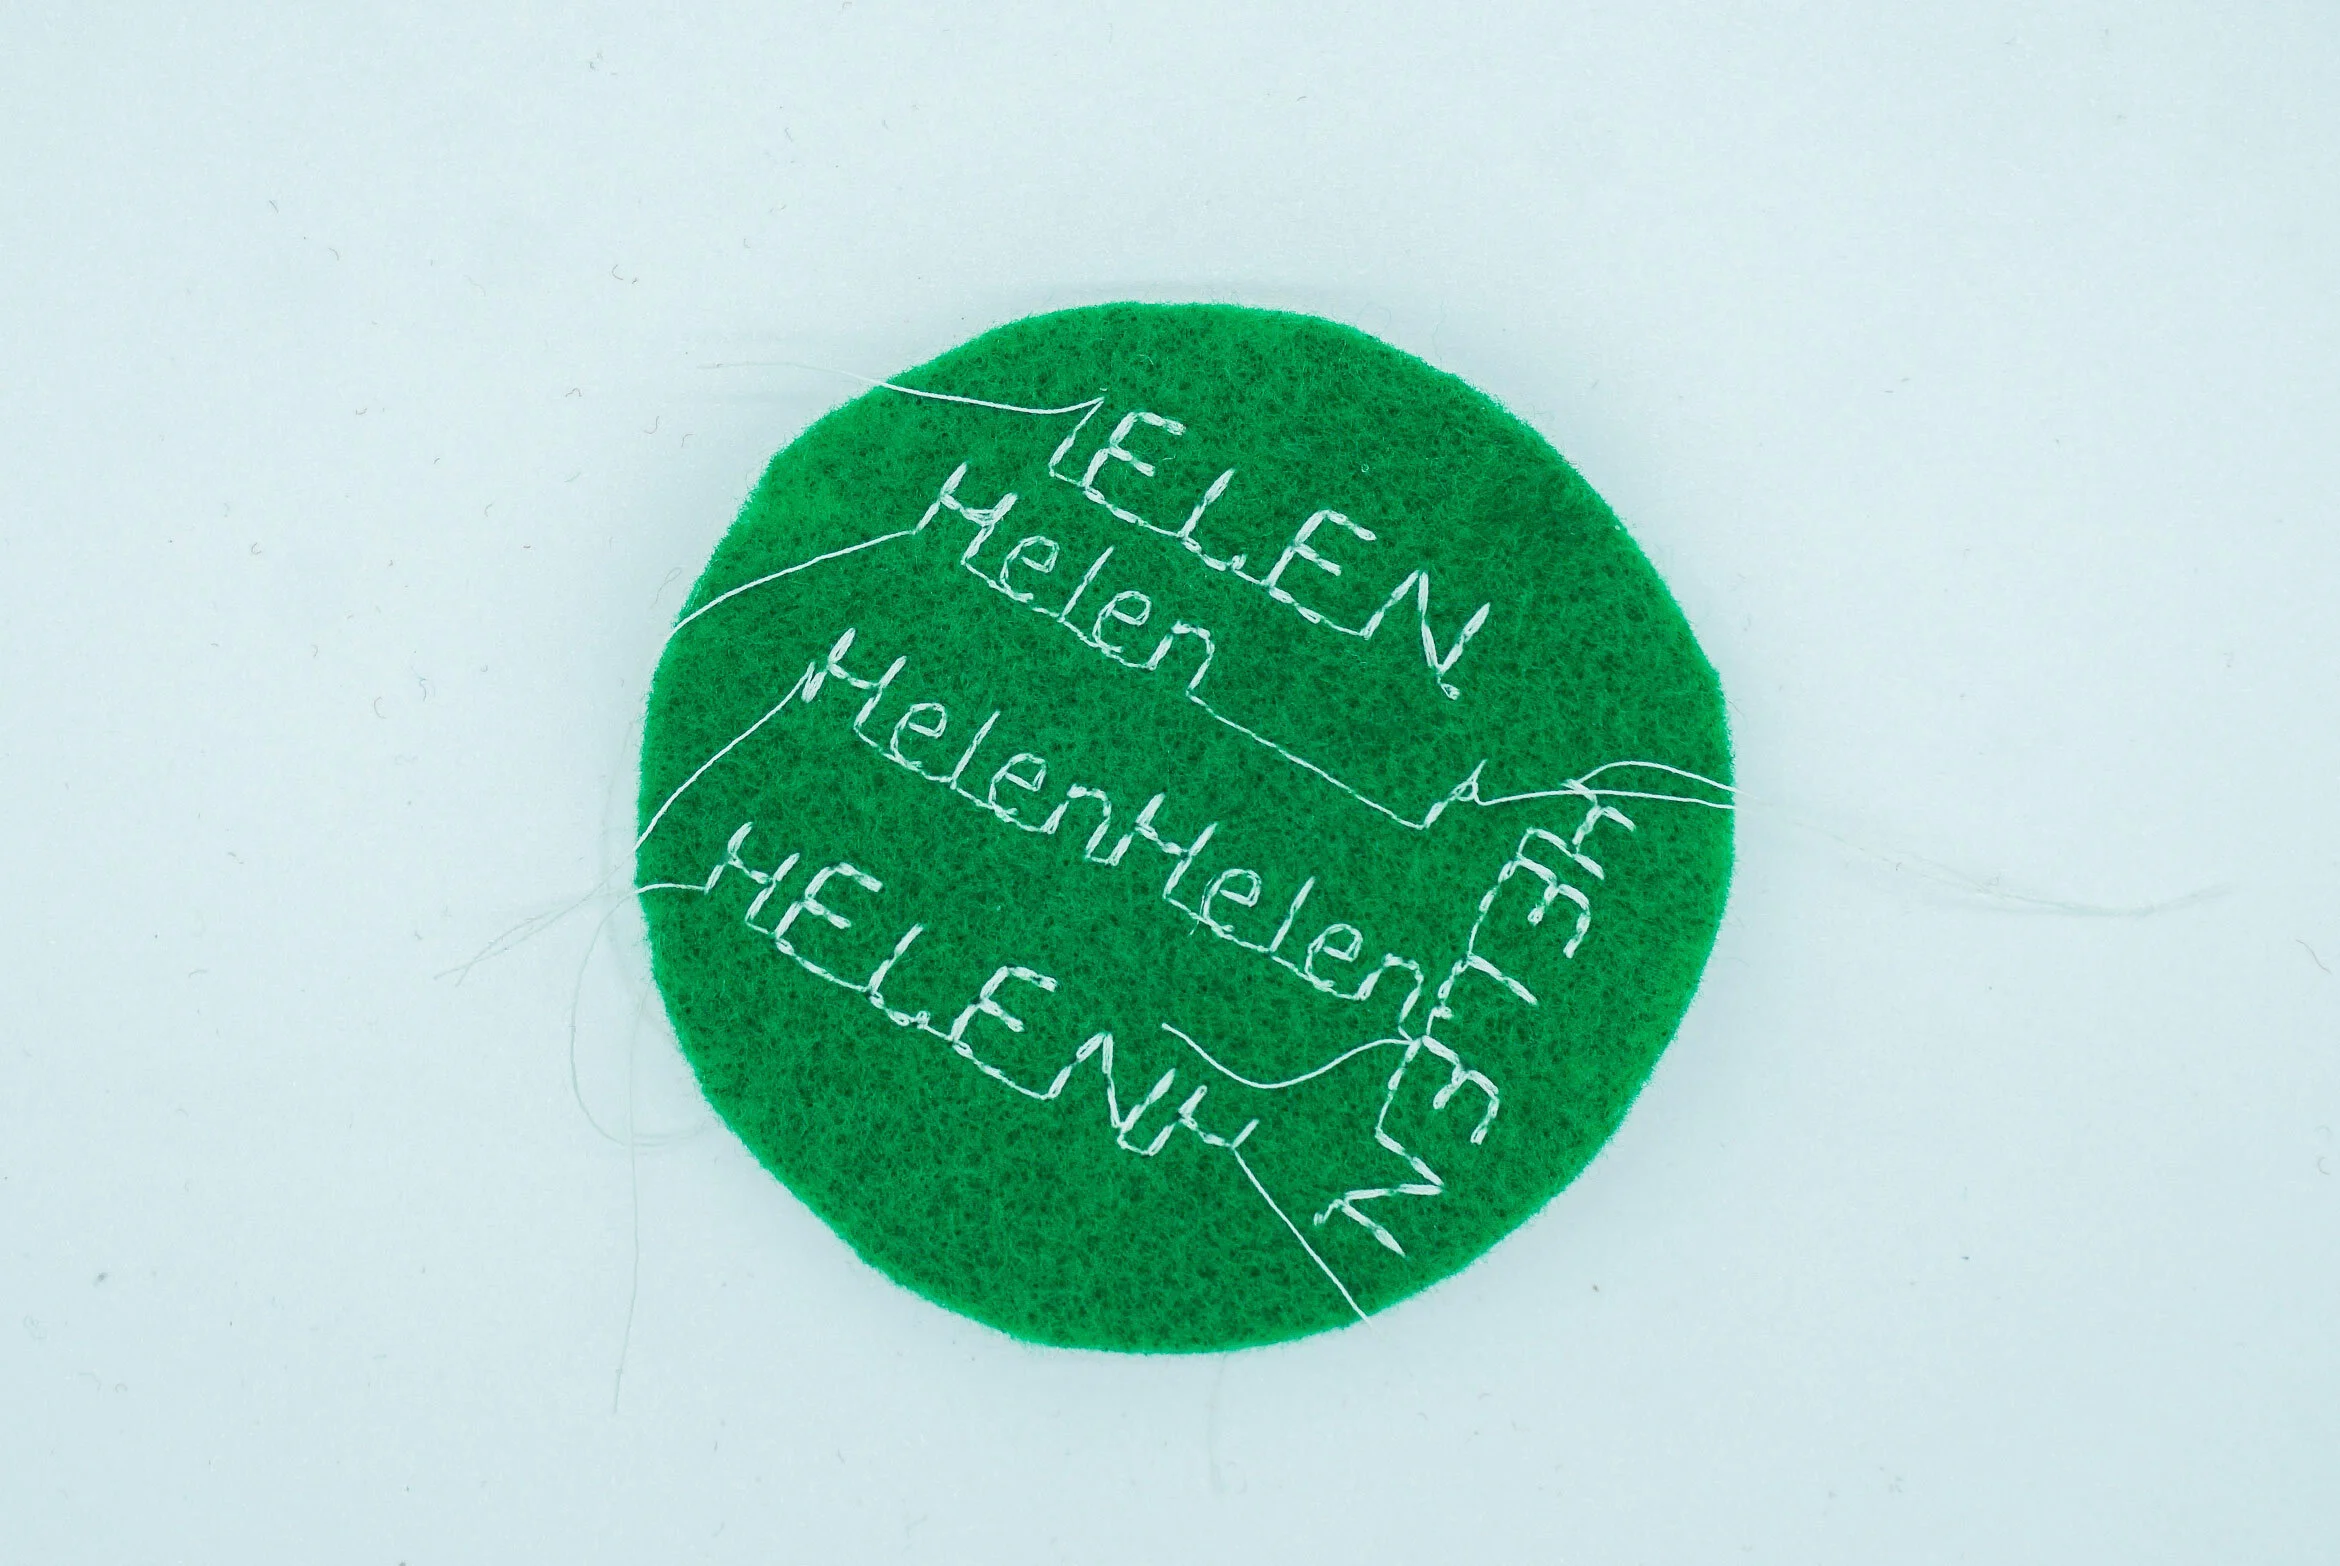
4. The tricky part I found was how to judge where to start the writing. As each word is a different length, this is somewhat guess work, but you can play around to make it roughly in the middle. Here is the key thing, once you start sewing, press the scissor button so that the sequence stops after it has written the word once. Otherwise it just keeps on sewing that word… HELENHELENHELEN!
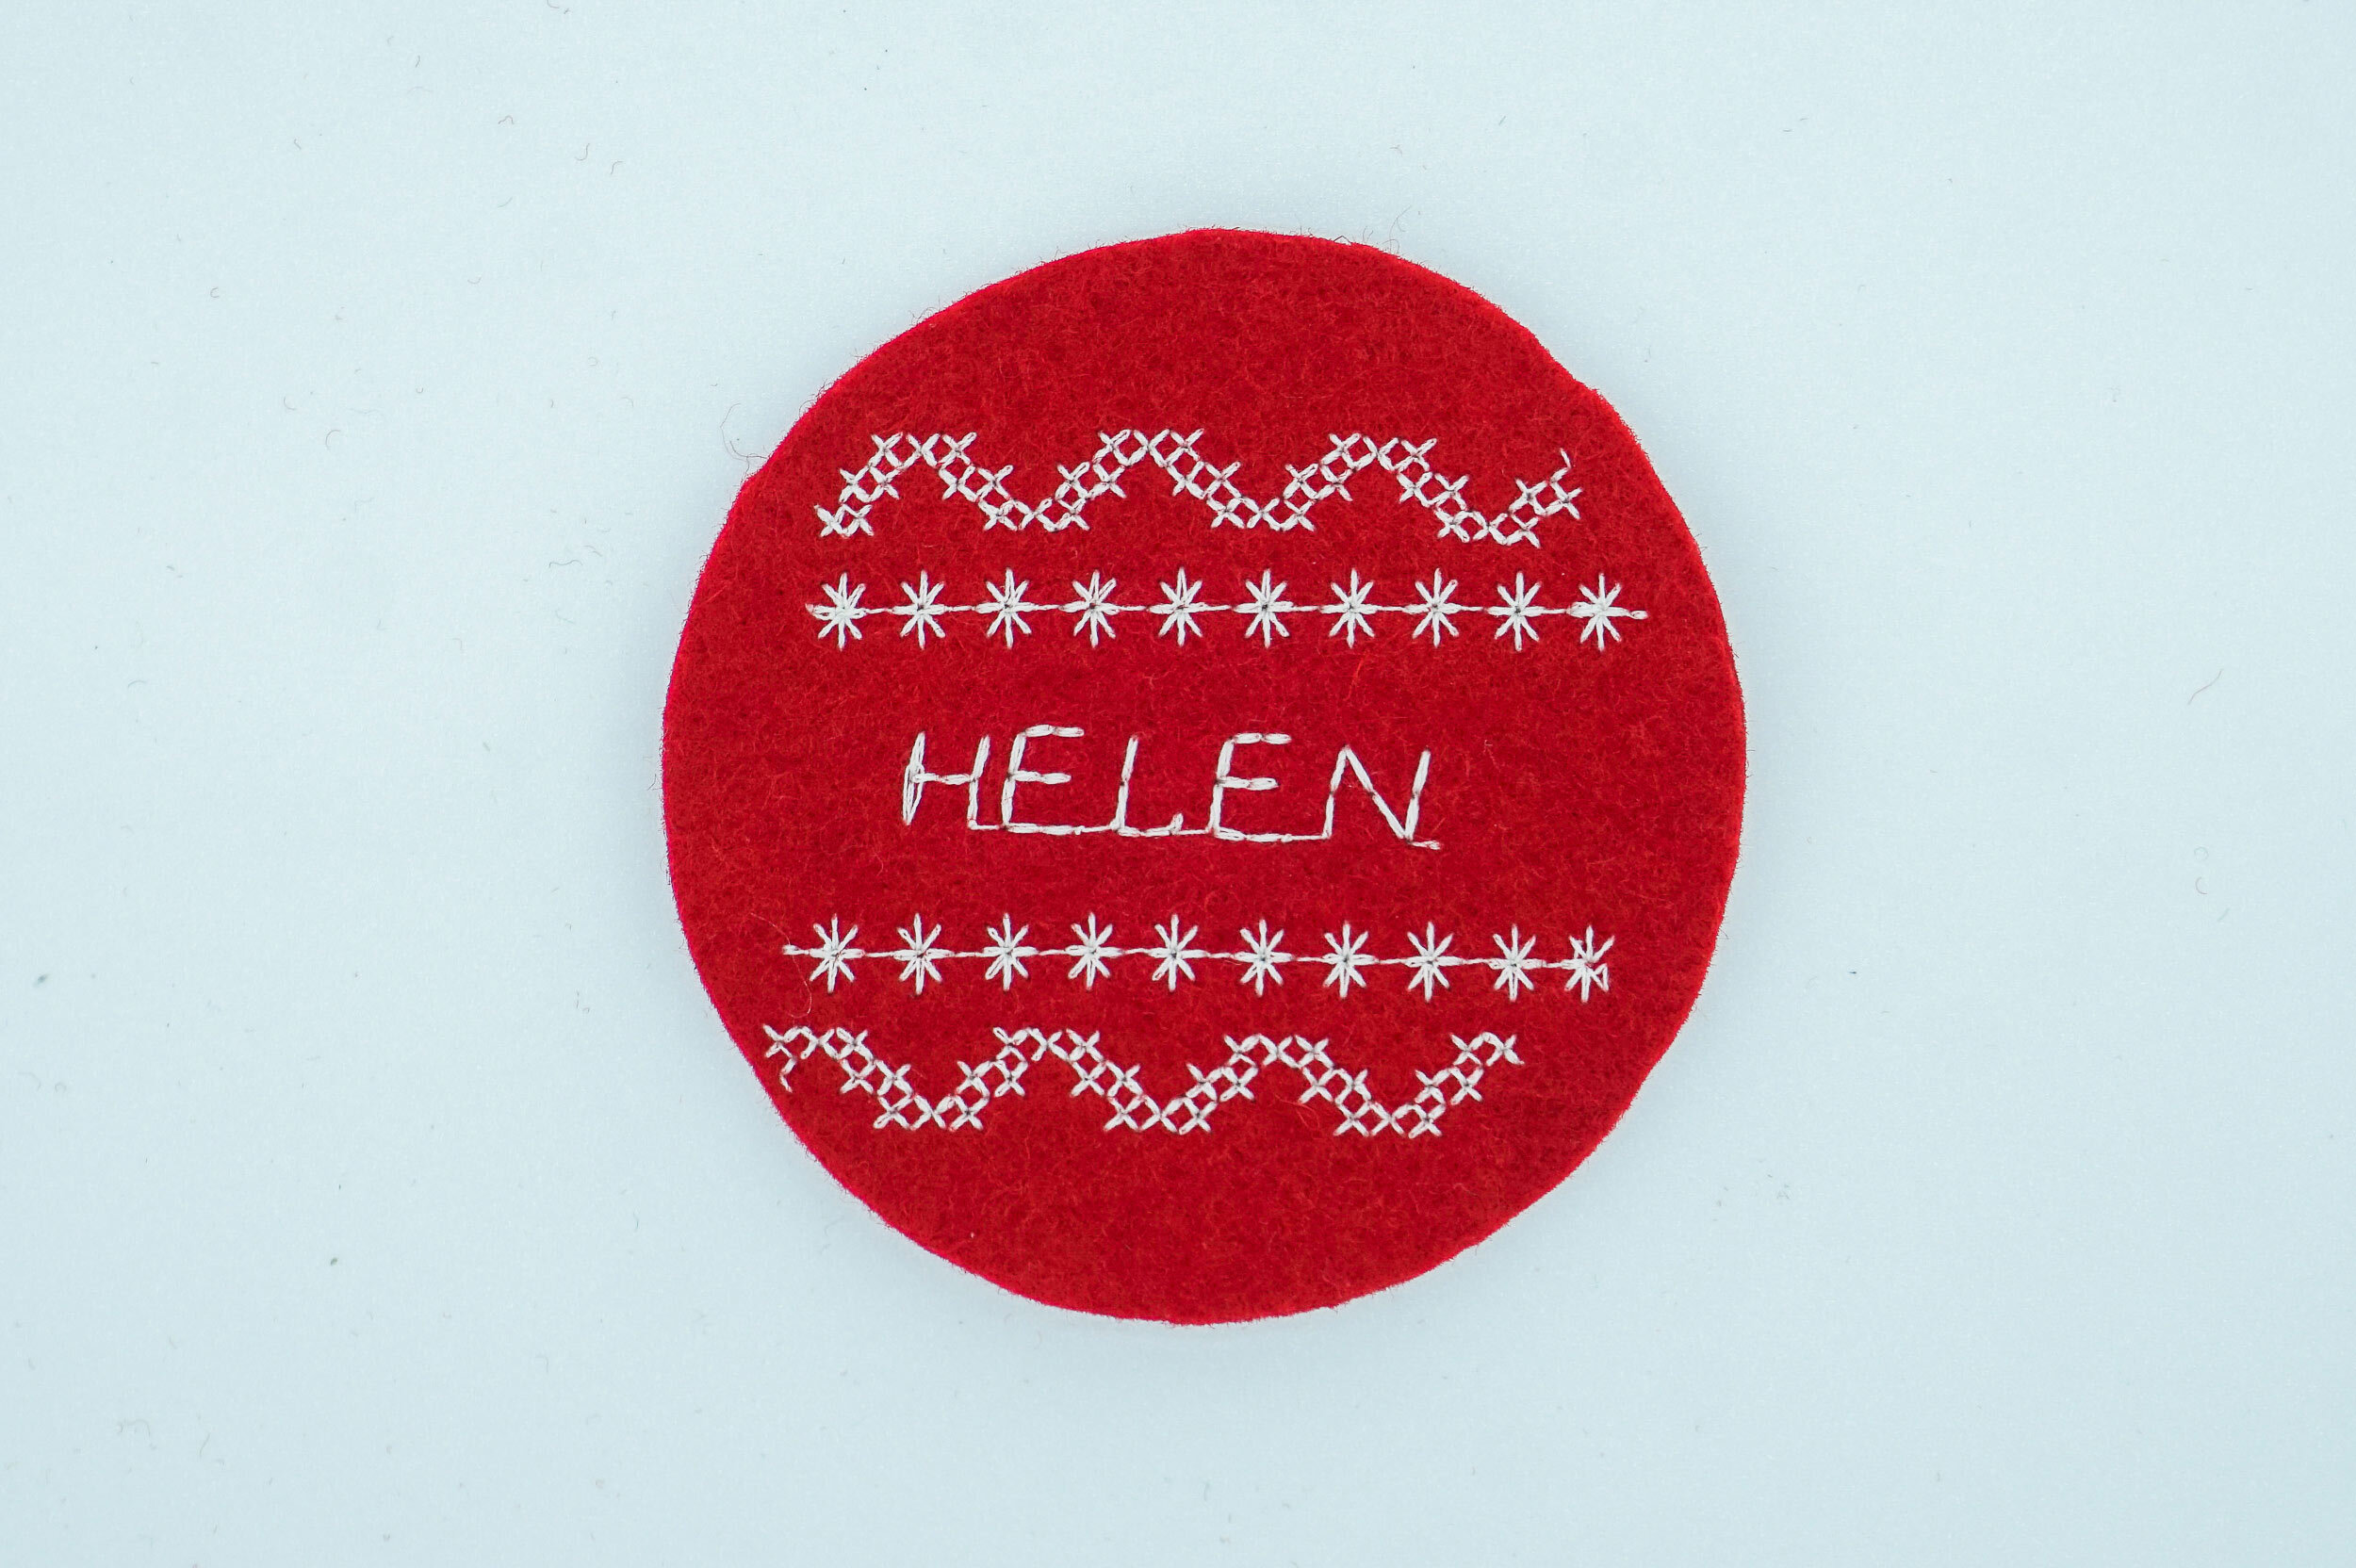
5. Now it is time to decorate above and below your name. I chose to repeat the same stitches above and below, but you can use any combination of stitches. First I did a row of stars/flowers.
I lined up the foot of the machine with the previous row of stitching to get them pretty much straight, but if you go off, don’t sweat it, that’s the beauty of hand made, and your auntie isn’t going to notice that you’ve gone off by a millimetre!

6. I loved the faux cross stitch and it seemed to fit in with the handmade, hand embroidered vibe of the design.
I found it tricky to get these centralised, and to stop after a certain number of repeats of the stitch design. I guess I will get more used to the location and the widths and lengths of these stitches as I make more.

7. My finished embroidery design, so far so good.
8. Once you’ve finished the design, you’ll need to sandwich another layer on to the back. First fix on the hanging loop. I used natural twine, you could also use a decorative ribbon, but I was really feeling the twine vibes. I cut off a length (approx. 25cm) tied it in a knot, and placed it onto the circle. I set my machine to a zig zag, 4 width and 1 length and zig zagged over the top a few times. I was able to pull on the loop so the knot moved up to meet the stitches I’d made.

On to the sandwiching (brb, just going to make a sandwich for lunch).
I pinned the two layers together, taking care to hide all the loose threads inside and the knotted twine.
I selected the blanket stitch on my sewing machine and slowly sewed around the edge.


Et voila, a lovely, homemade Christmas tree decoration. I’m not sure if me and my sister would have fought over this one 25 years ago, and we certainly wont have to fight over them now as I’ve made her one.
Merry Christmas!


If you’d like to come on one of my Christmas sewing classes in Falmouth, click below for more information:
