Amending a dress block to fit perfectly
Why is it important to fit a dress block before you use it? A dress block is drafted for the ‘average’ figure, meaning that you follow the pre-determined ratios of bust, waist and hip for your size. Most people are rarely one dress size, we often measure a different dress size on our bust, waist and hip. So how do you know which size to go from and then how to amend the pattern accordingly? And what about the length measurements?
Geraldine booked a whole week 1-1 with me to make a dress block and trouser block to fit her, and then learn how to use them to make new designs. I’m going to talk about her week, the fitting amendments we carried out, what we achieved and what patterns and toiles she has gone away with.
Day 1 - Dress block
We started by taking measurements and selecting which base size of the block to go from. She had said that she often has fit issues with her bust area, and often has to pick a dress size that’s too big everywhere else to ensure the dress is big enough at the bust. She had heard about full bust adjustments (FBA’s) but hadn’t ever done one. I told her it would change her life!
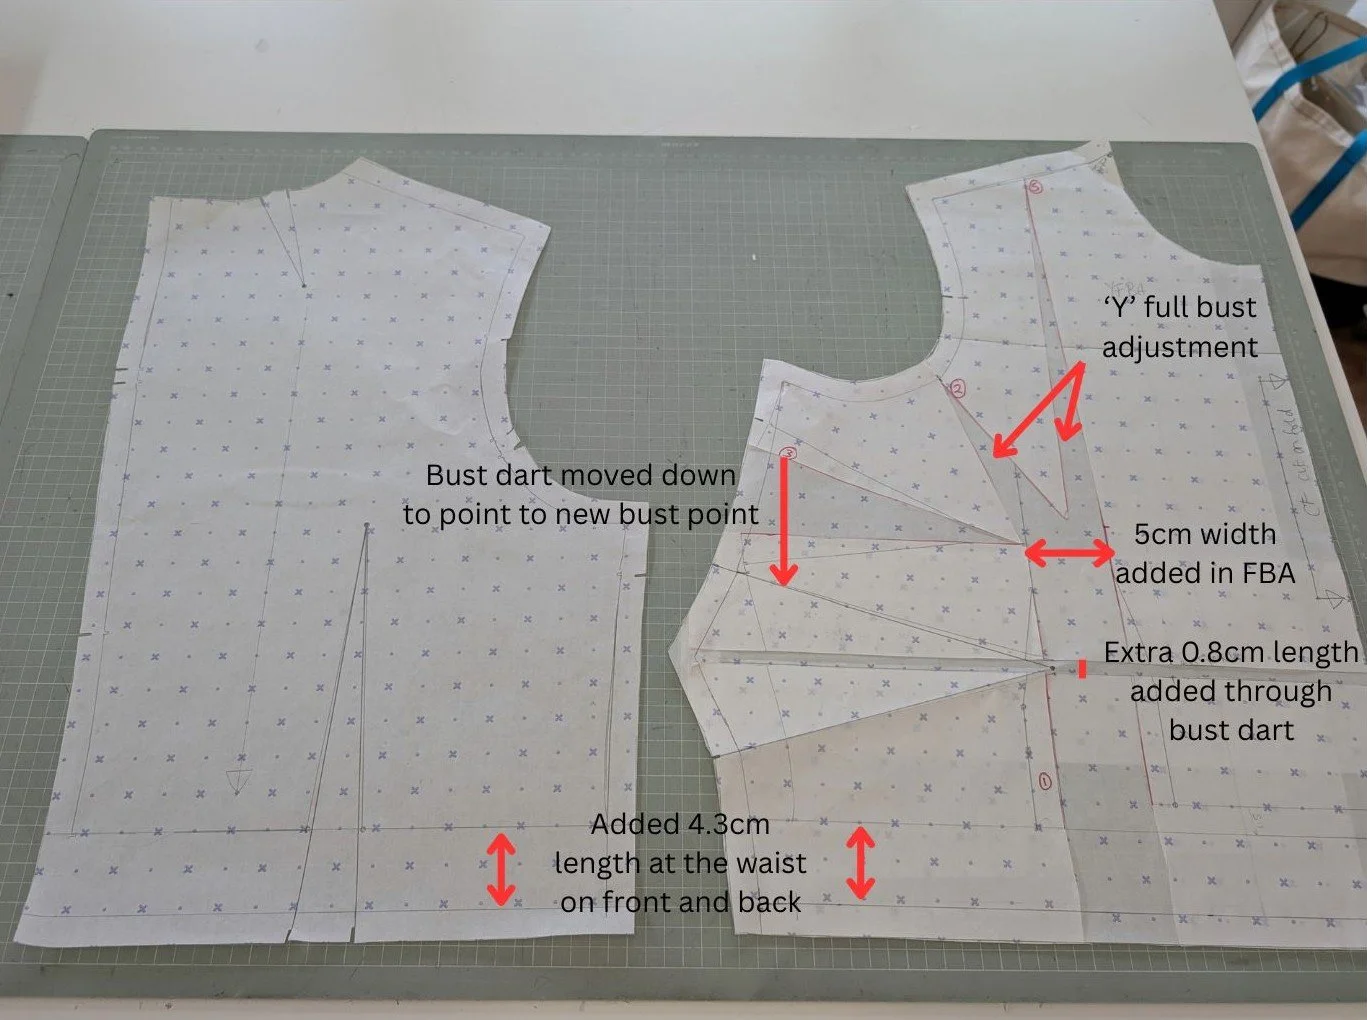
We selected the base size and then calculated how much we’d need to add for the FBA. It was 5cm (on the half), which is over the recommended amount for a regular FBA. We would need to do a ‘Y’ FBA, putting some of the fullness into the shoulder and the rest in the regular way. After doing the FBA, we then checked length measurements – this is often a step that people miss off, but is so important. It turned out she needed length at the front and back – to determine this we measured from her high should point (HSP) down to an elastic around the waist, at the font and back. People with bigger busts often need more length at the front, the bigger the bust, the more length there is from HSP to waist. An FBA adds some length at the HSP to waist or CF without adding at the side seam as the extra length is added through the bust dart, but often its not enough. To add more, you can slice horizontally through the bust dart and add more length, again not making the side seam longer. On this instance, she needed 4.3cm at back and 5.1cm at front, we added the 4.3cm to the length of both front and back at the waist, then added the difference (0.8cm) through the bust dart, so the side seams of front and back were equal.
We then needed to move the bust point down 9cm and in towards the CF 2cm. After this we re-drew the bust dart to be centred over the horizontal line coming from the bust point. We left off the waist dart so that we could pin that in during the first fitting.
It was now time to cut out the first bodice toile and see where we were at. The first bodice fitted extremely well, I think we were both pleasantly surprised! The balance was perfect – the waist was parallel to the floor the whole way around, which is what we were aiming for. This means we had the bust dart depth correct, The bust dart was a little low, a bit far away from the bust point, and also angled down quite a lot so we drew on the new position. We would look at the armhole and shoulder length when we had the sleeve sewn in.
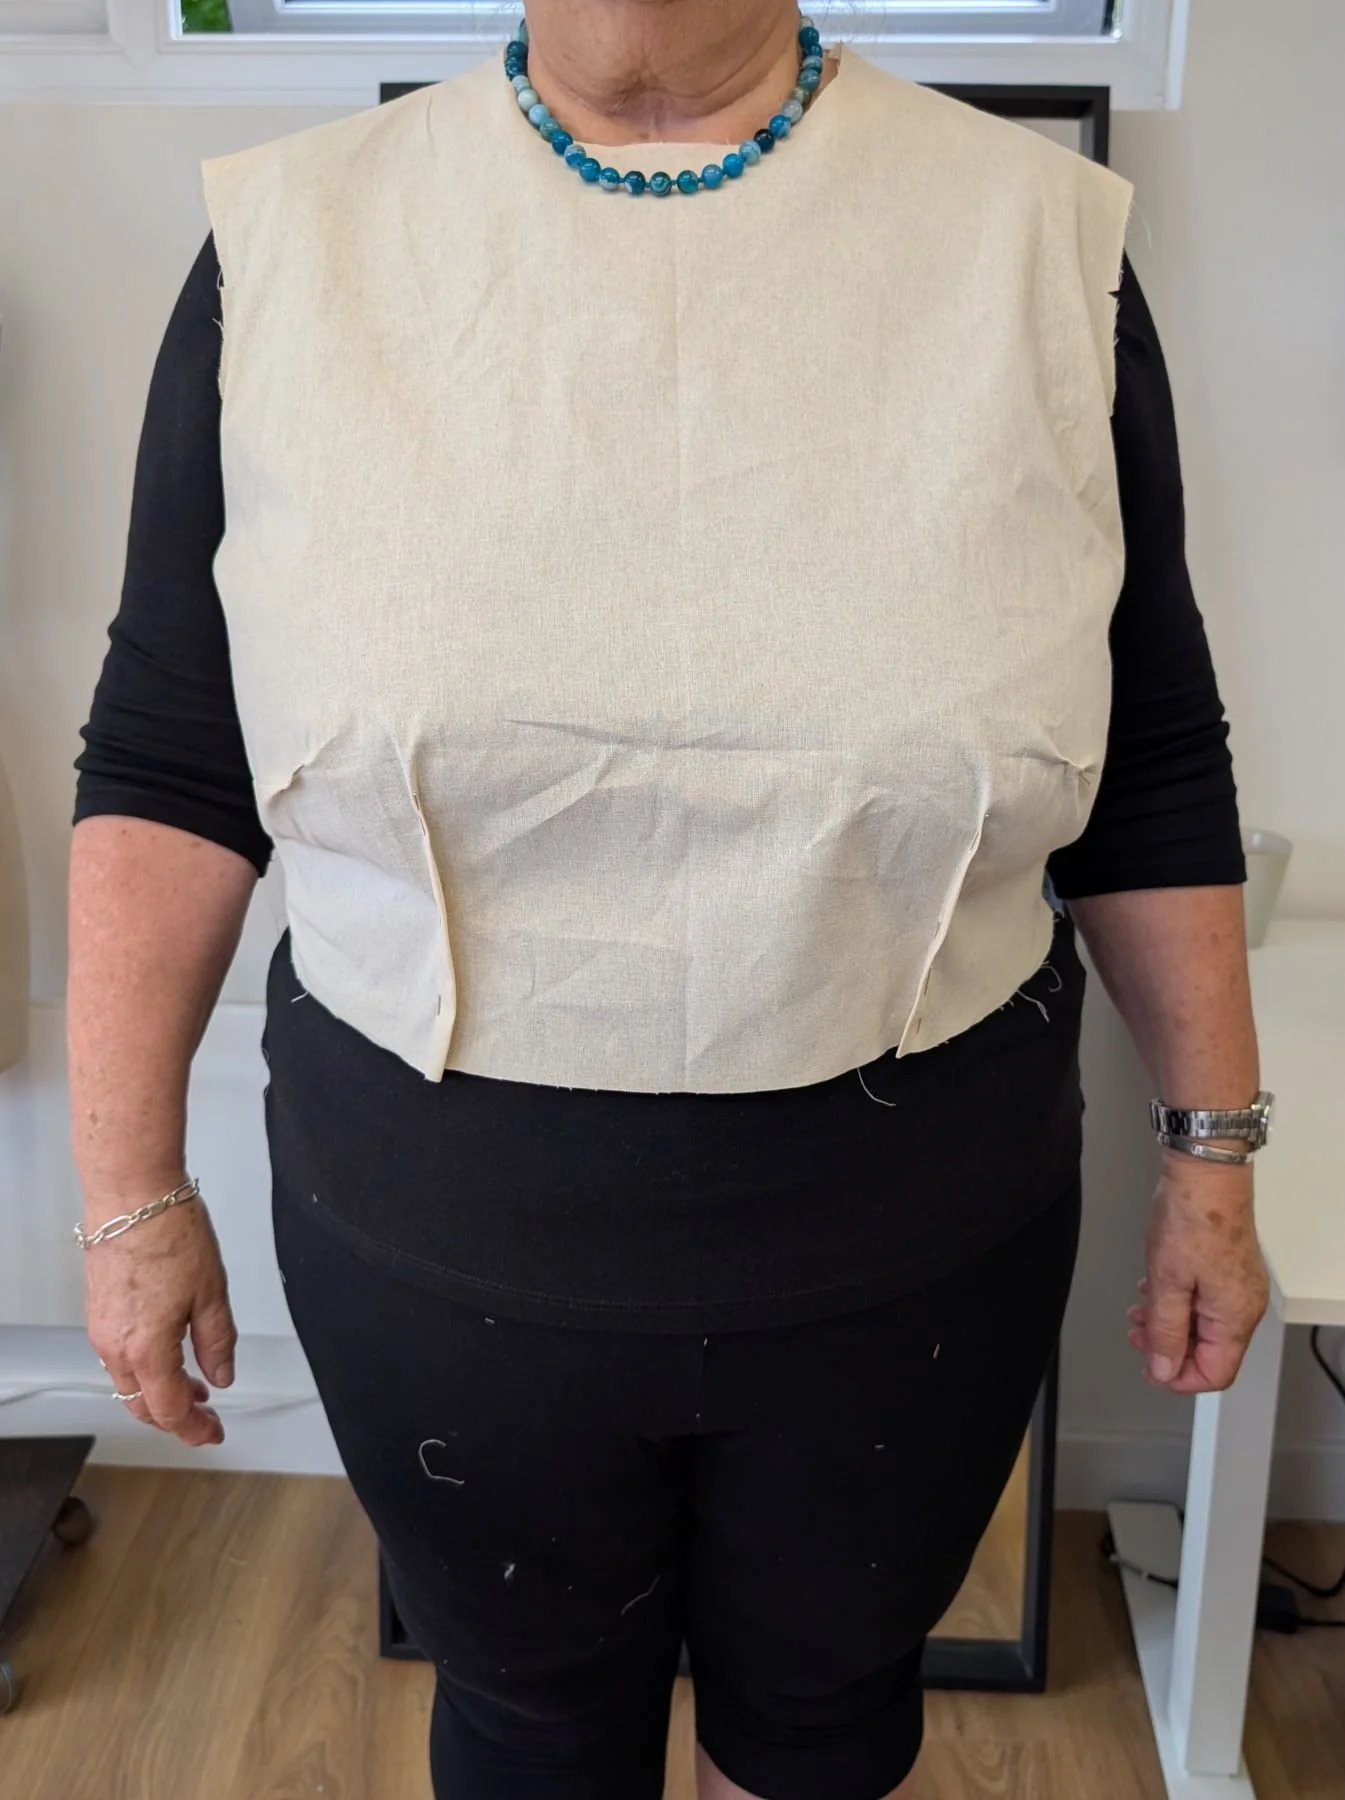
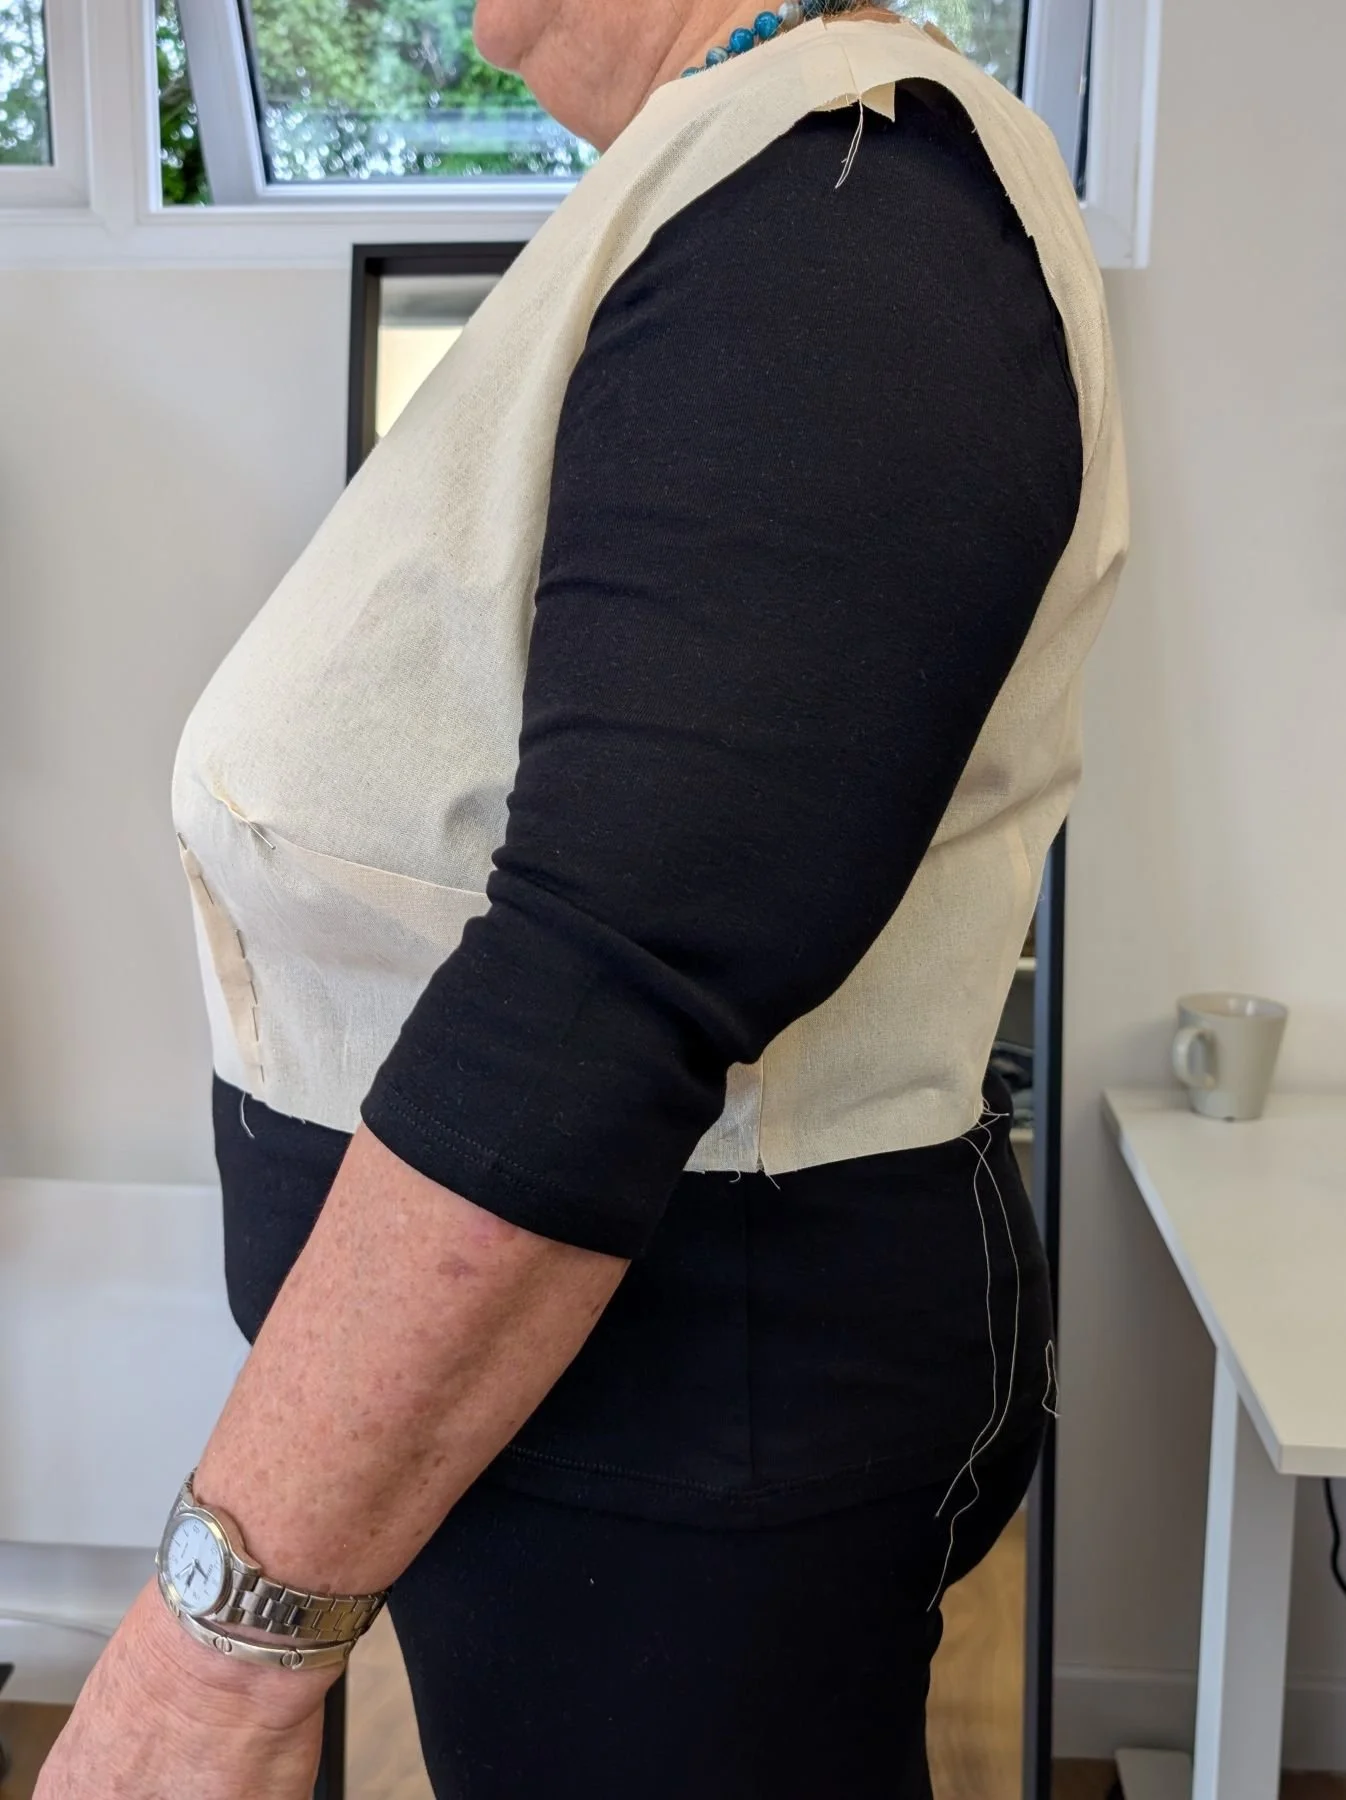
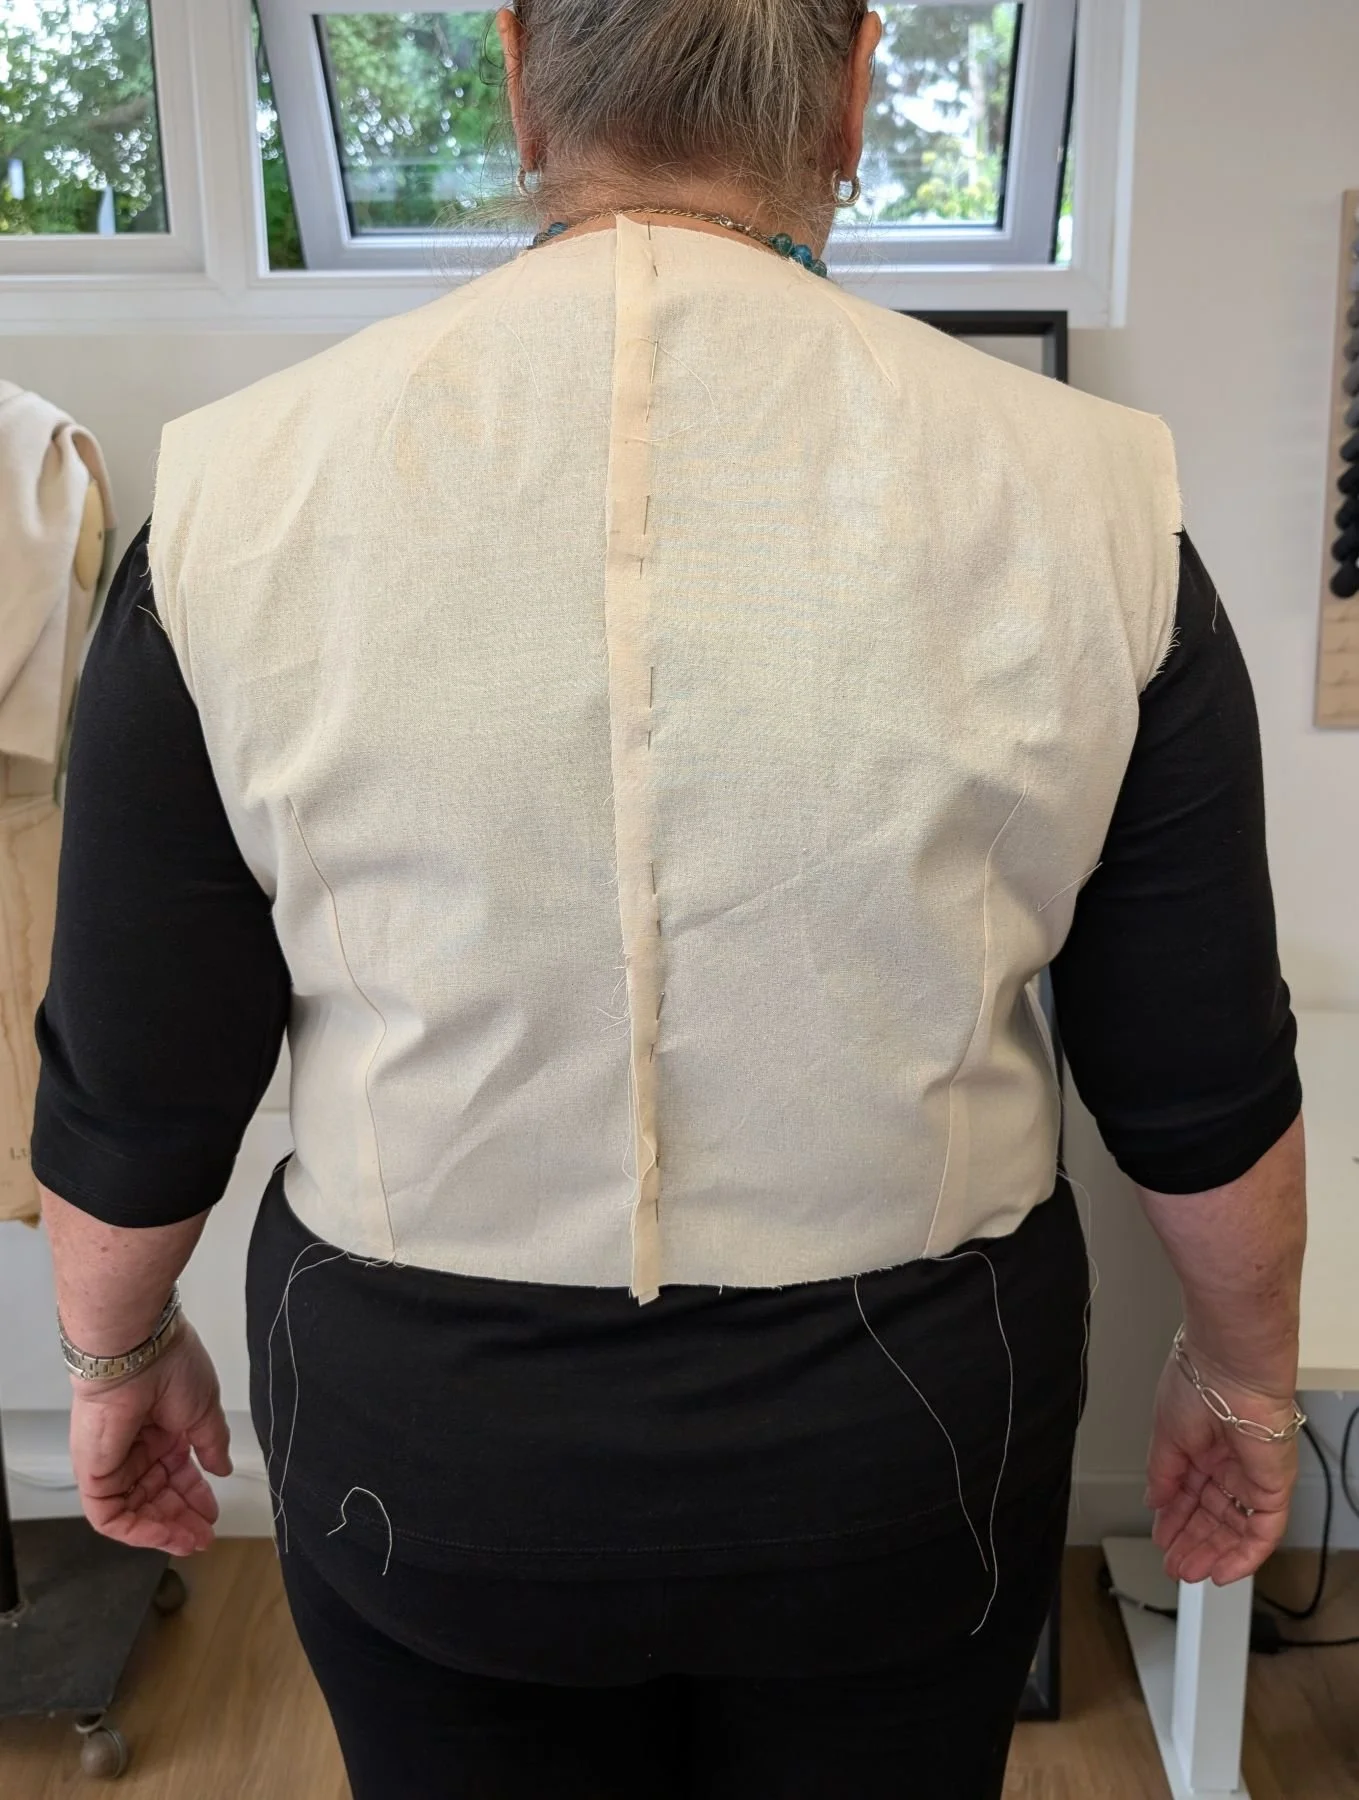
Next up, we worked on the skirt. We had to match the waist of the skirt to the waist of the bodice, which meant adding in to the front and hardly touching the back. We were keen to see how the side seam of the bodice and skirt fell on the body – if it was in the right place, not too far forward or back, and straight. After toiling and sewing to the bodice, we saw that the side seam looked good, but the hips were too curvy. We pinned in at the sides, then re-sewed the side seam with the new shape, and adjusted the pattern accordingly.
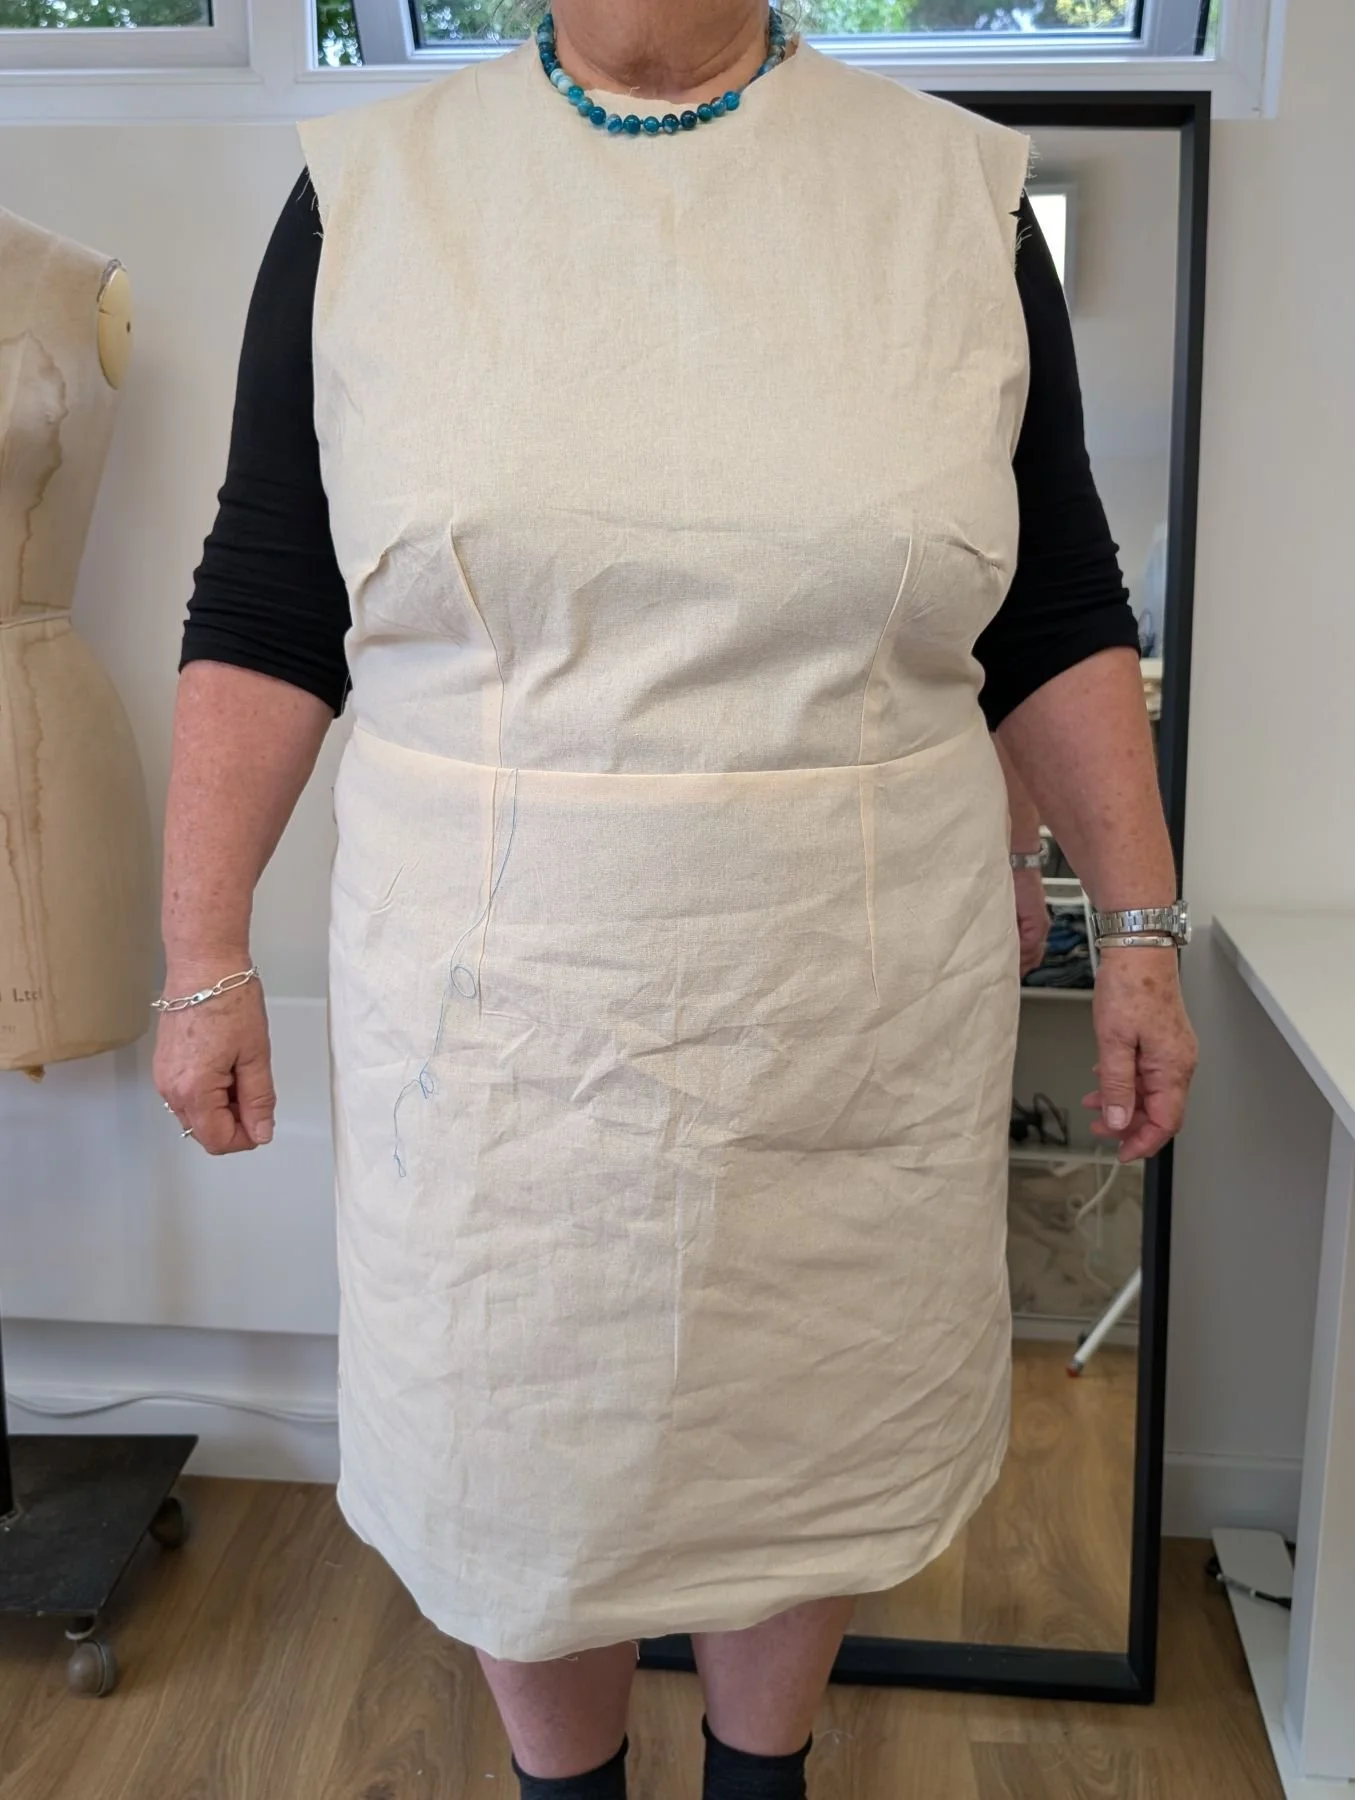
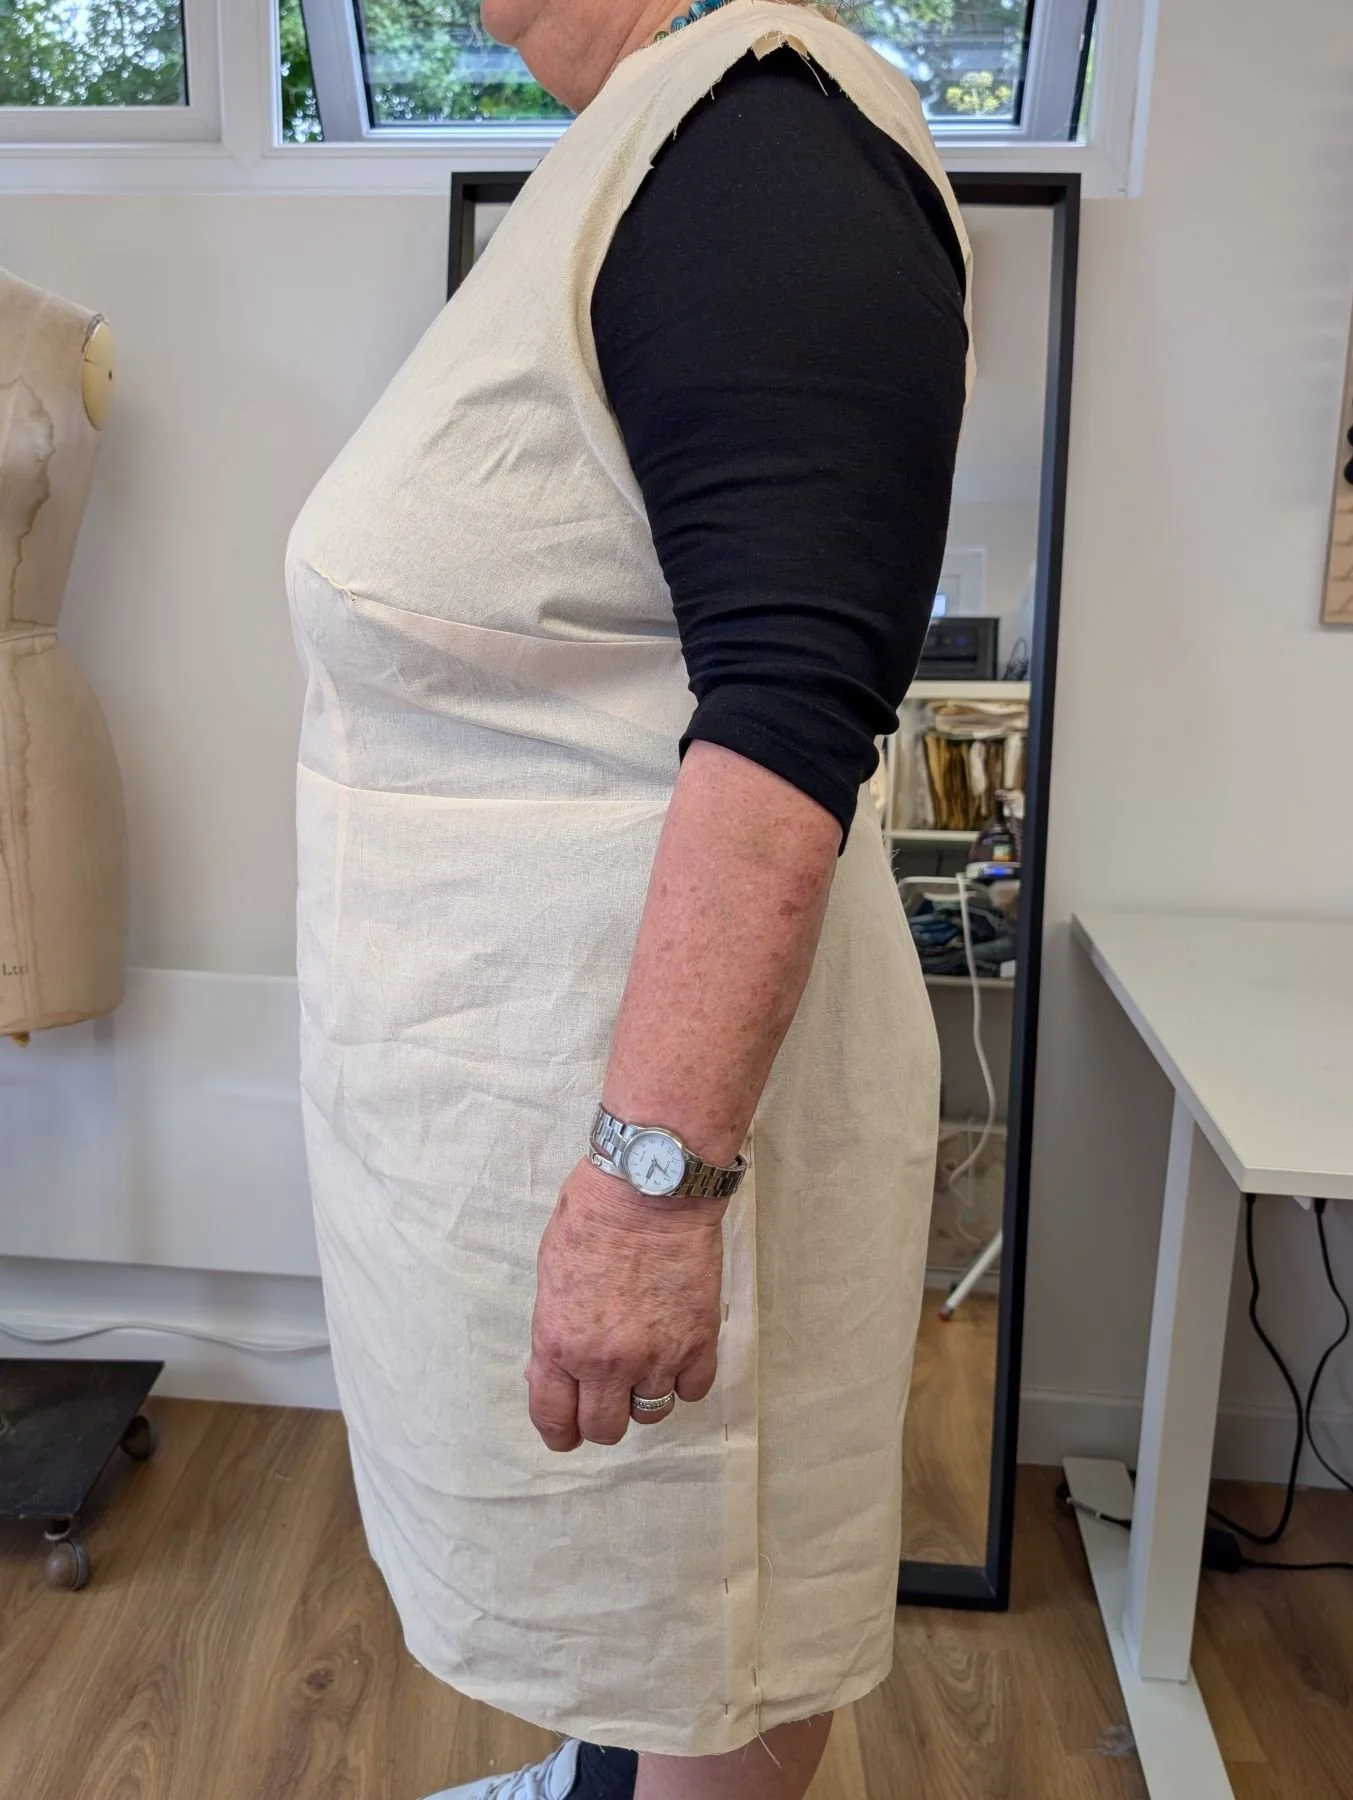
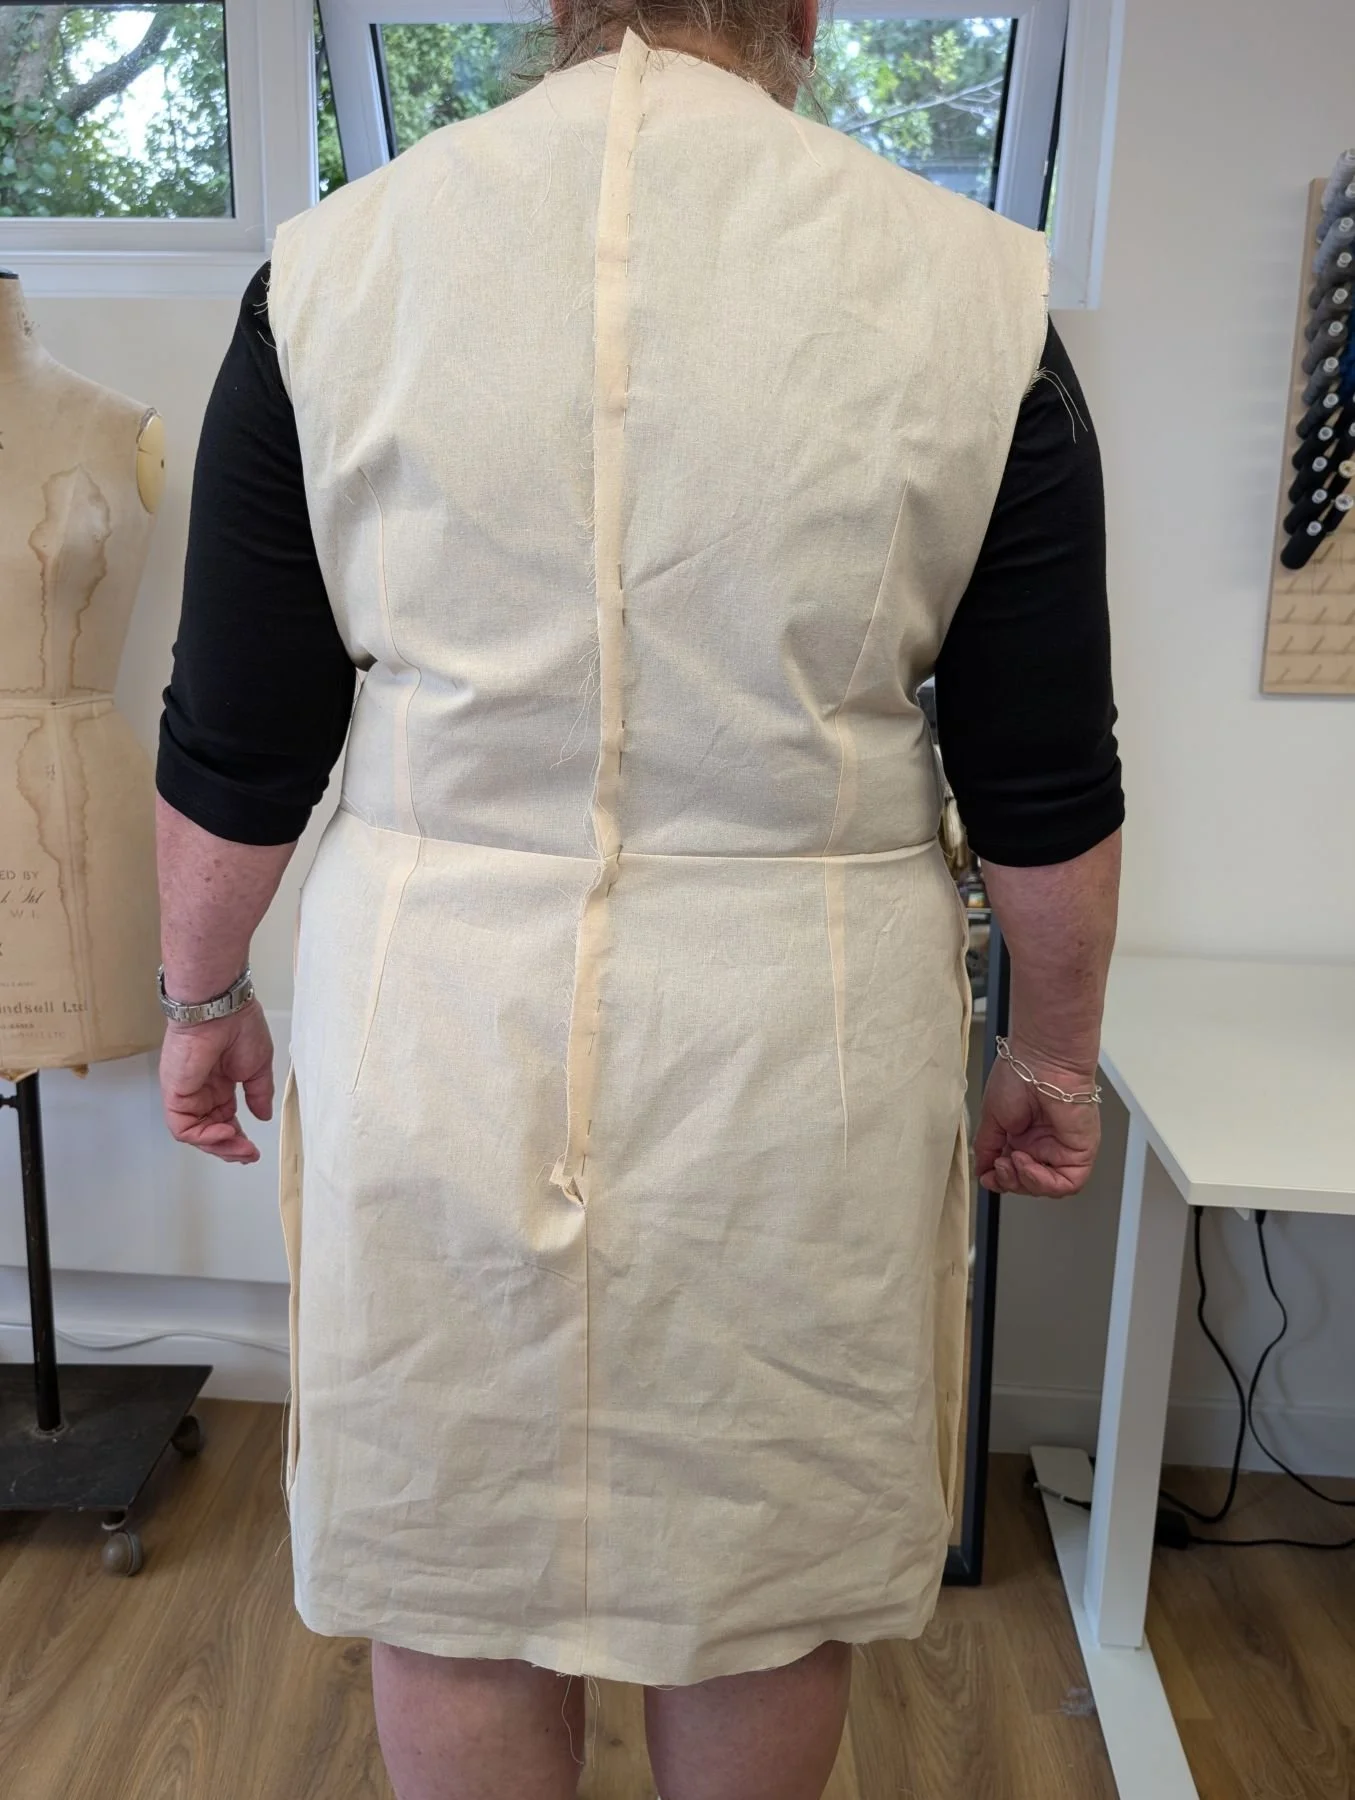
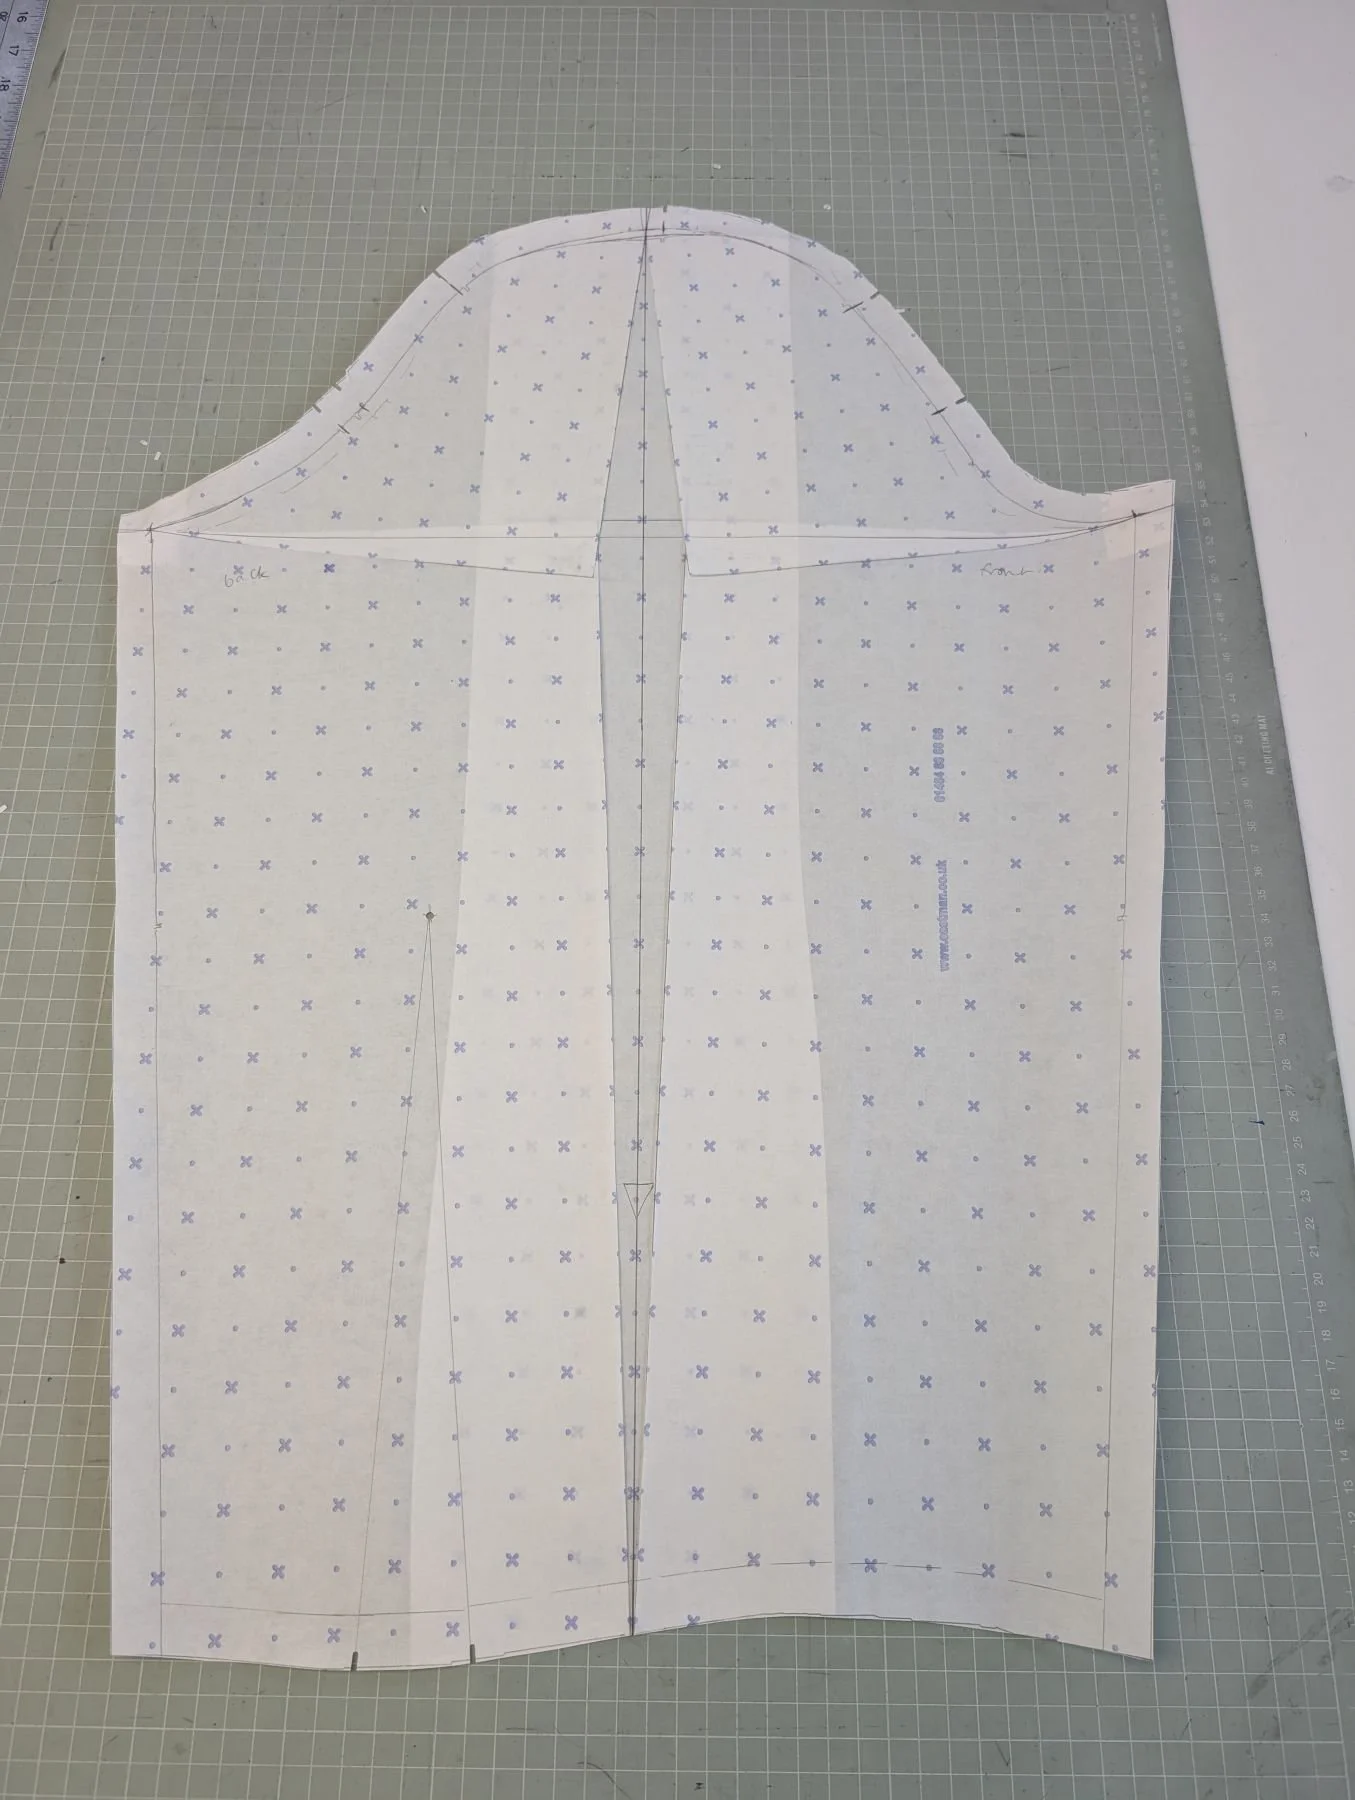
Next was the sleeves. As her bicep measurement was a bigger circumference than the body measurement at the bicep, we needed to do a ‘full arm adjustment’ on the sleeve. This involved cutting up the vertical and horizontal lines, then opening at the bicep. This means that the sleeve cap height gets reduced, and it’s a trade off between having enough width and height in the sleeve to accommodate the arm, without having too much ease in the sleeve head.
Again, it was time to toile up.
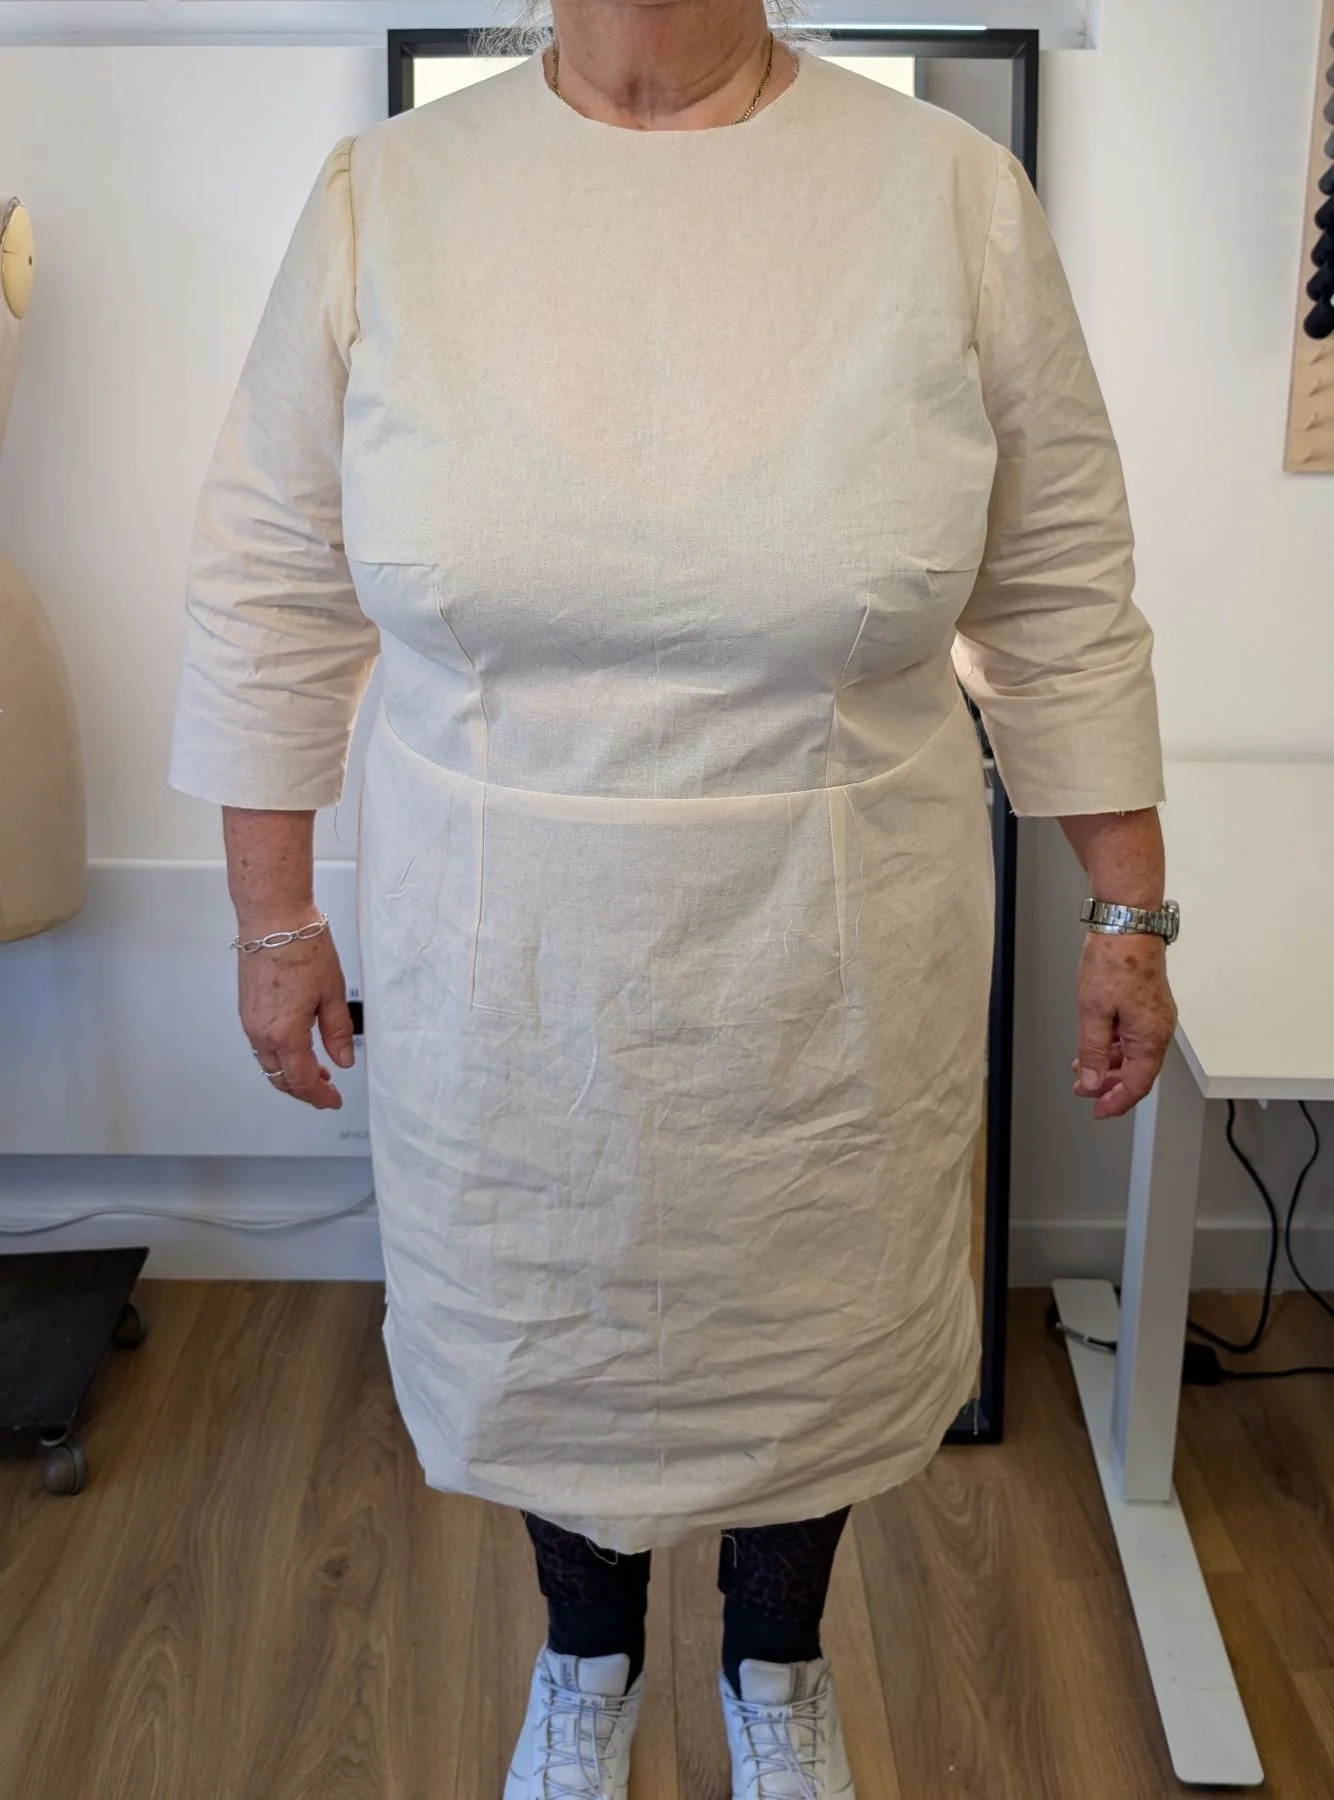
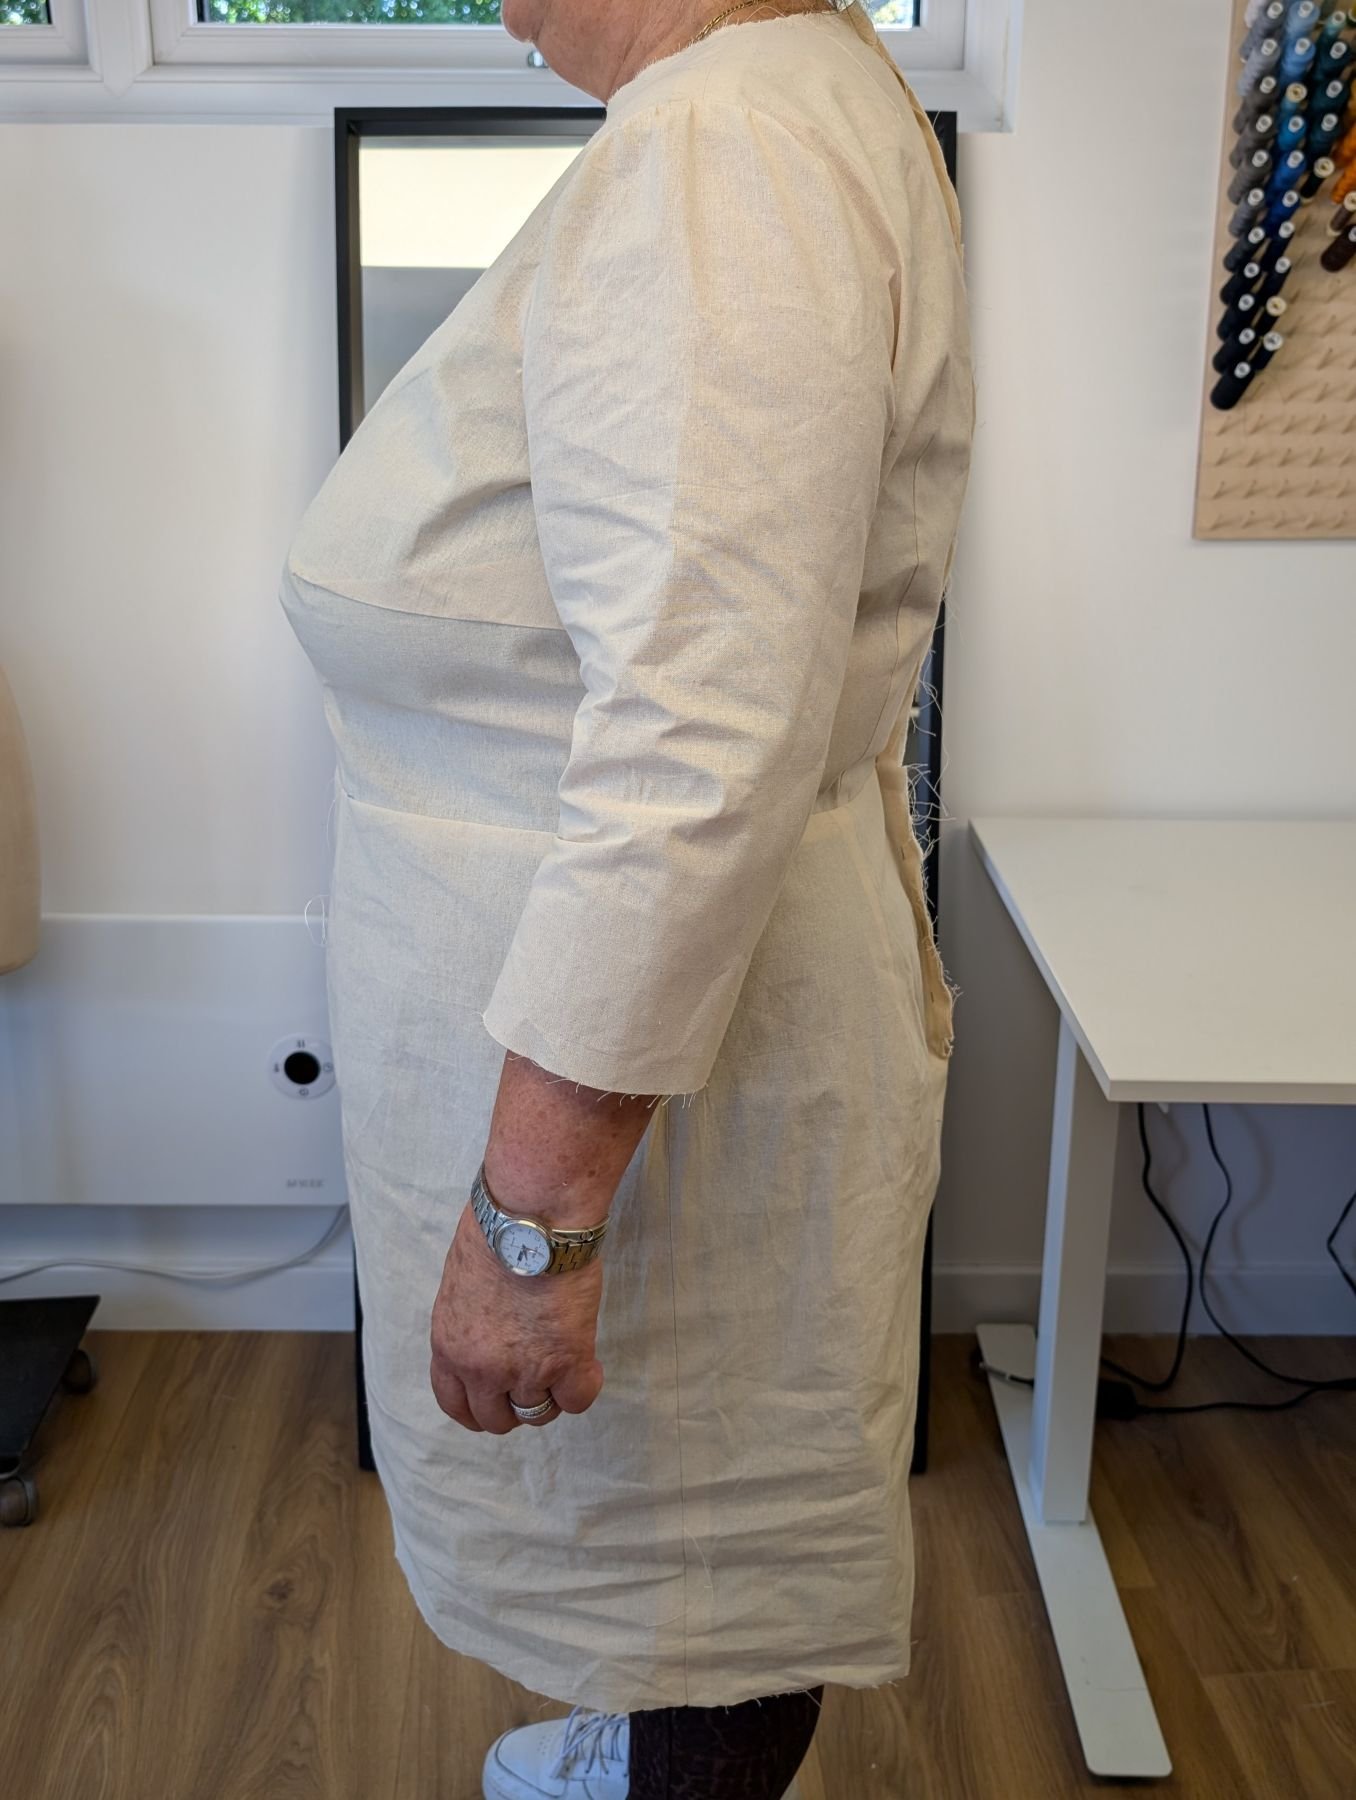
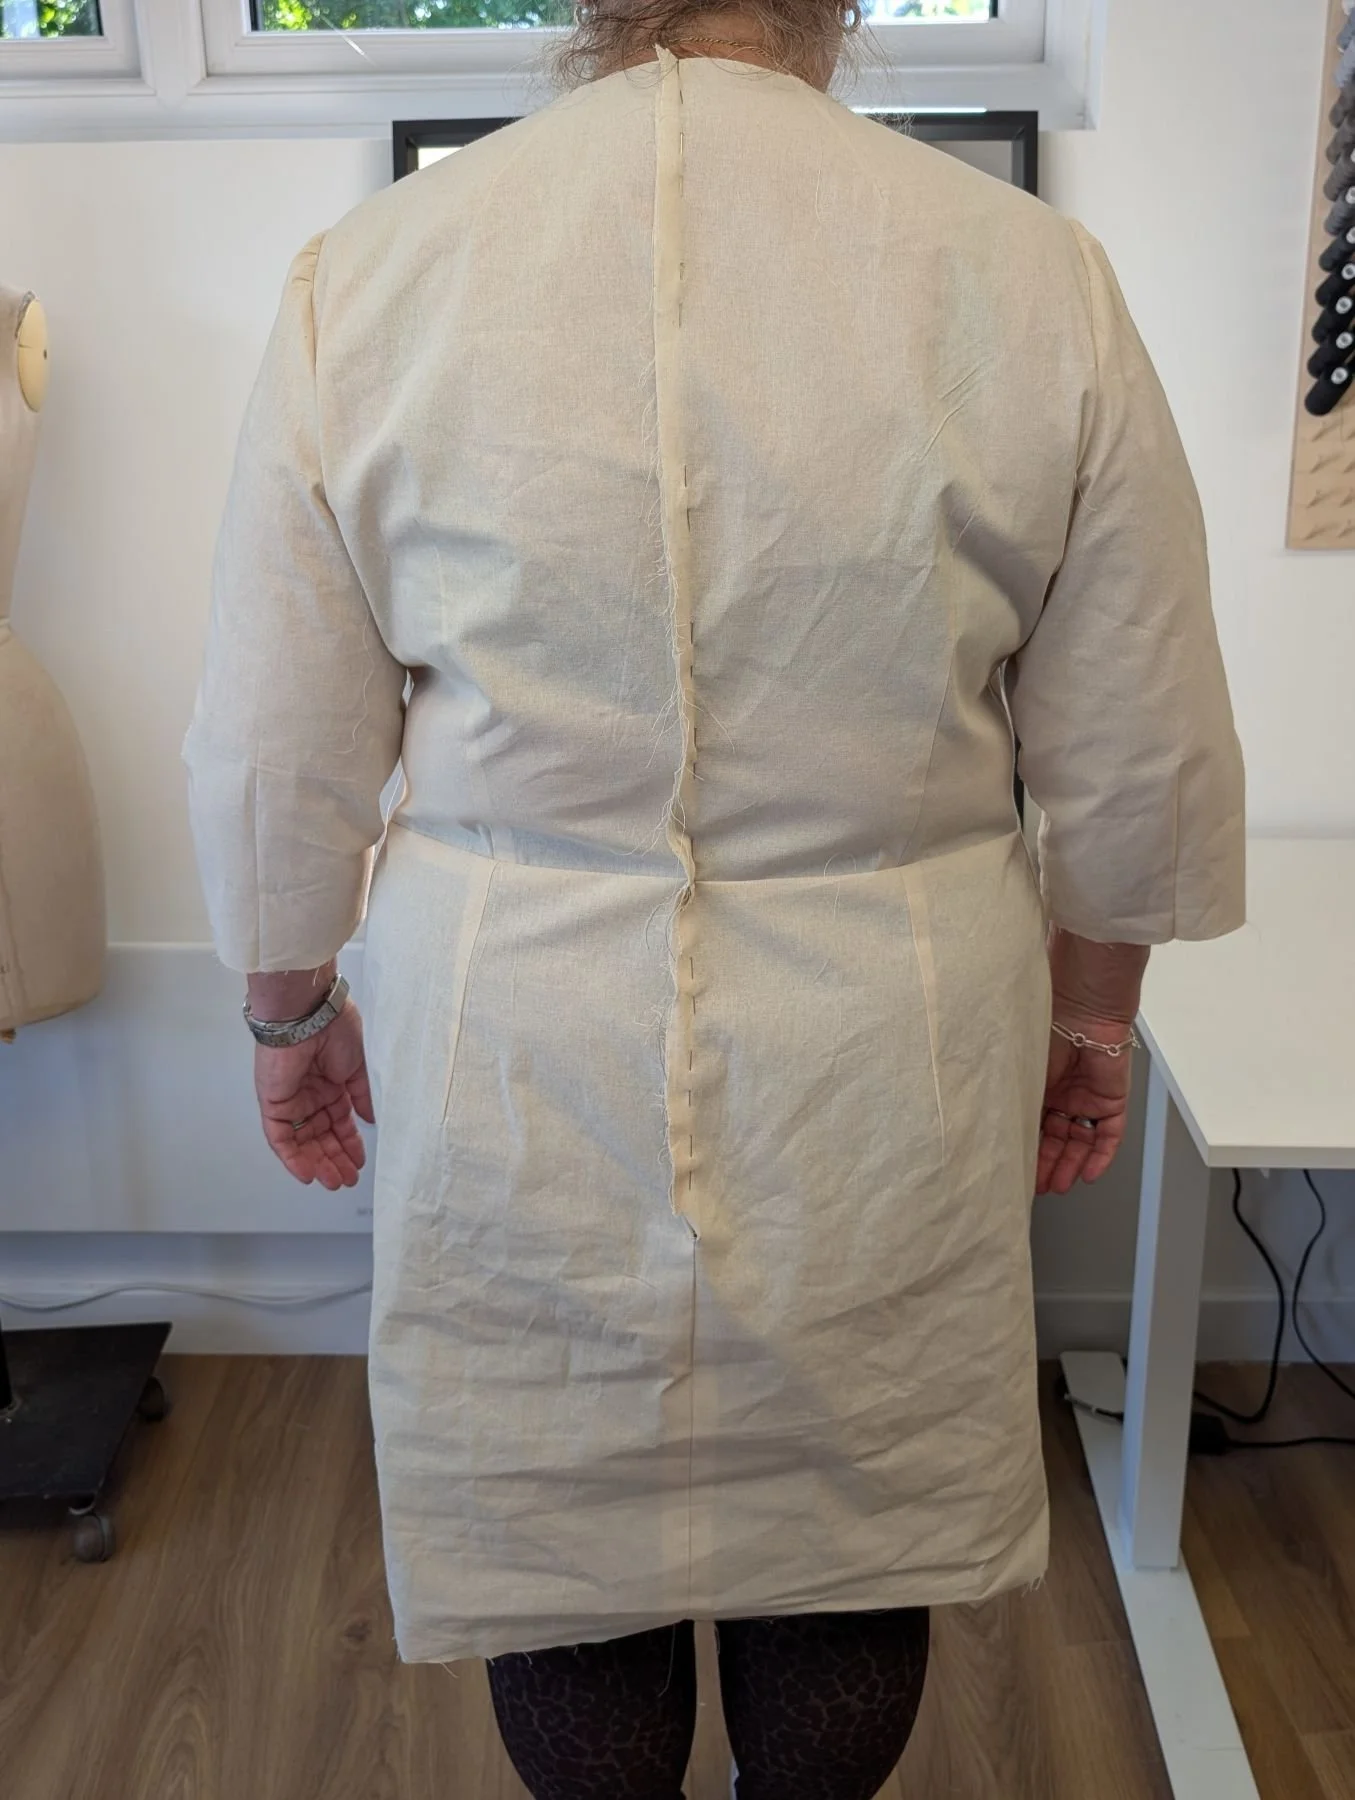
Immediately we could see that the shoulders were too wide, she felt that the cross back was too narrow, the cross front was too wide, and the bicep felt too tight. Below are the images before we have pinned any of the issues.
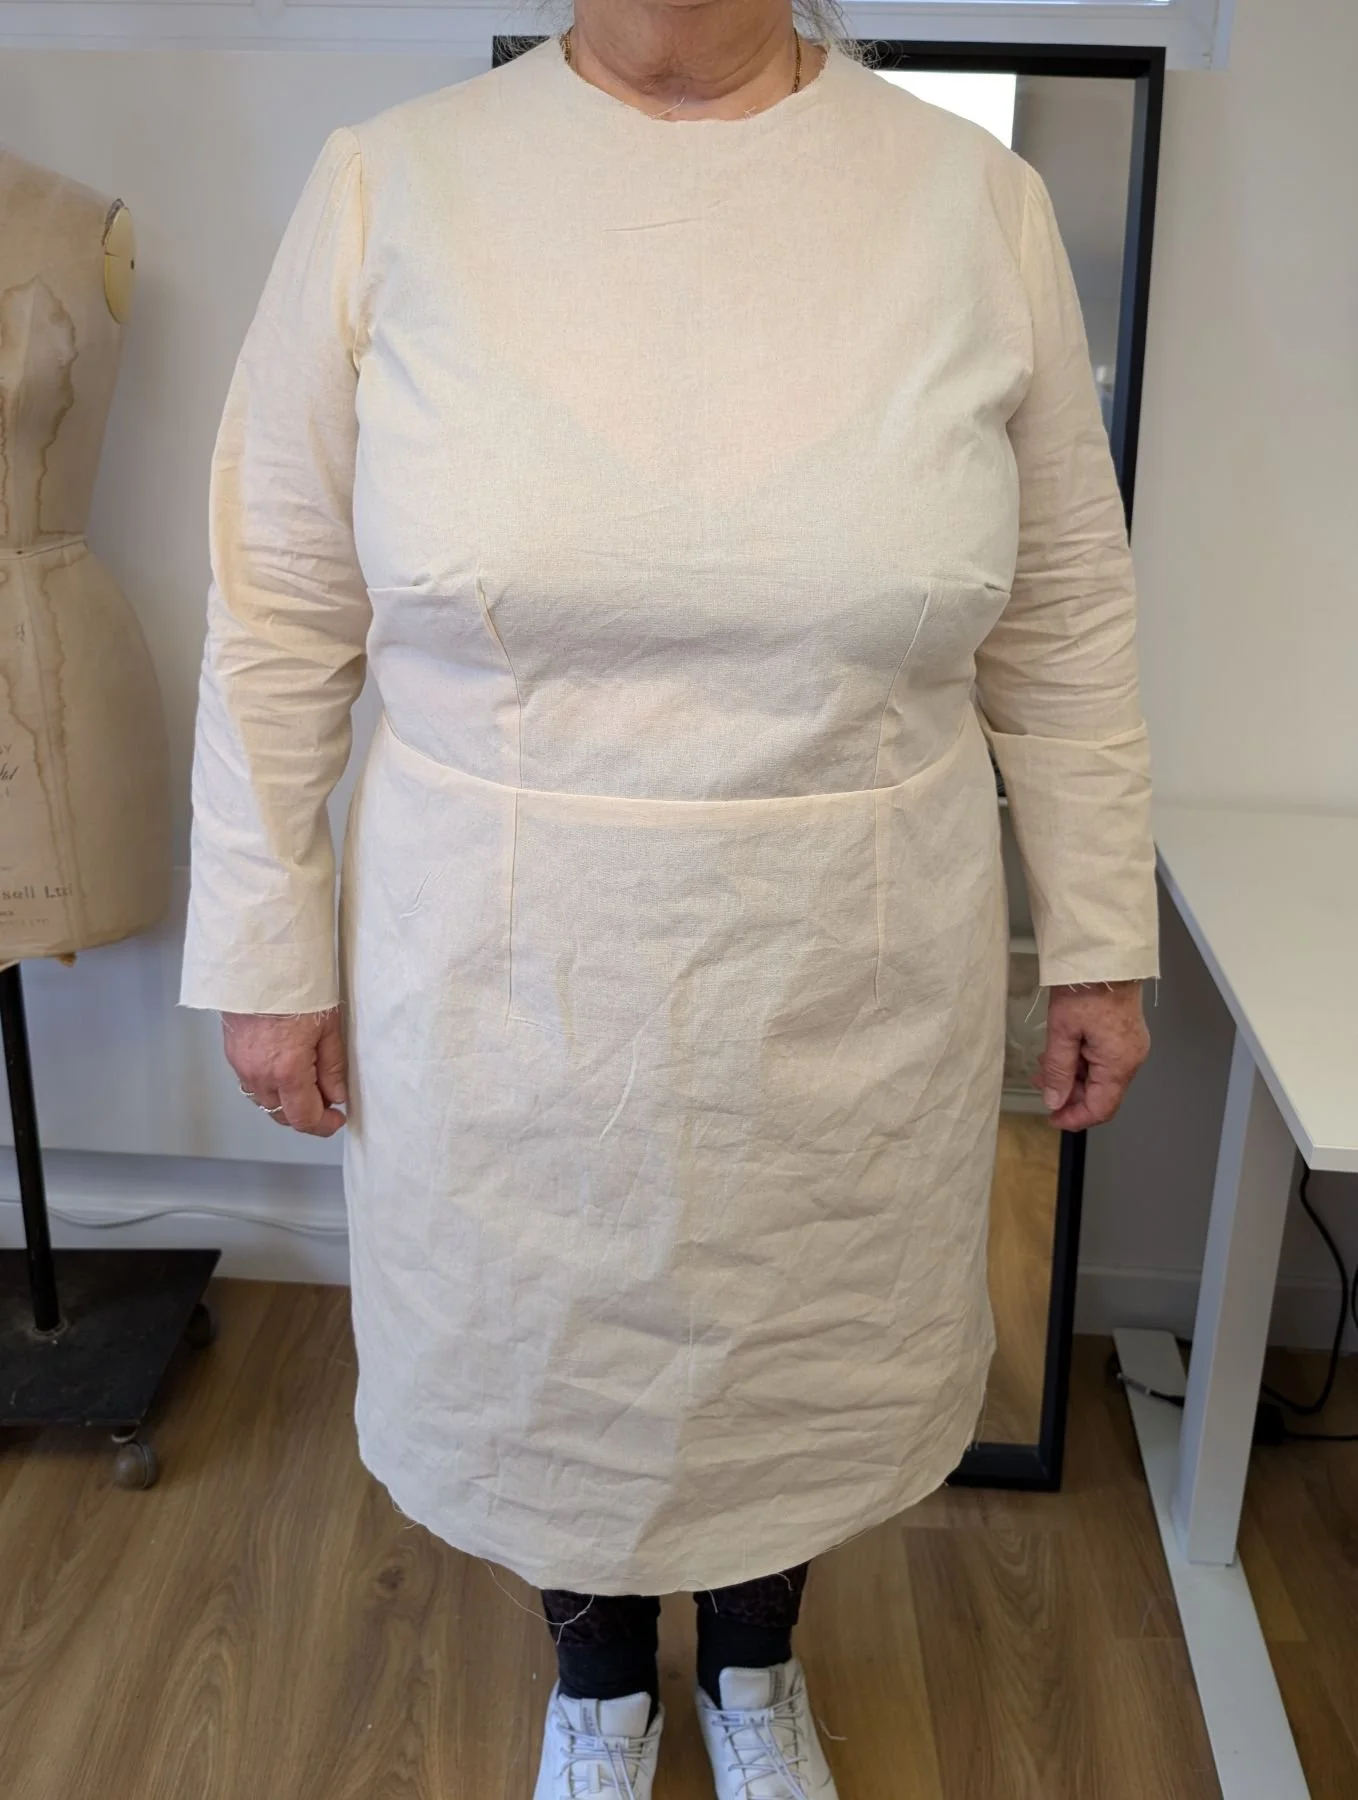
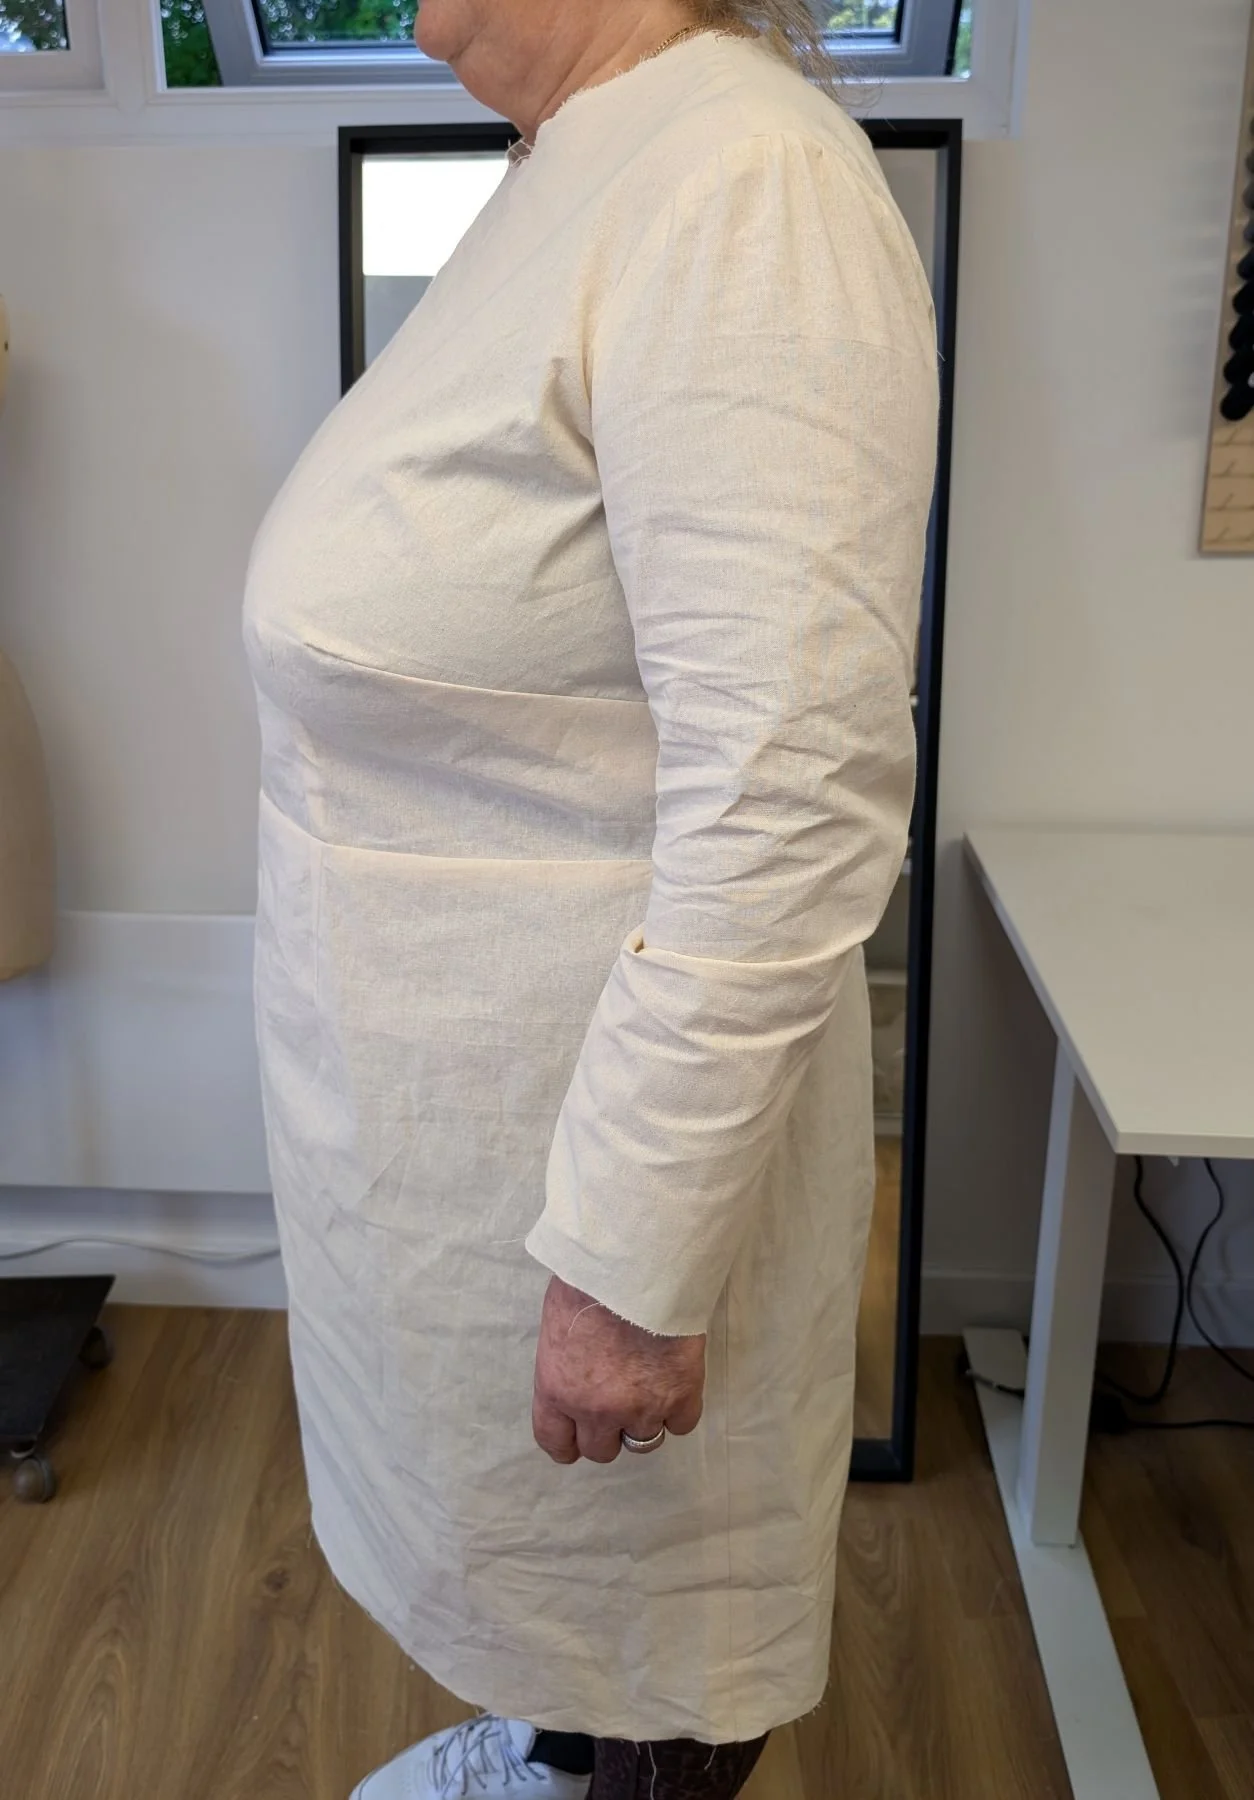
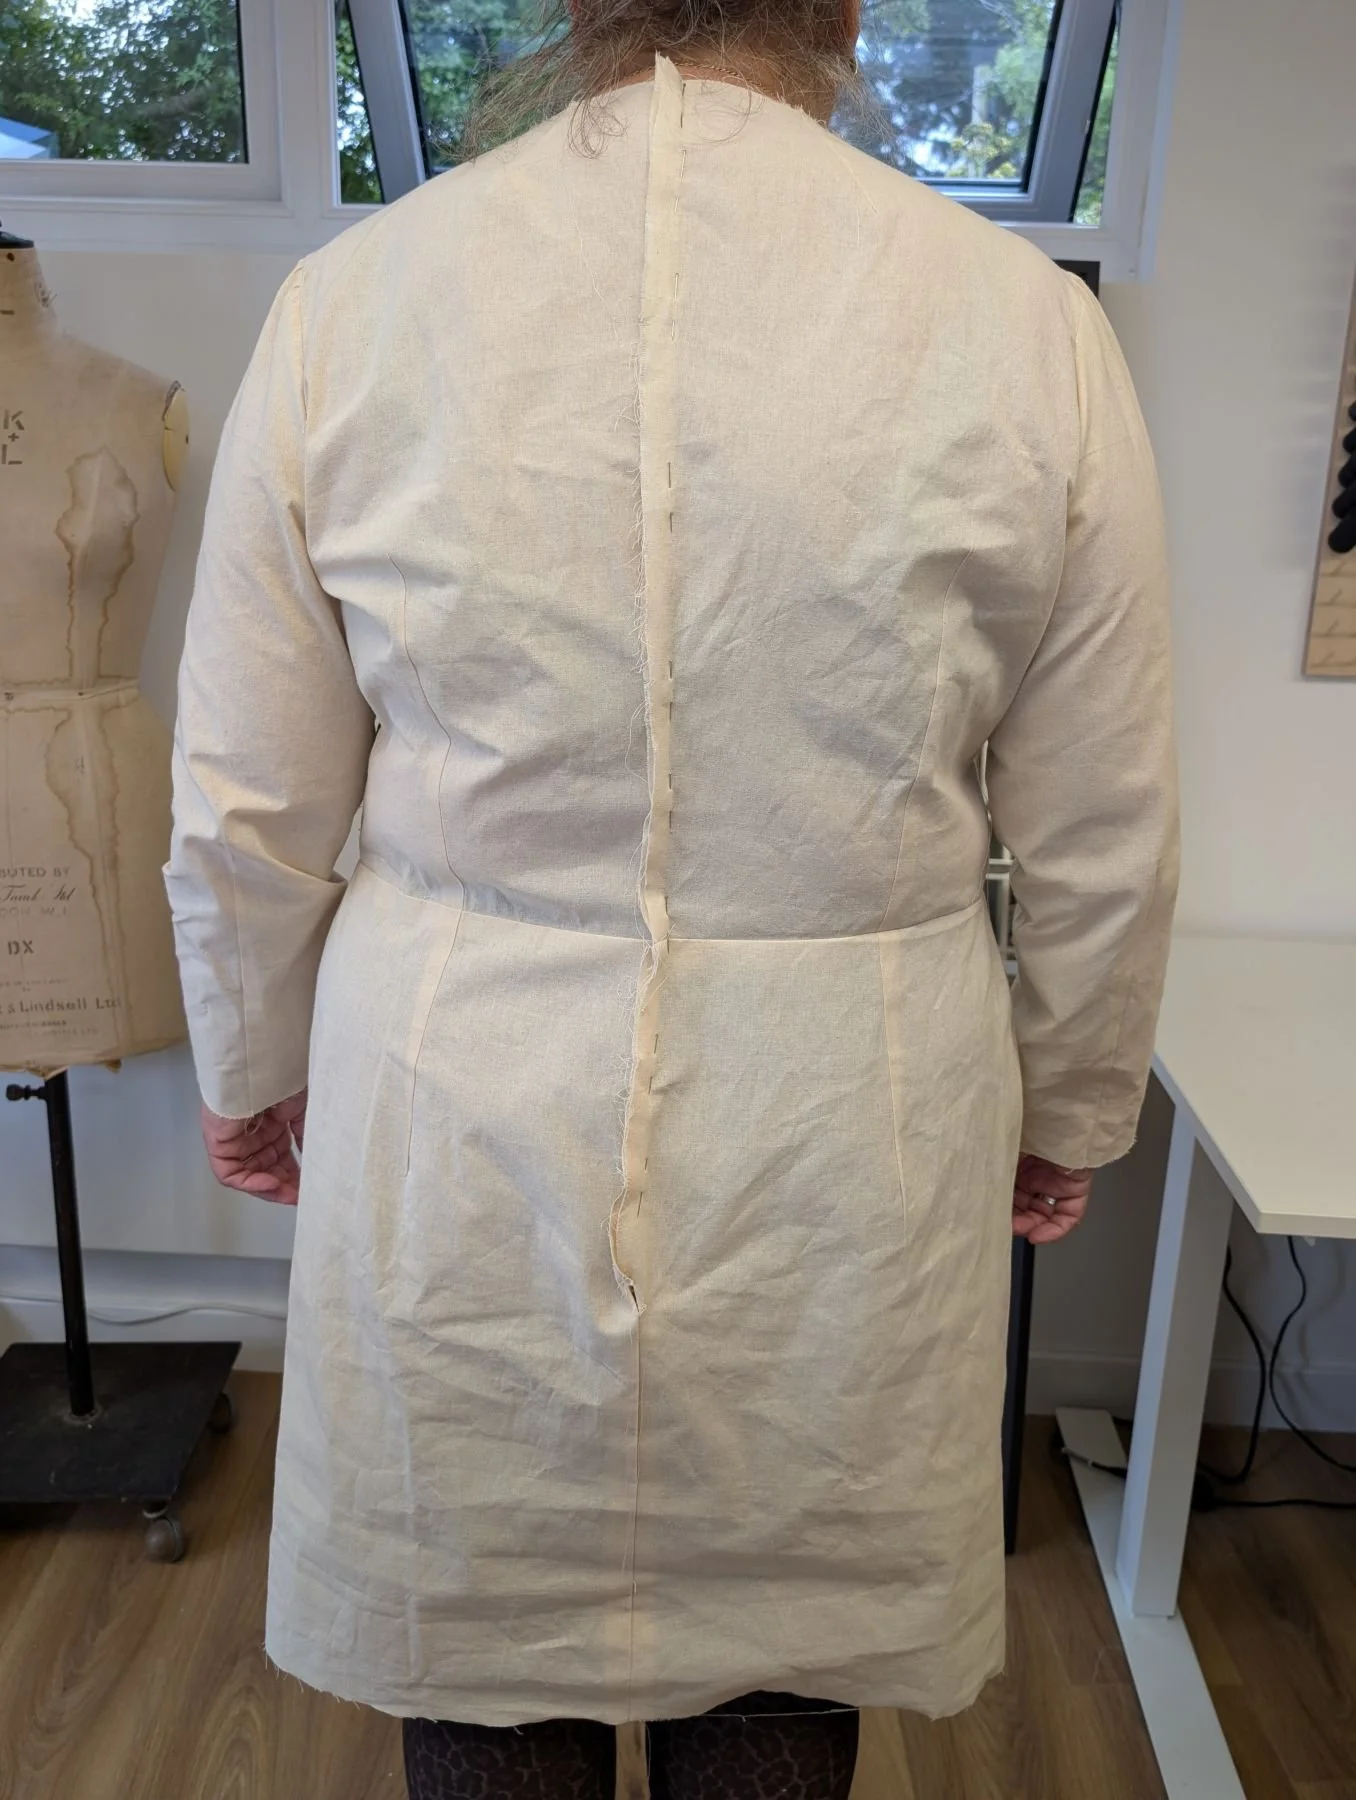
We reshaped the armhole, and did another full arm adjustment, this time spreading the lower part of the sleeve apart parallel by 2cm, instead of maintaining the cuff circumference, so we wouldn’t loose too much more height in the sleeve cap.
It was time to re-toile the bodice and sleeve as we’d made quite a few adjustments.
And hay presto, it looked fantastic. We decided to leave at there, as you can often ‘overfit’, you’ve got to know when to stop!